Large fireplace advent calendar
Here we have an instruction video and step by step photo guide on how to assemble the calendar
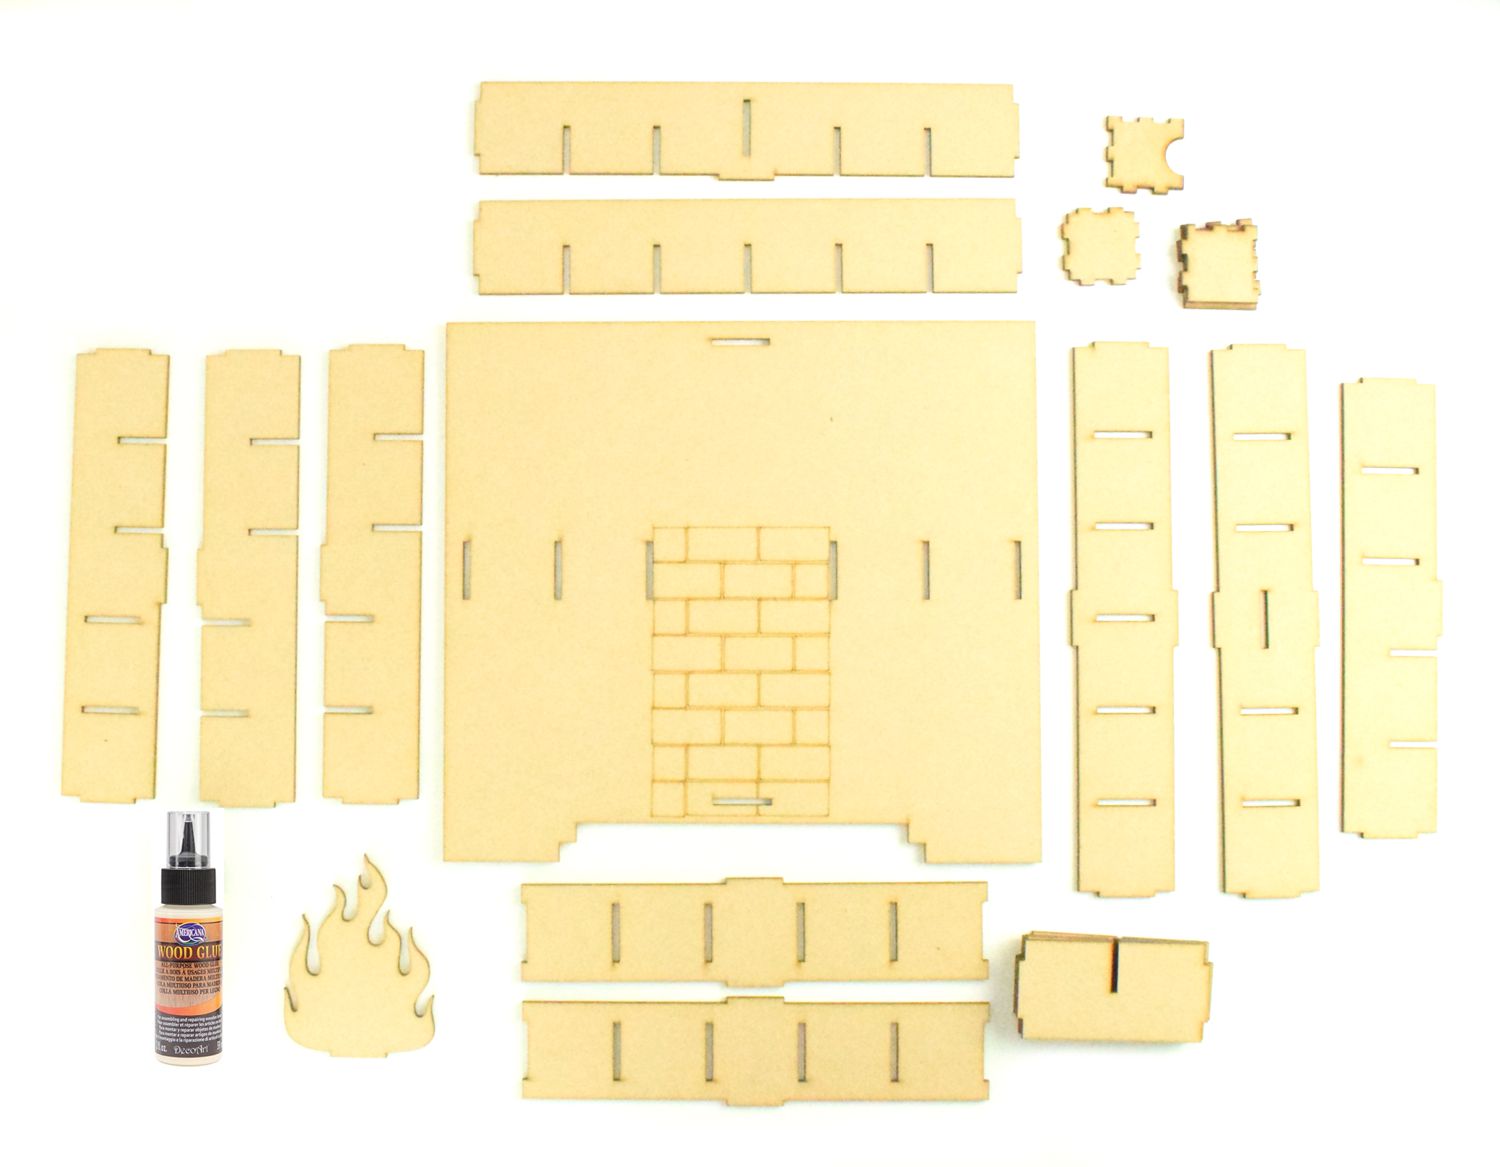
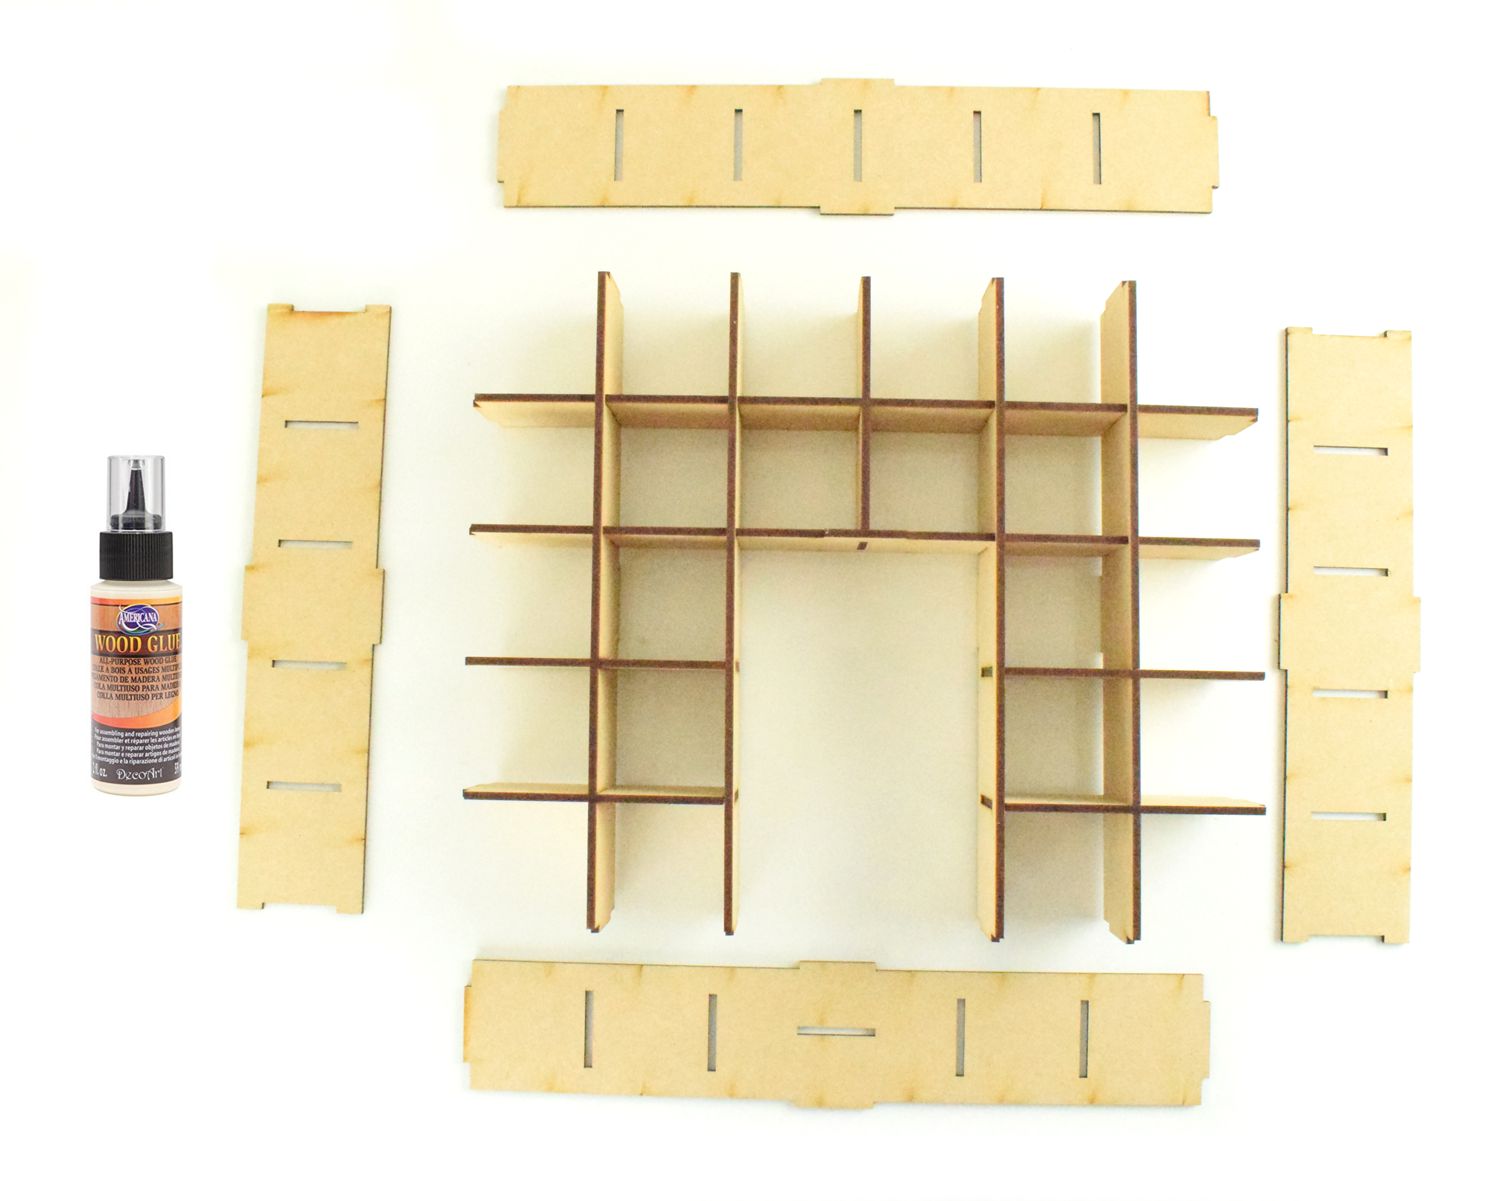
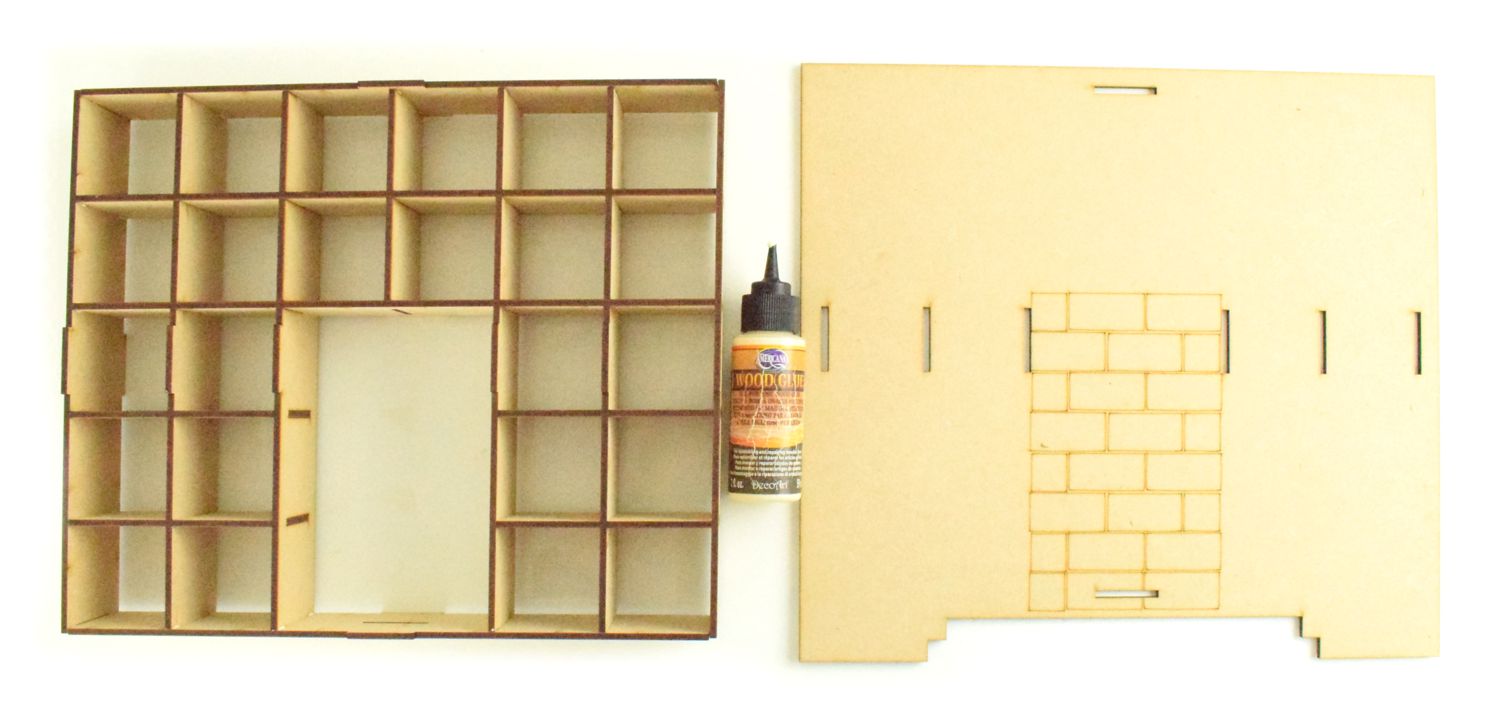
WHAT YOU NEED
STEP ONE
You will need the following pieces to start
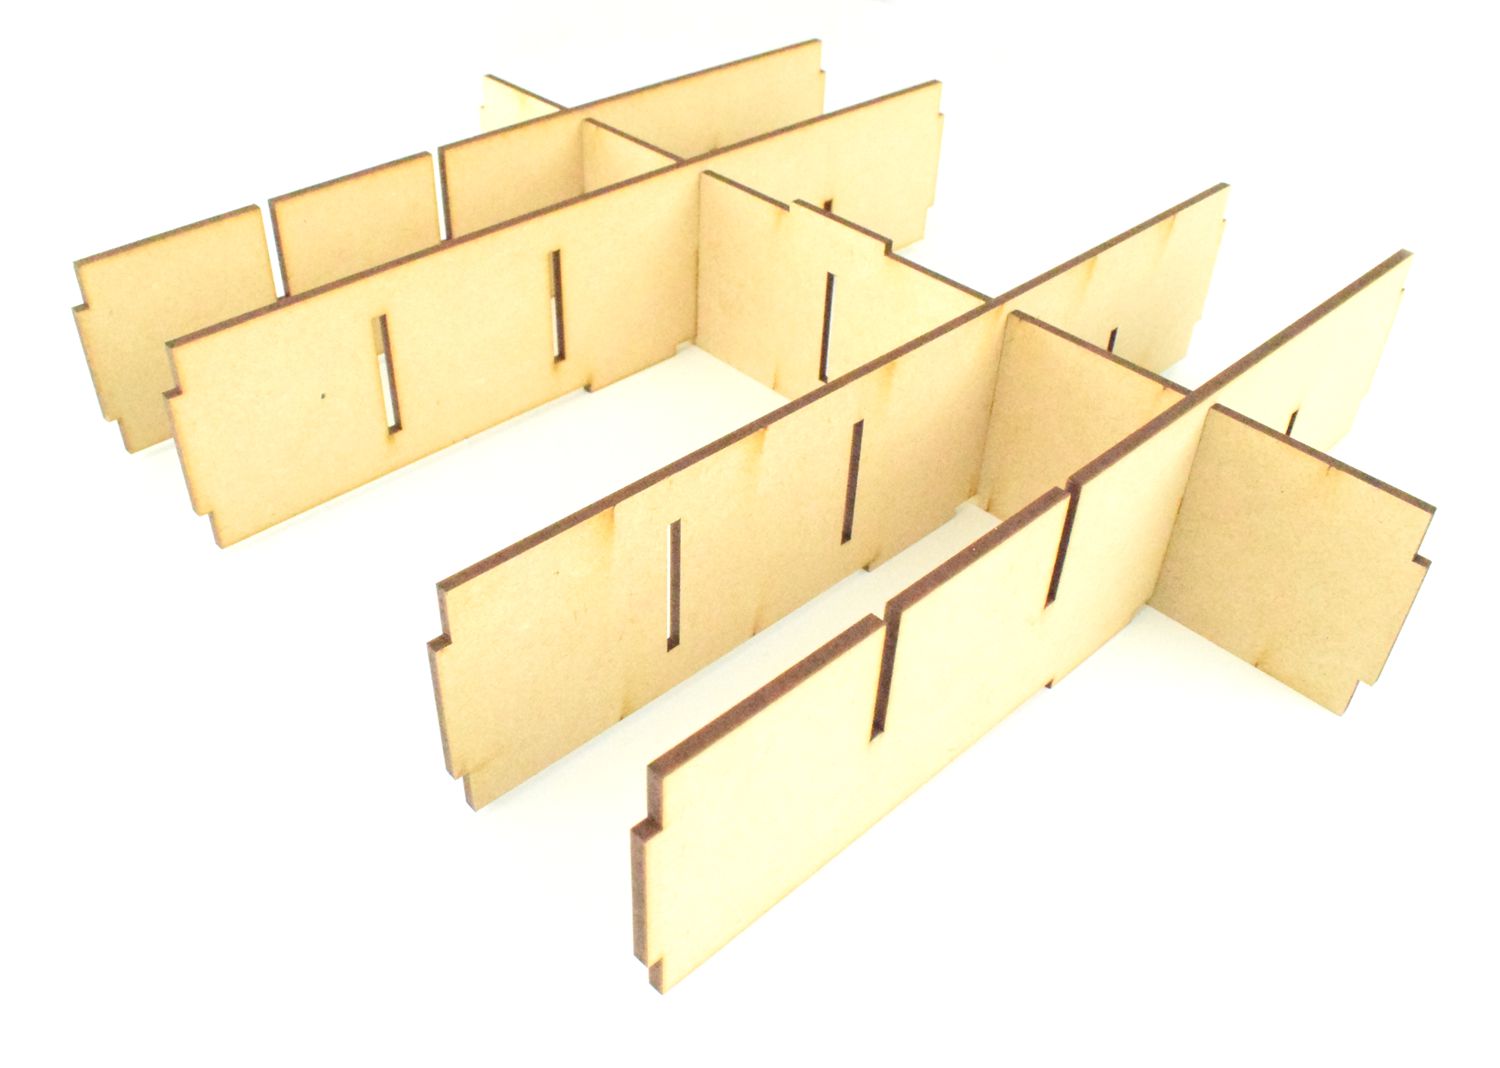
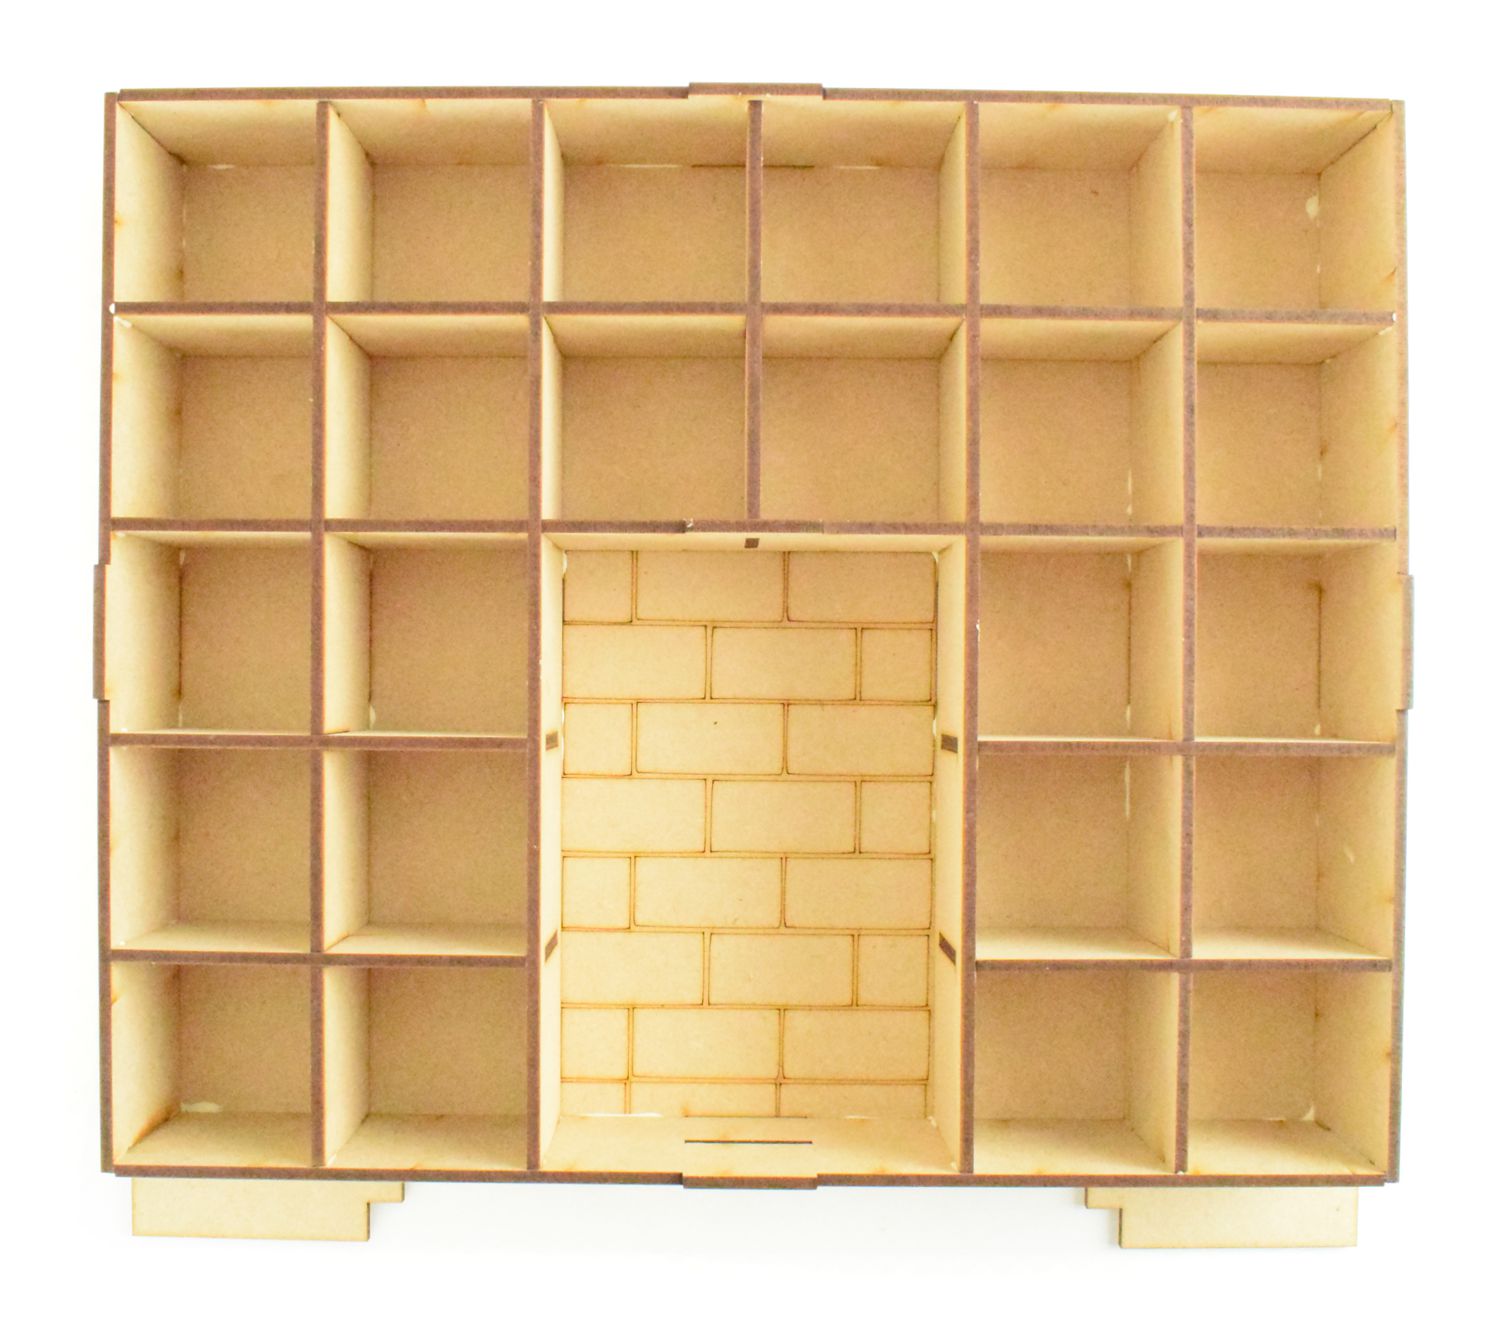
STEP TWO
See the following 2 photos for fitting guide
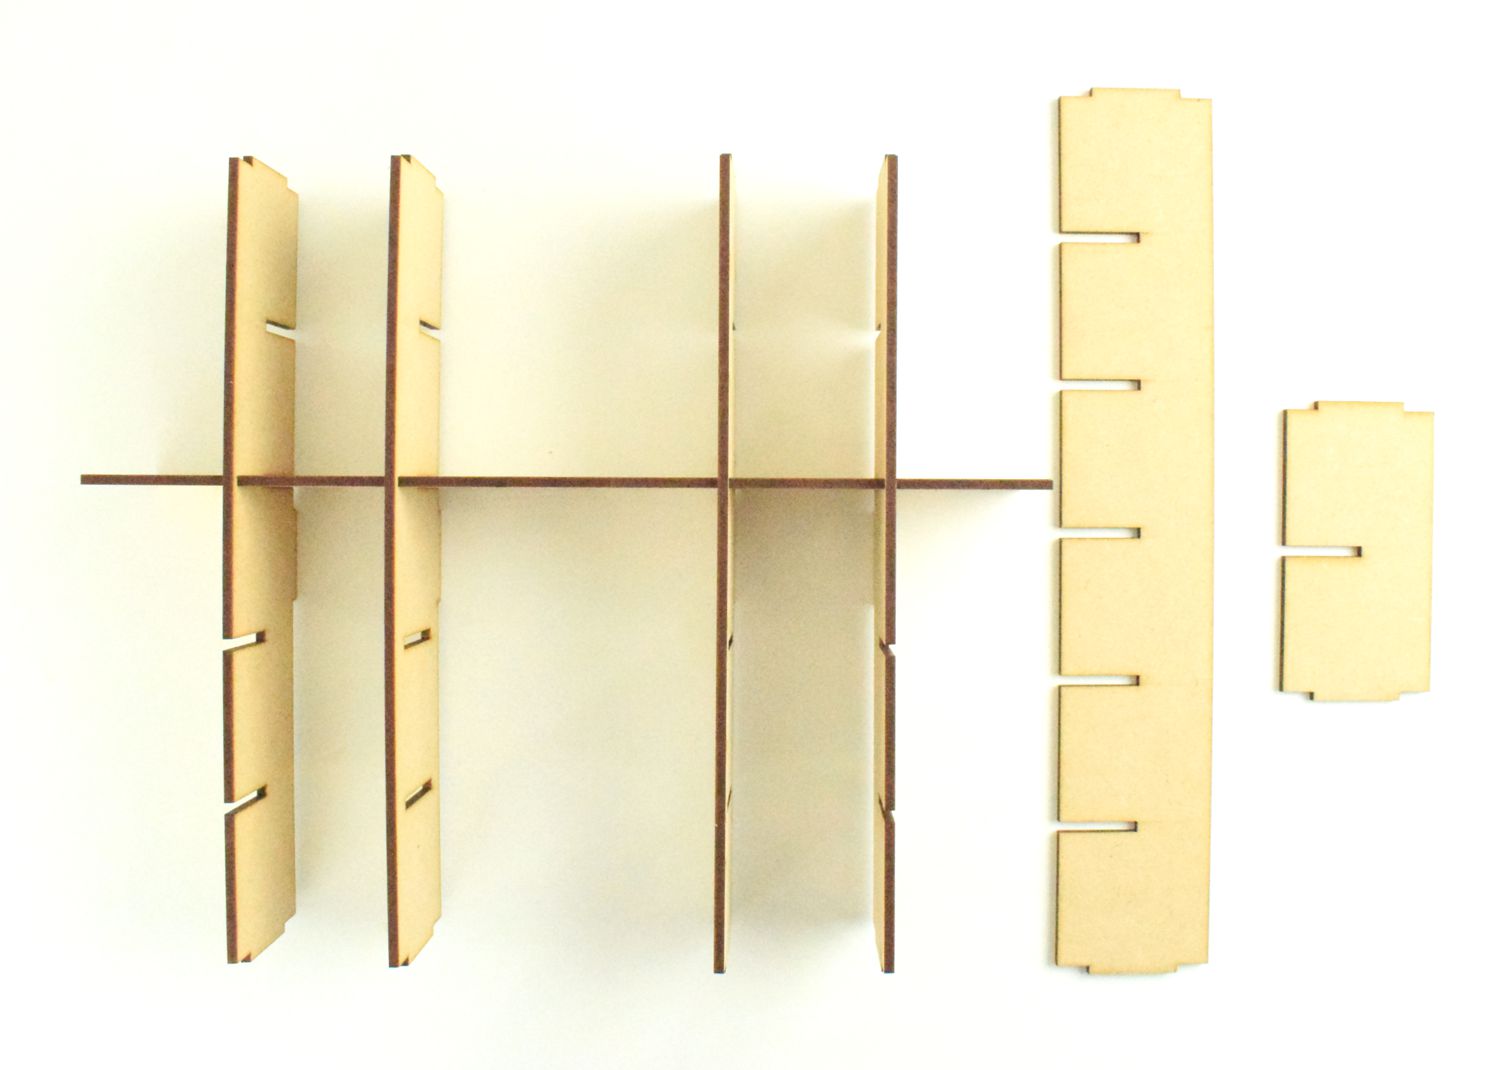
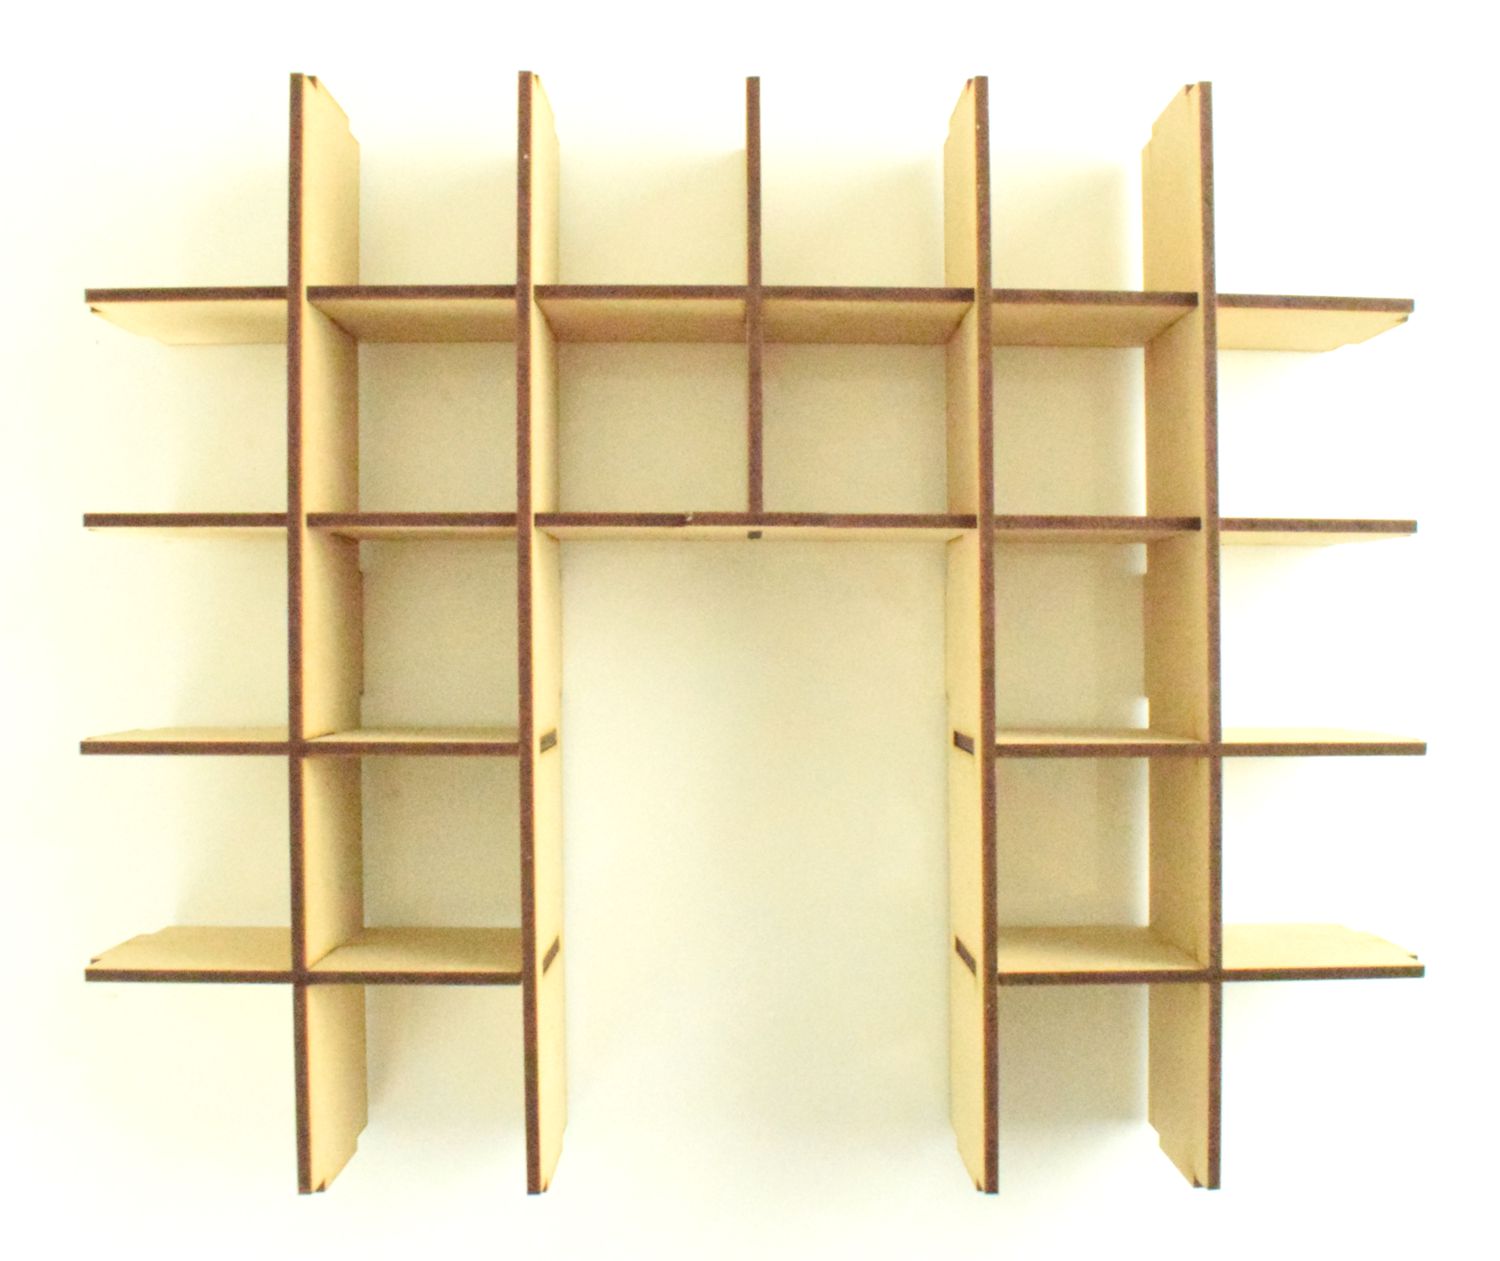
STEP THREE
you will need these pieces for the next step
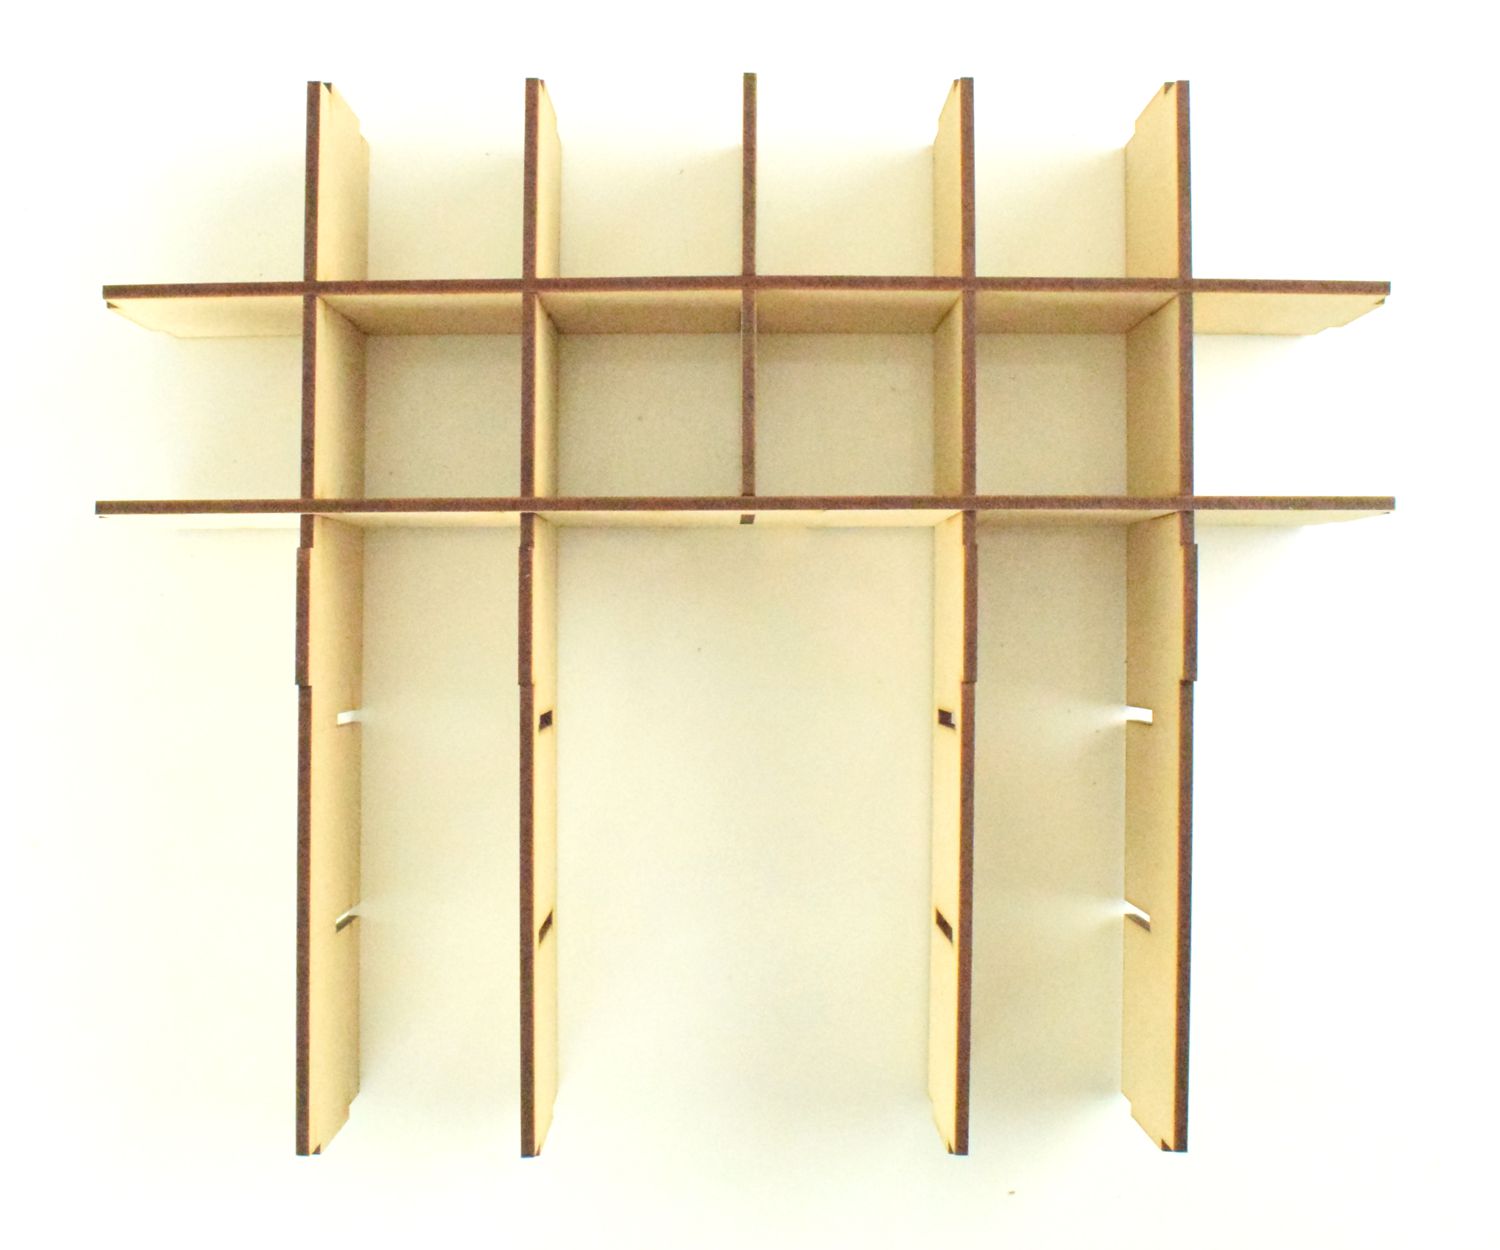
**IMPORTANT** Firstly turn the main section made over
The small piece slots in the middle and then the longer piece then slots length ways along the top
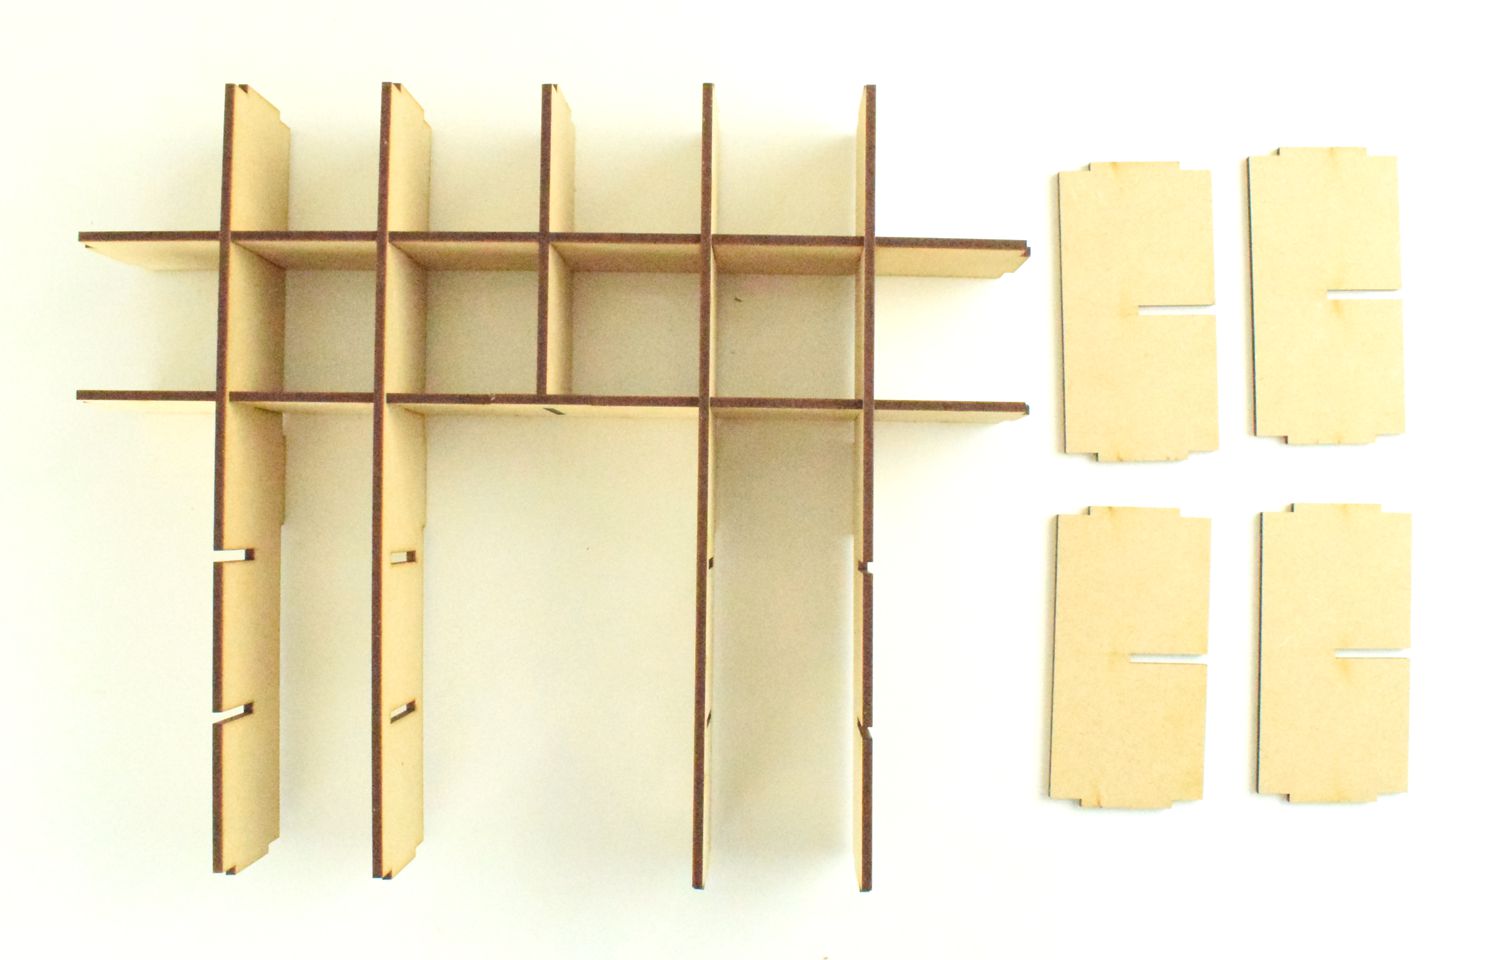
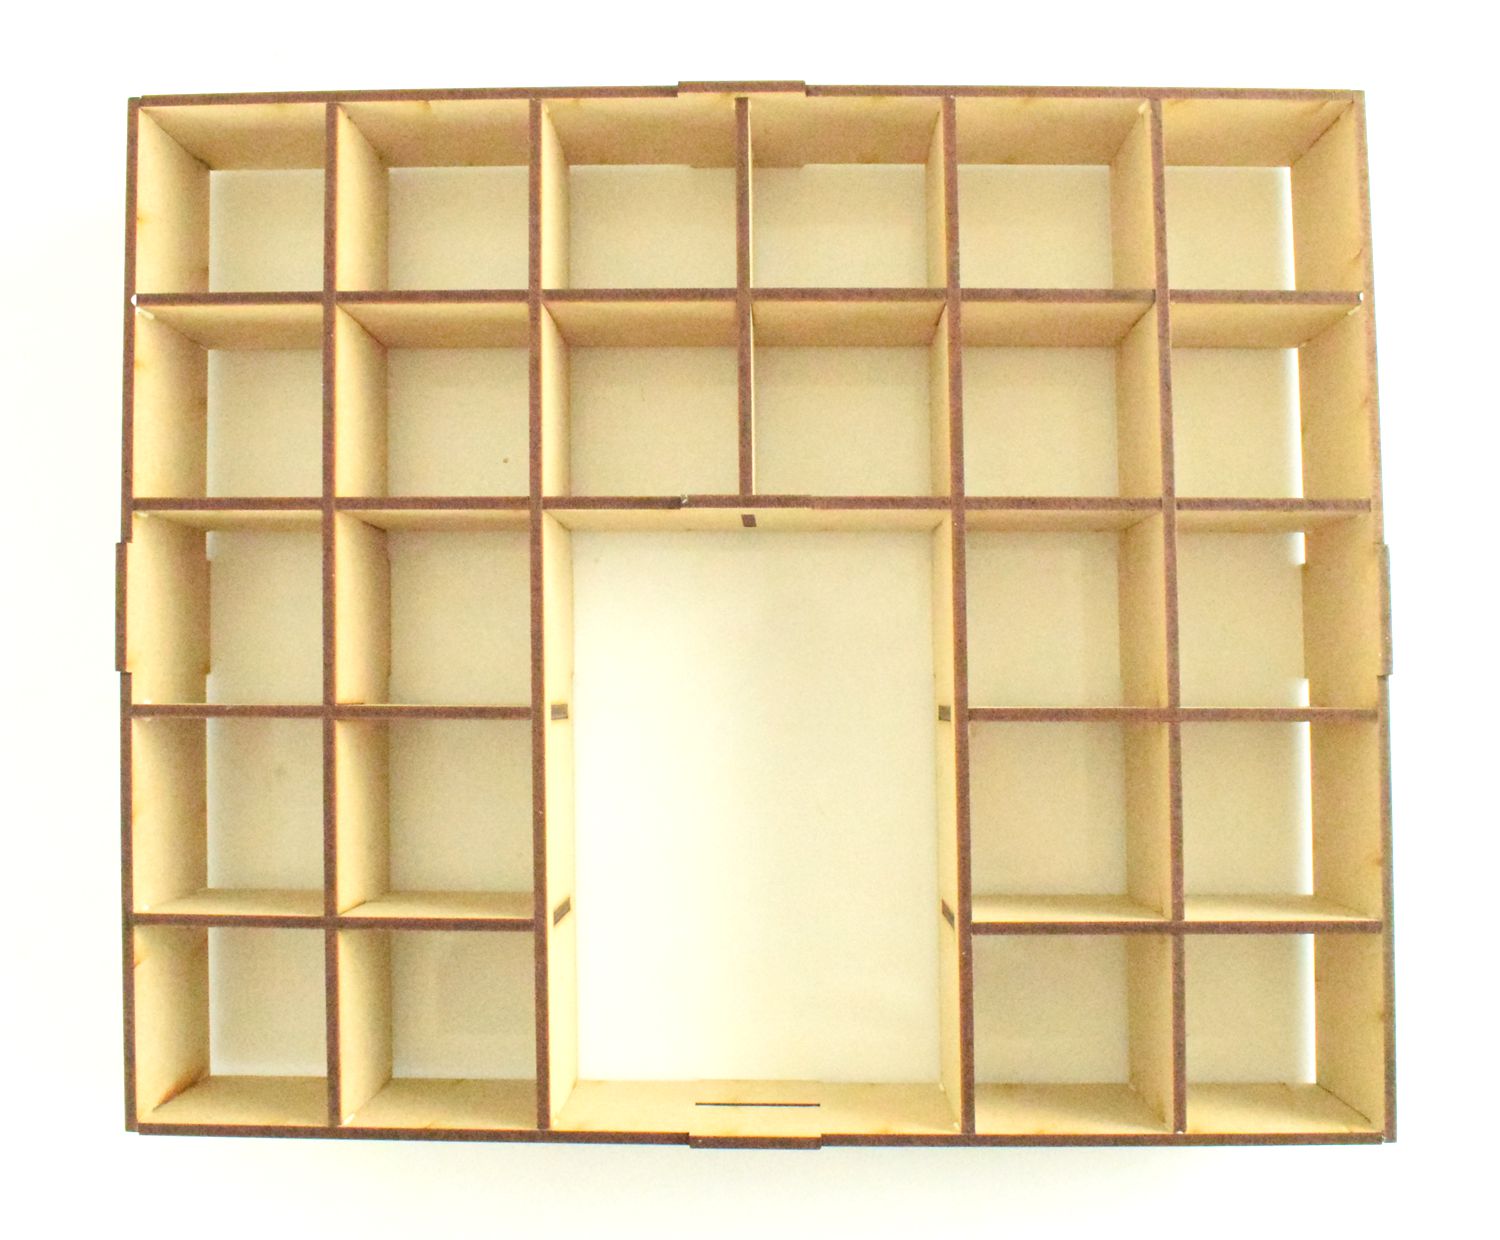
STEP FOUR
You will need the following pieces
**IMPORTANT** Turn it over again
Slot the small sections over and into the side panels- 2 each side
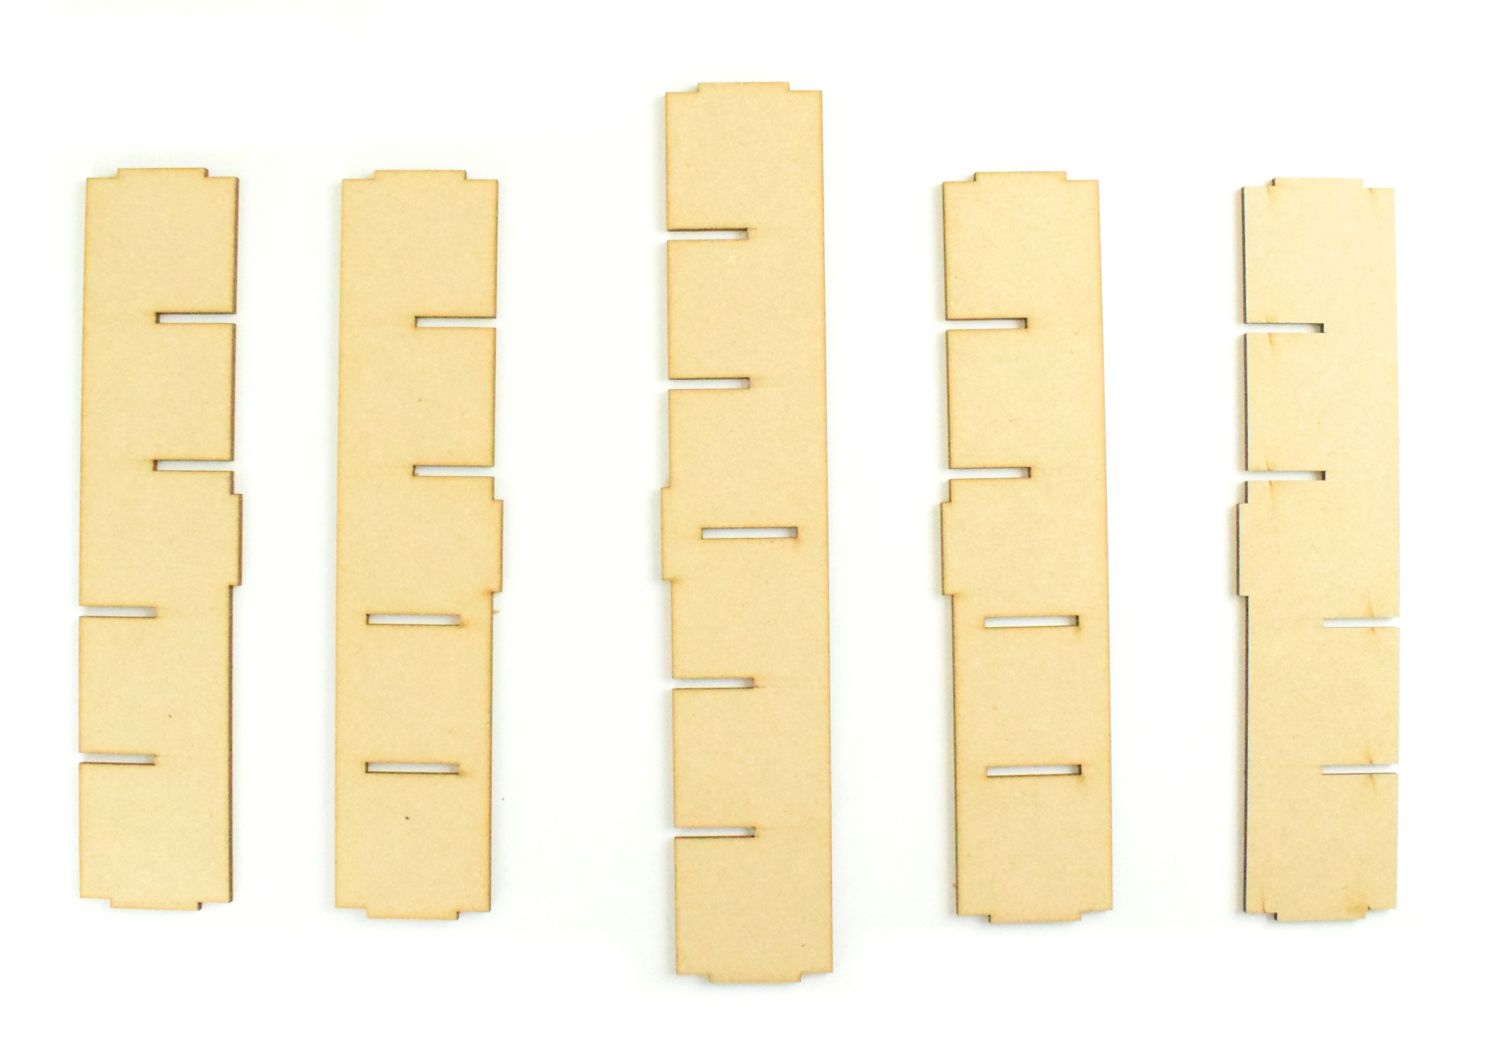
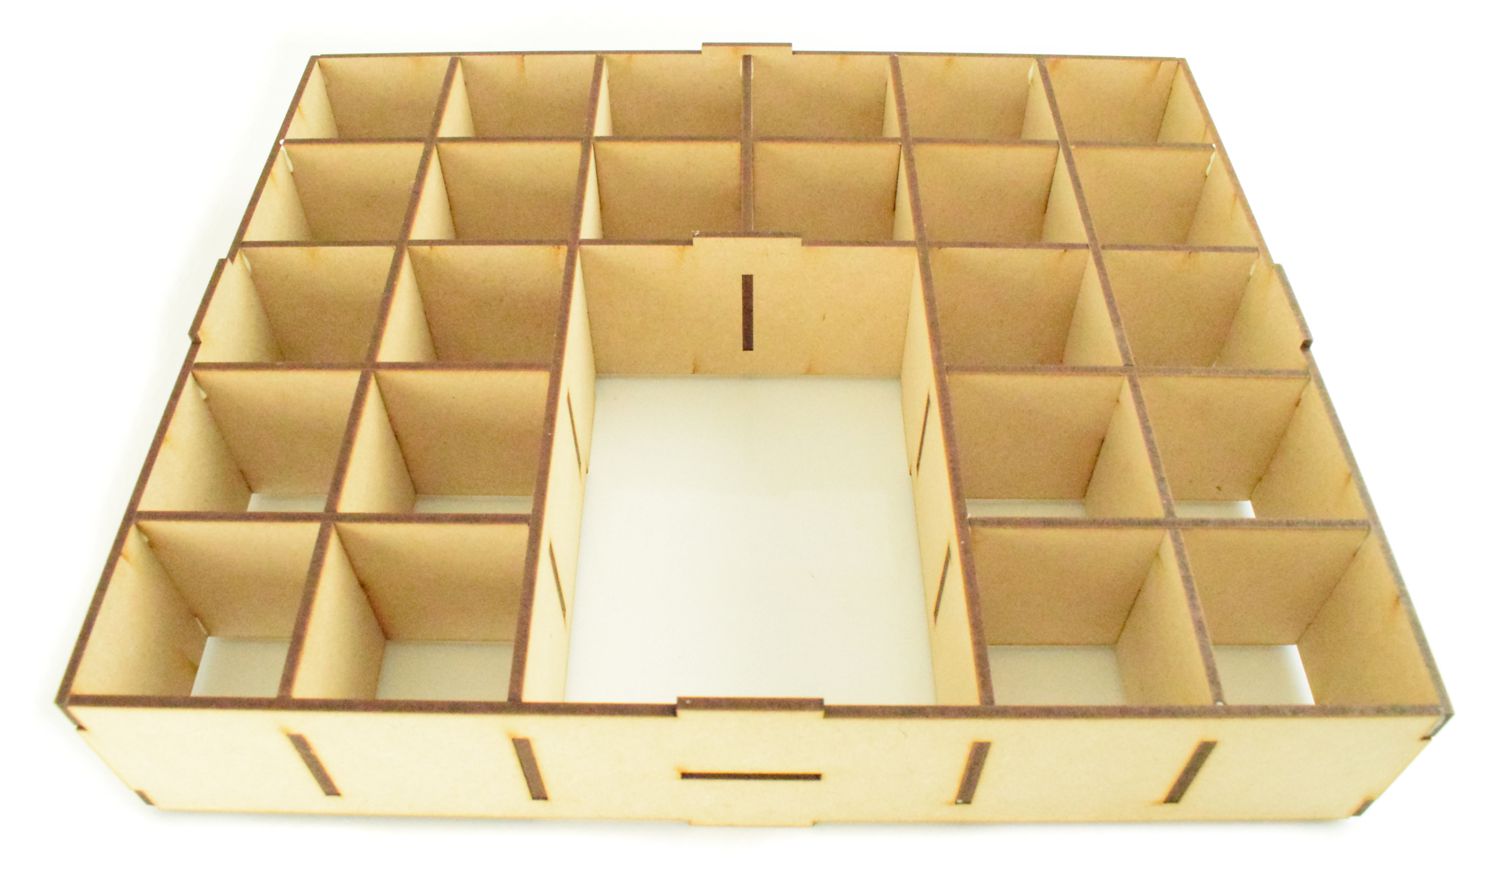
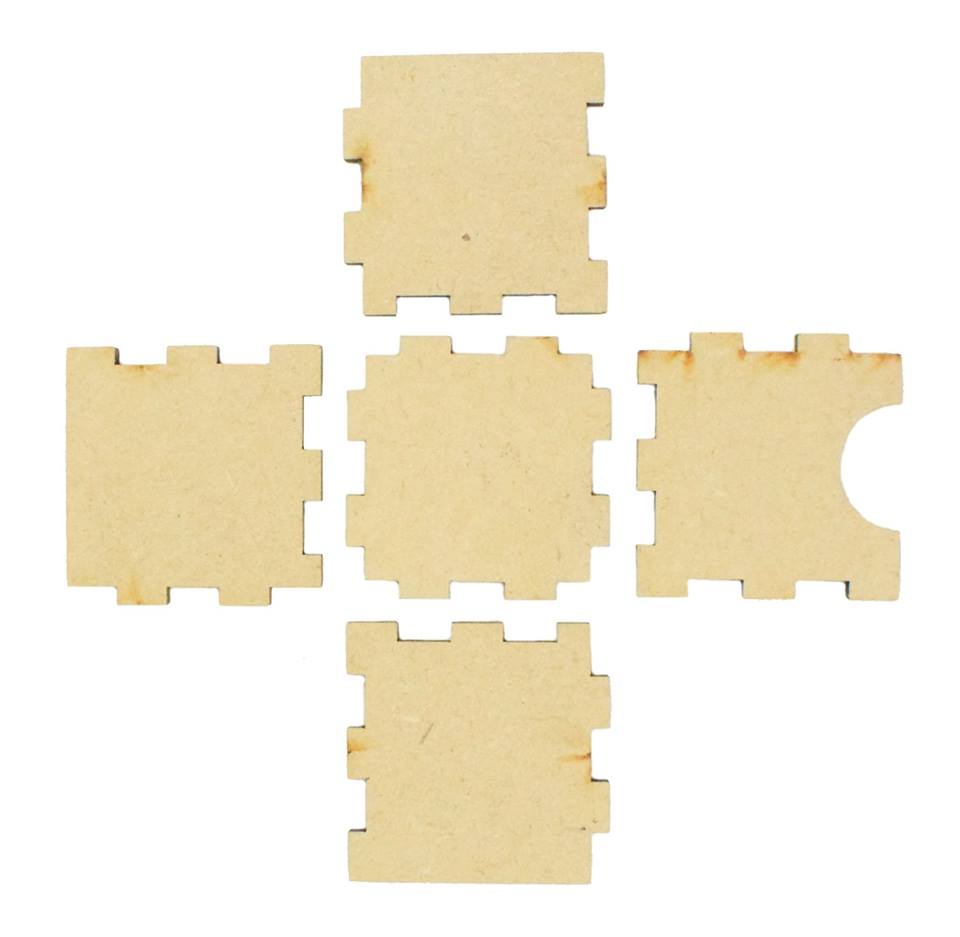
STEP FIVE
You will need these side pieces and wood glue
Apply wood glue to the cut out sections on each end piece
Also either side of the pieces that stick out on the main section that will go through the holes in the outside pieces
STEP SIX
Fit each side piece one at a time - pull the outer piece up and slot the main sections in each slot as you go along.
Repeat all the way around
STEP SEVEN
You will need the back board and wood glue again
Apply wood glue to all the areas each side of the pieces which "stickout" and will be slotting into the back board
Once done turn it over and slot in the back board
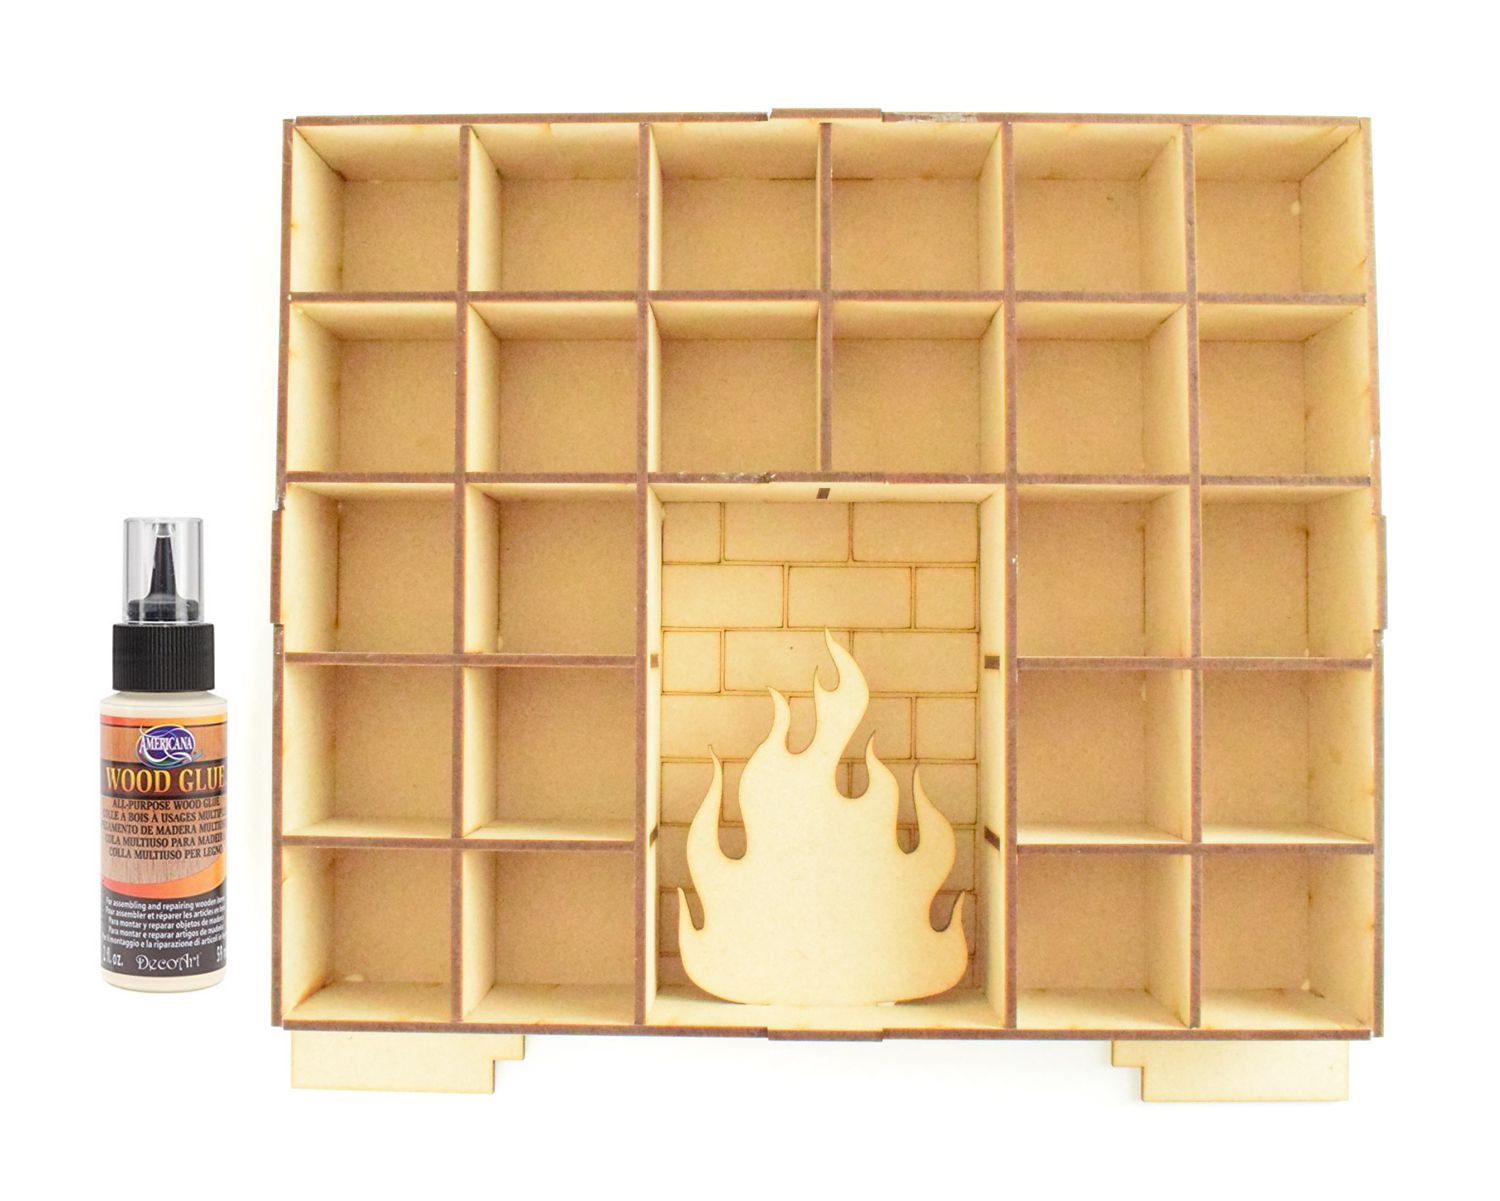
STEP SEVEN
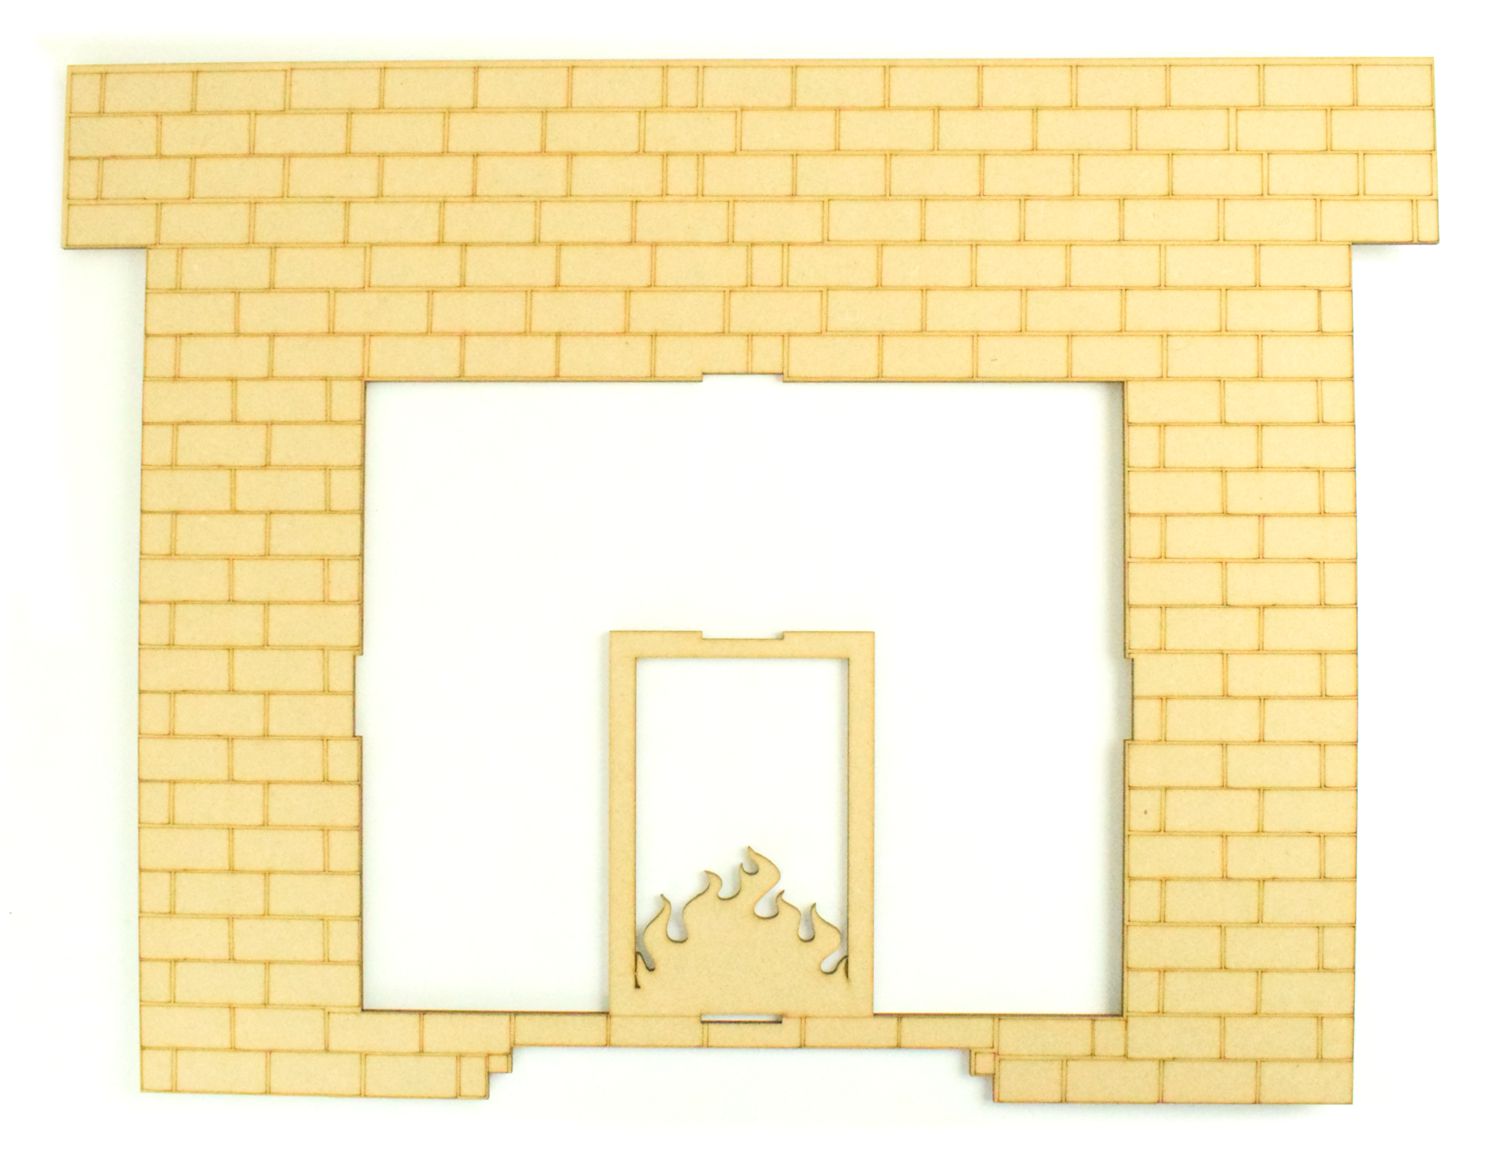
You will need the front fireplace section, wood glue and small fire
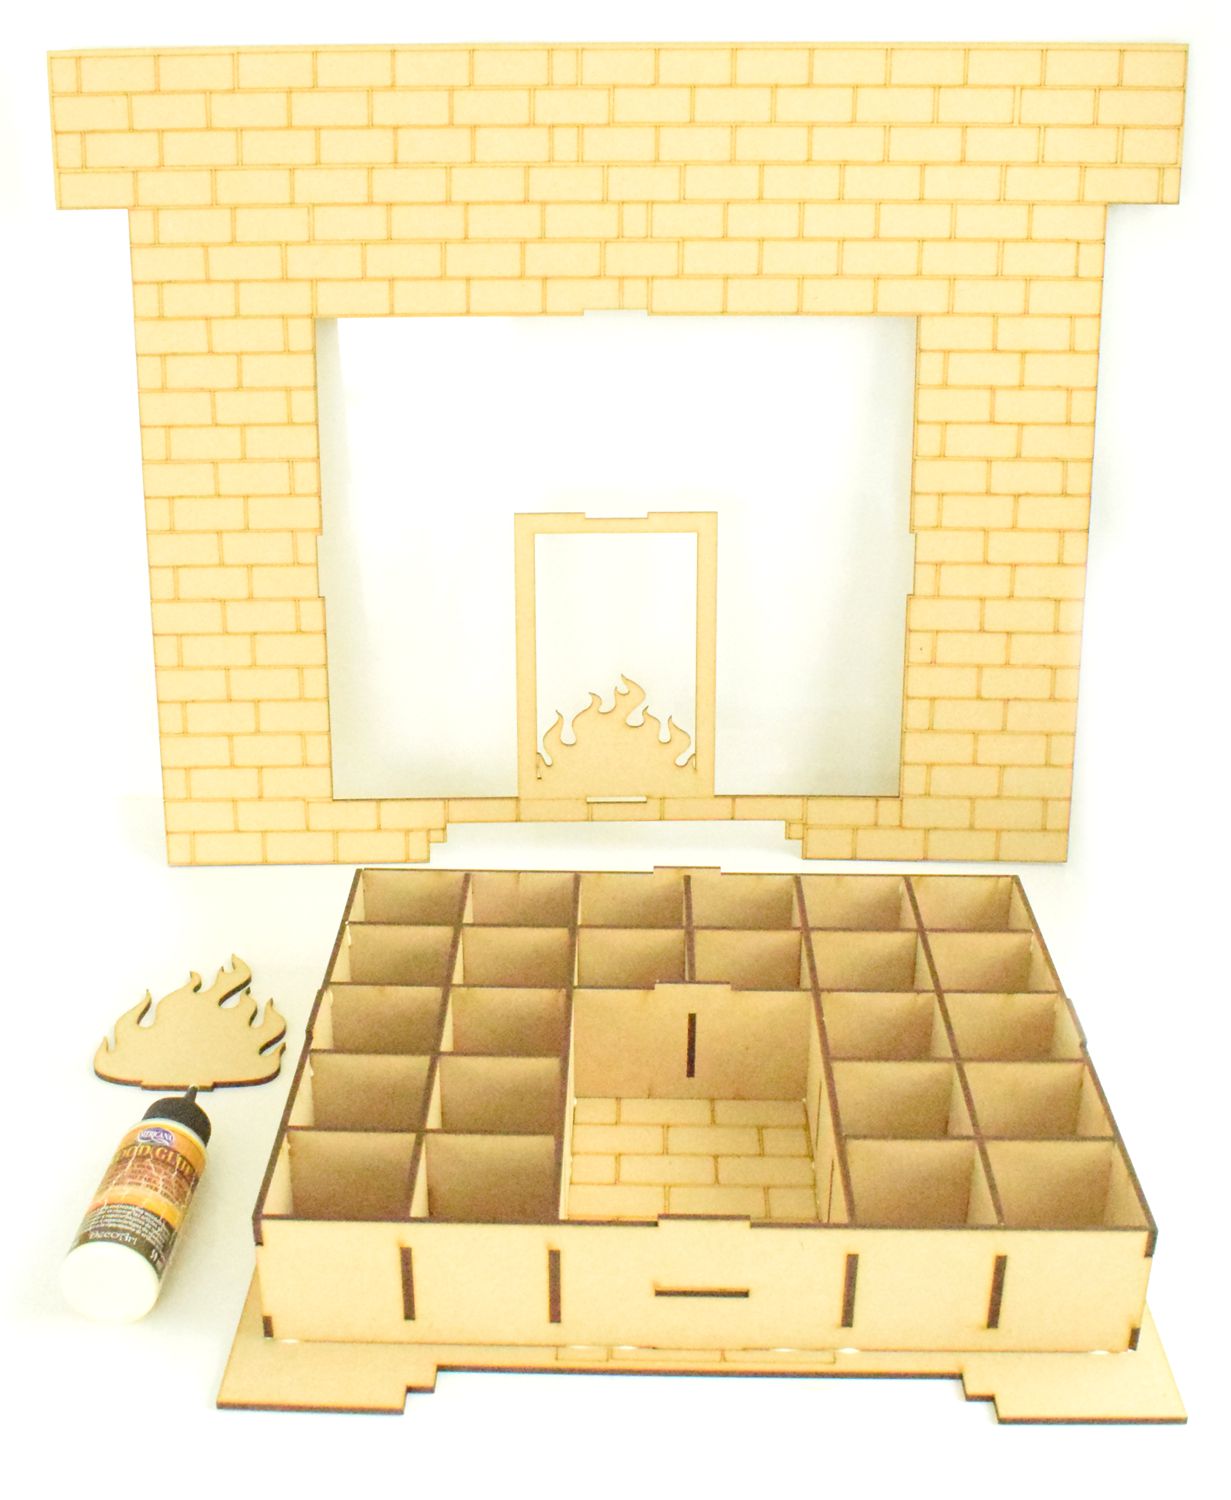
Apply wood glue to the base of the fire where it slots into the slit
Also apply wood glue to either side of allthe sticking up pieces that will go into the fireplace front
Complete with drawers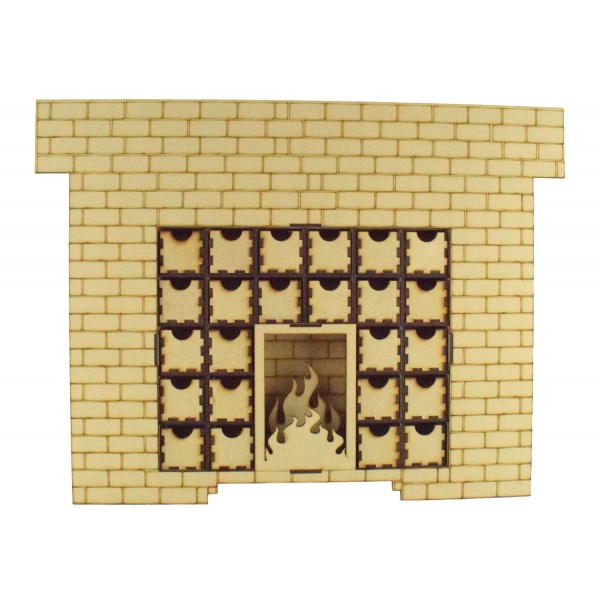
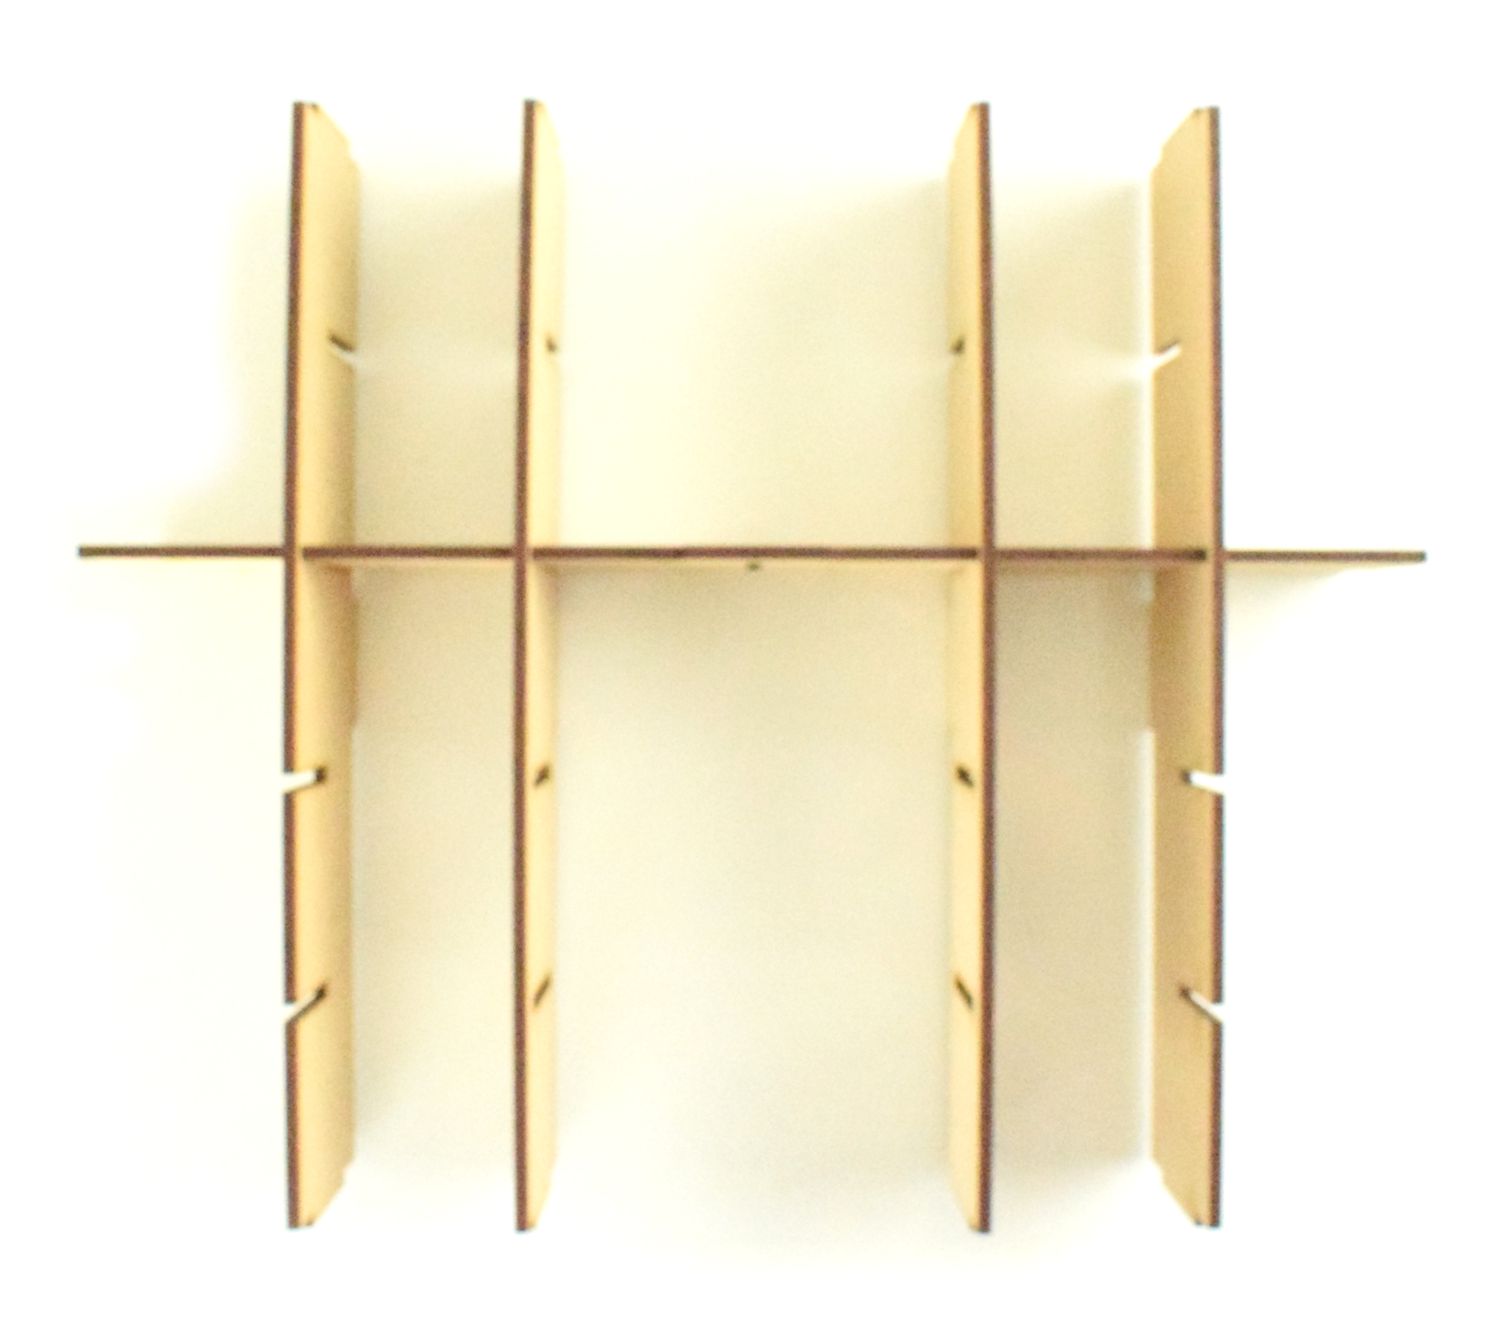
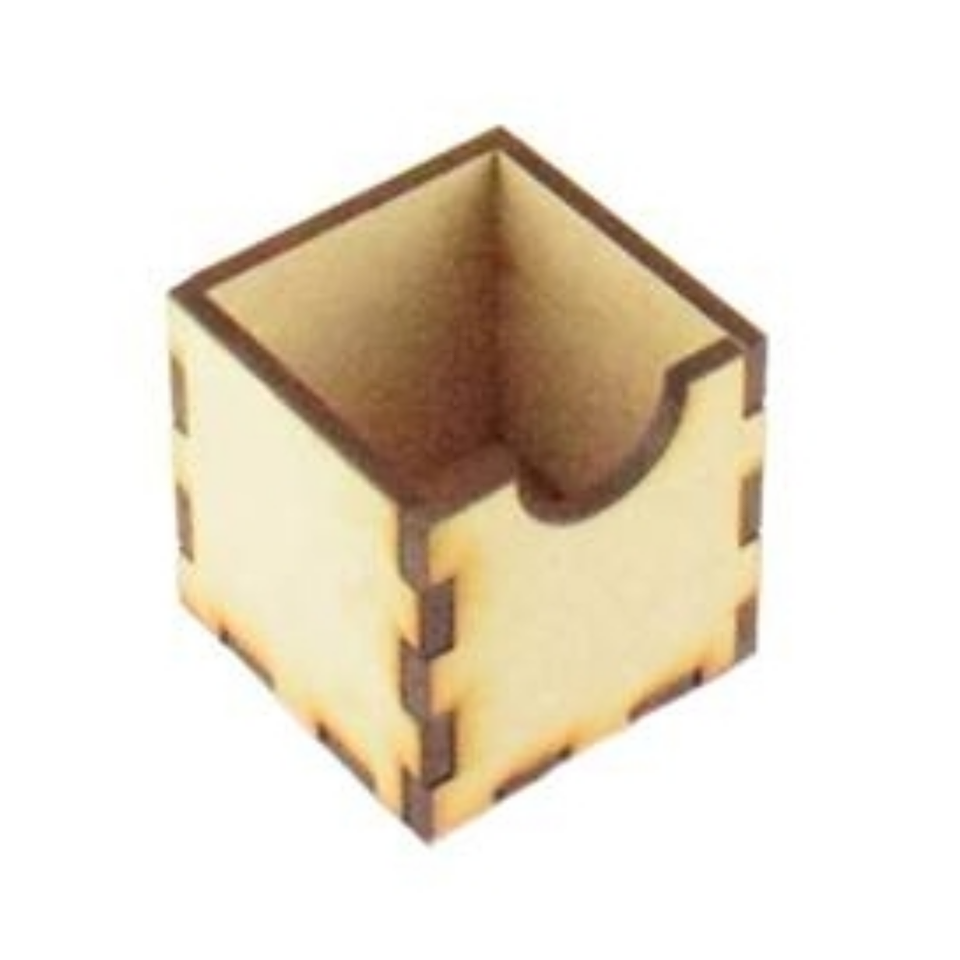
THE DRAWERS
Apply wood glue to all the lower teethed areas
Once done fit together and pull up to join as a box
We also do the option of personalised stockings to 'hang' on the fireplace and also candles on the top
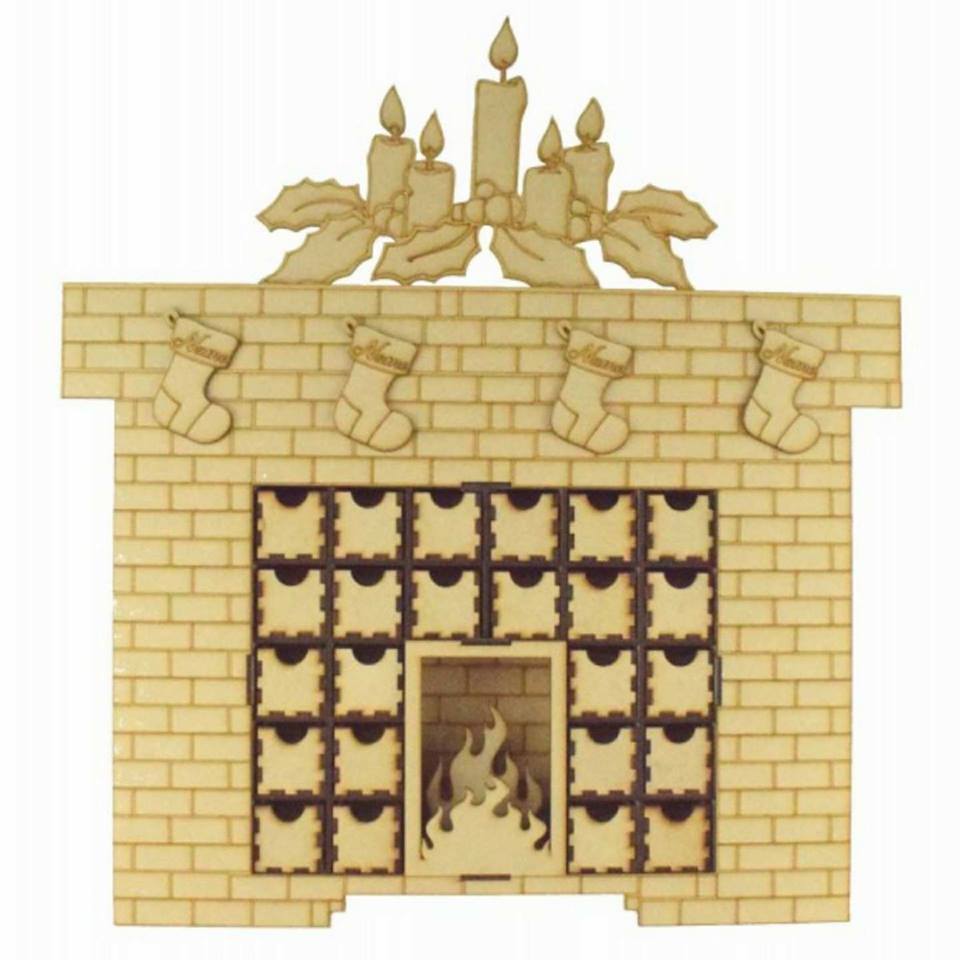
You can also have calendar numbers for the drawers