Tutorial for our christmas in heaven blocks
with etched wording plaques
Hi crafters! many of you wanted some tips and advice on doing our etched wording plaques on the Christmas in heaven blocks. We have put together a video of me completing some and also photos and a step by step guide. So you can take as much or as little information from this blog post aslong as it is helping you thats what the aim is :)
I will outline the products used and where you can find them on our website and also a little guide if you'd like to have a go yourself. Enjoy! xxx
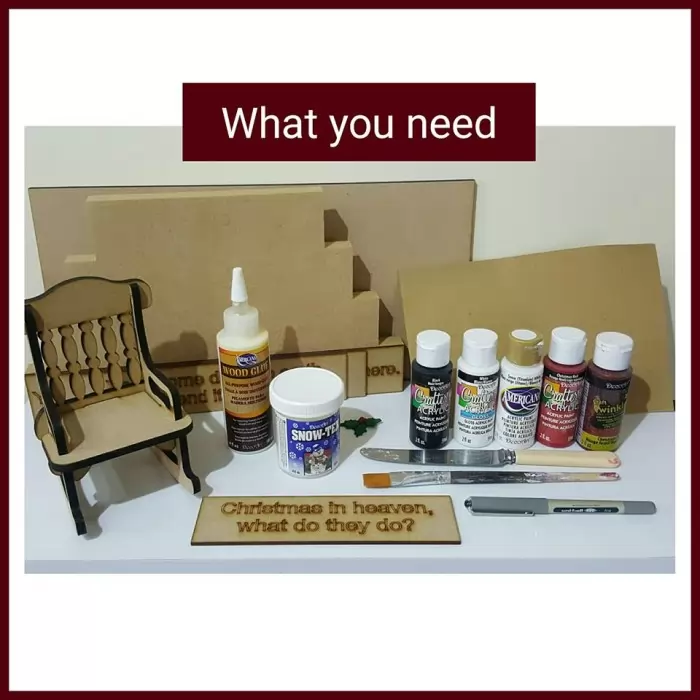
You will need:- Links to the products you can buy from our website are further along in the article
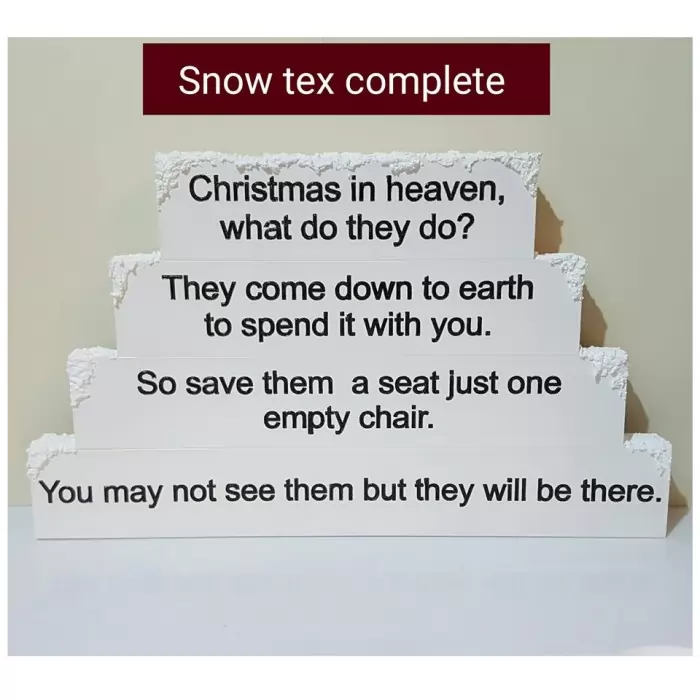
*Christmas in heaven loose or joined blocks set with etched wording plaques
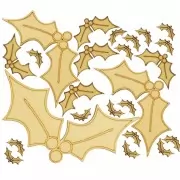
*Holly shapes
*Sand paper
*Uniball black gel pen
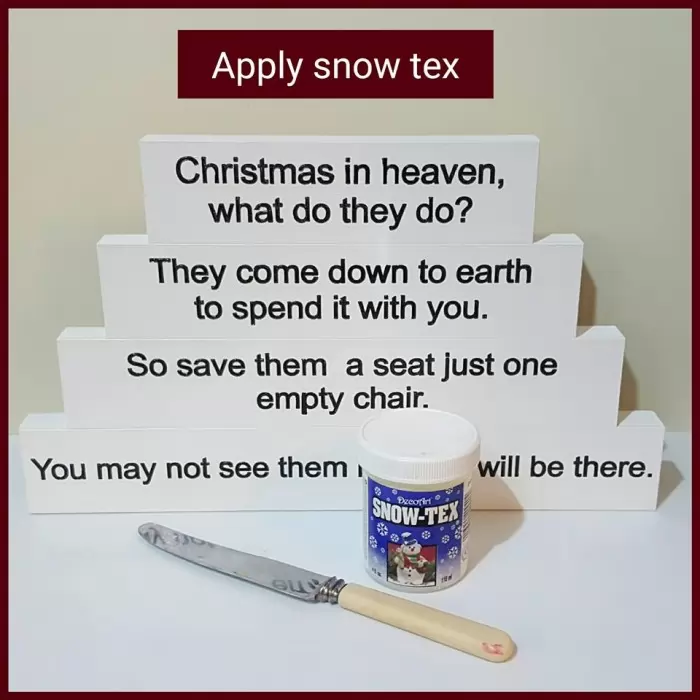
*Snow tex
*Flat butter knife/palatte knife or similar
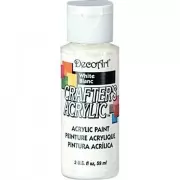
*Crafters acrylic white/americana white paint
*Crafters acrylic white gloss
*Crafters acrylic christmas red
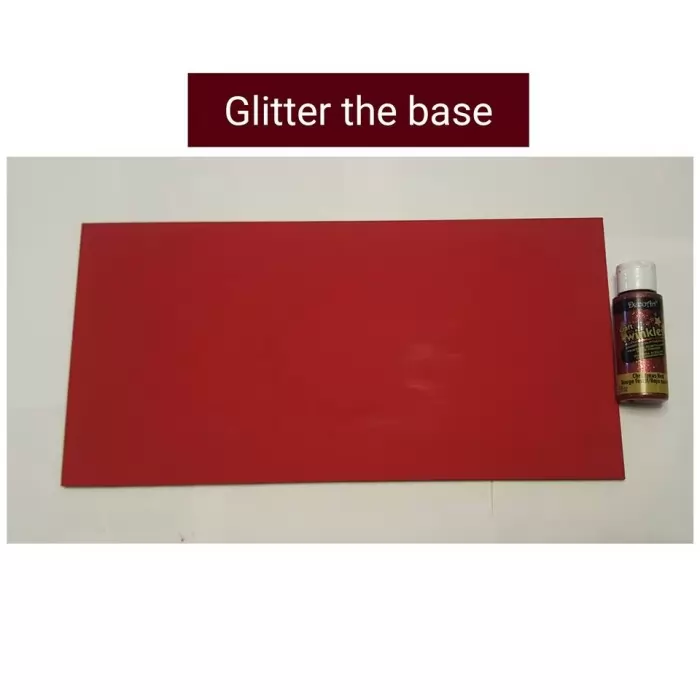
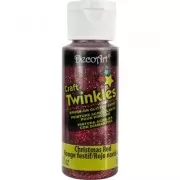
*Twinkles glitter - red
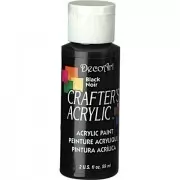
*Crafters acrylic black
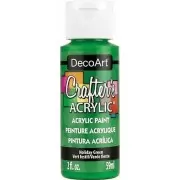
*Crafters acrylic christmas green
*American gloss lacquer
*Wood glue
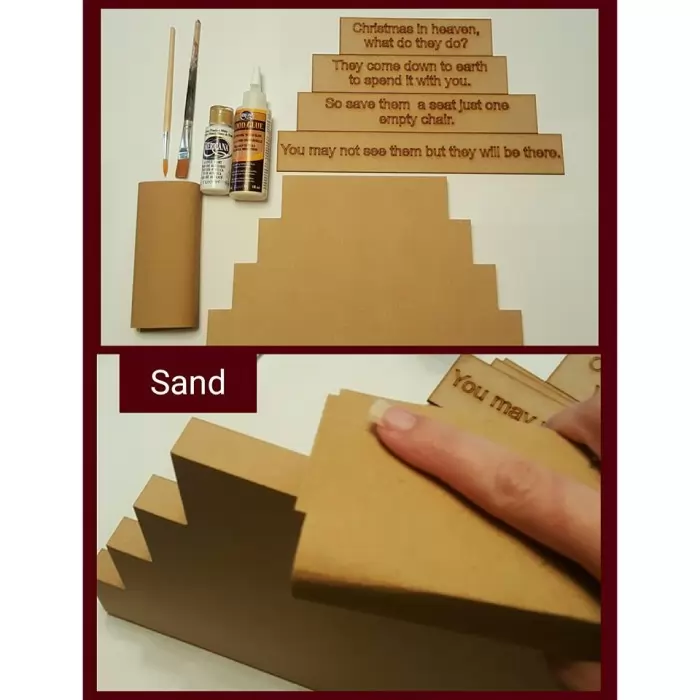
Step by step Instructions
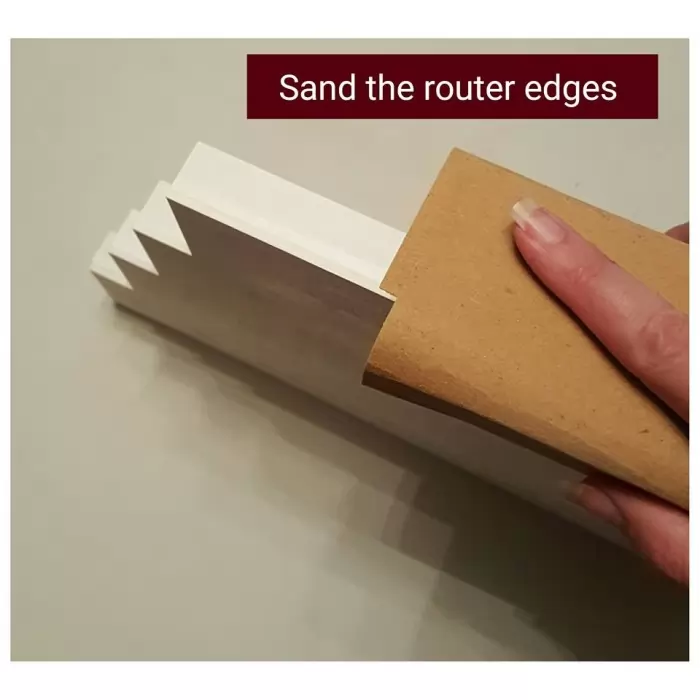
Step 1 - Lightly sand the edges of the blocks
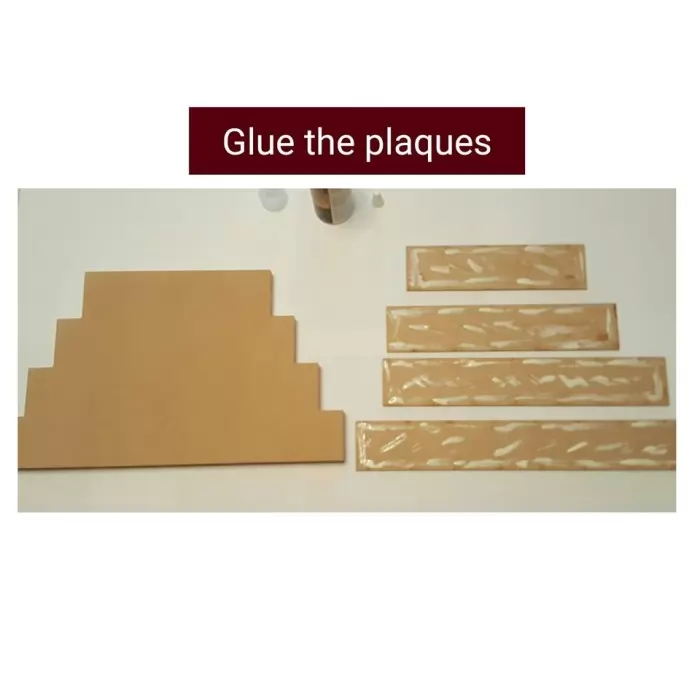
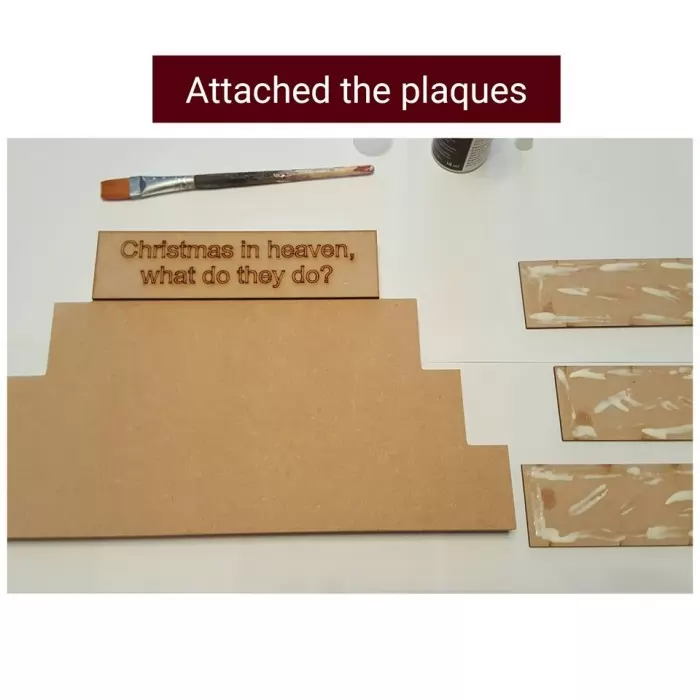
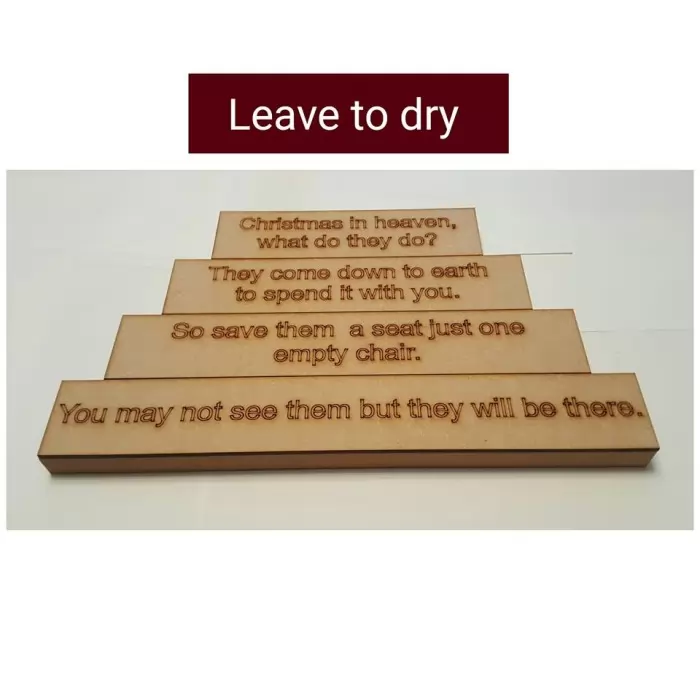
Step 2 - Glue the backs of the plaques. Apply tp the blocks and leave to dry
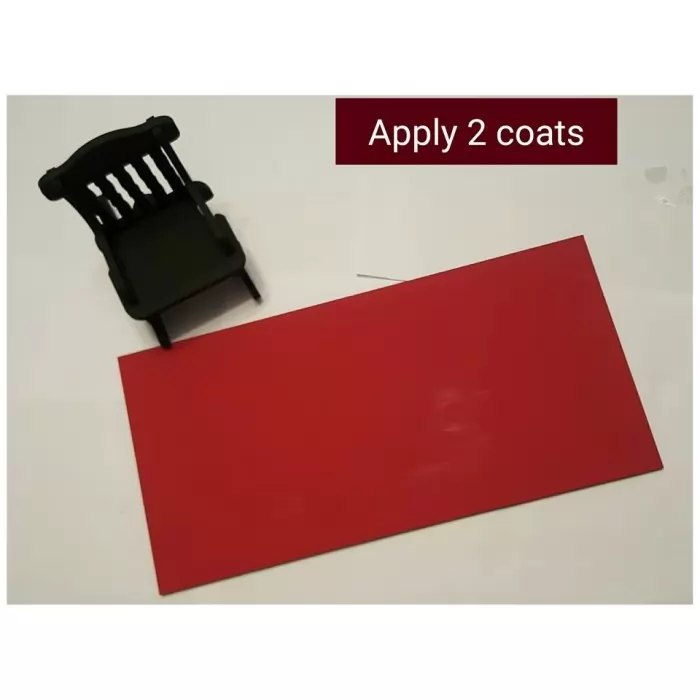
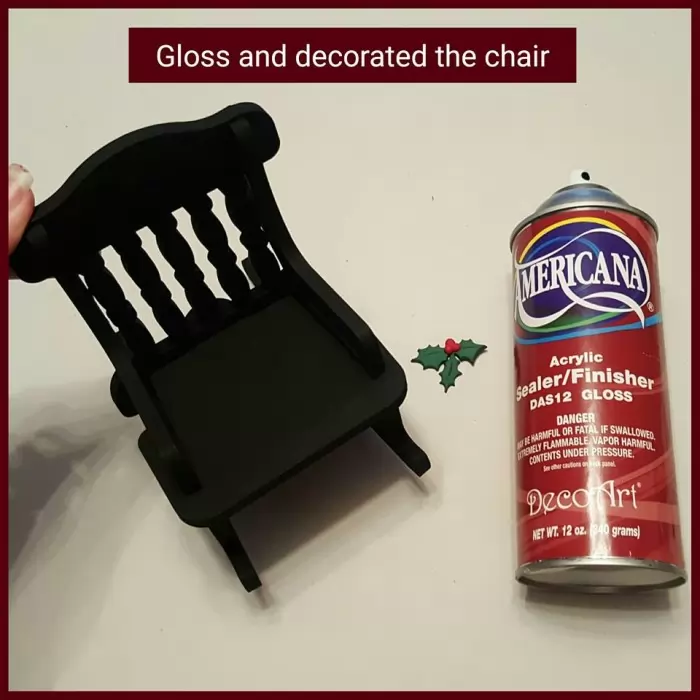
Step 3- Paint the plaque and the chair in your chosen colours
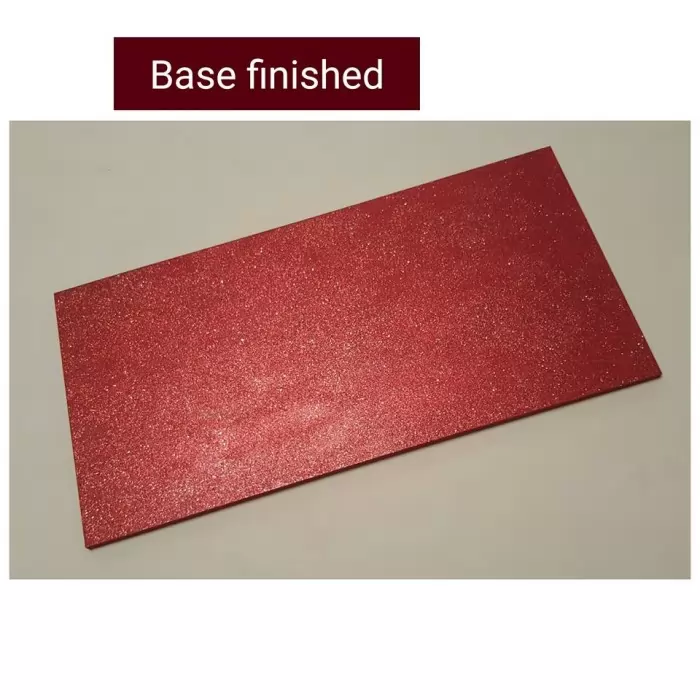
Step 4 -Glitter the base
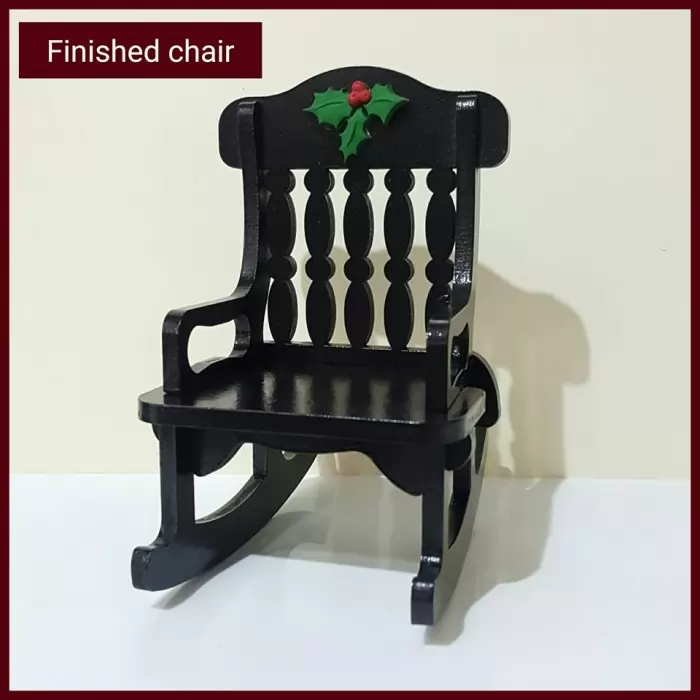
Step 5 - Gloss spray the chair and affix holly (paint this up if got wooden)
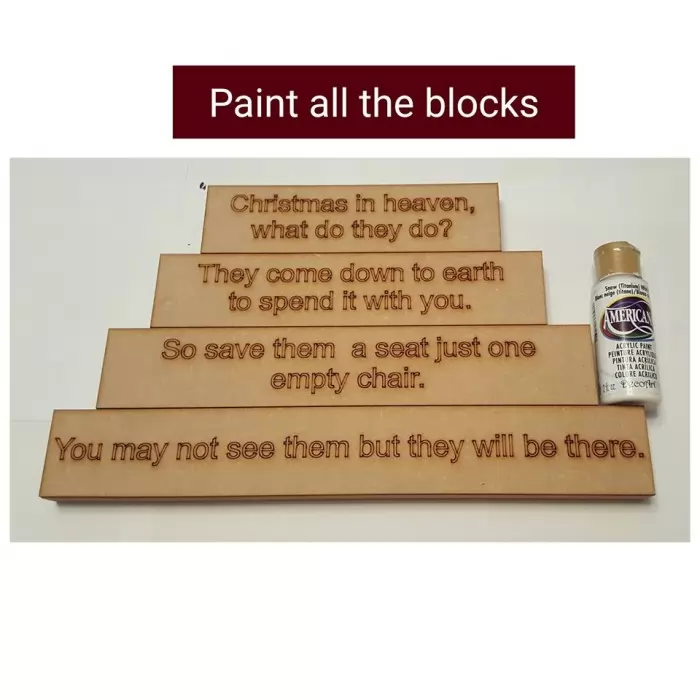
Step 6 - Apply two coats of white acrylic paint
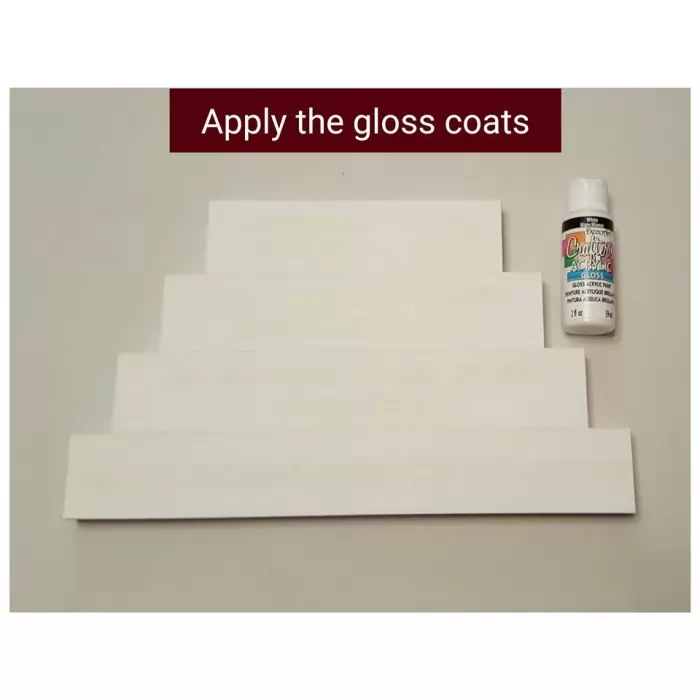
Step 7 - Apply one coat of white acrylic gloss
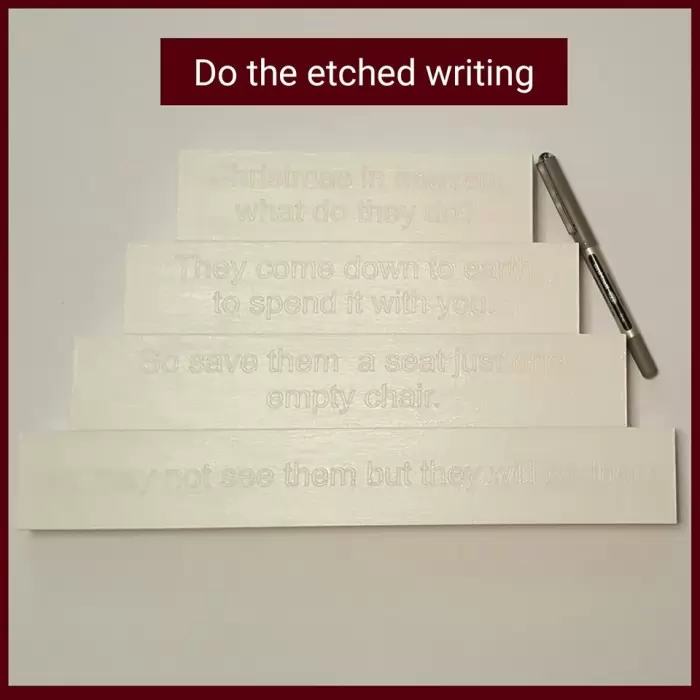
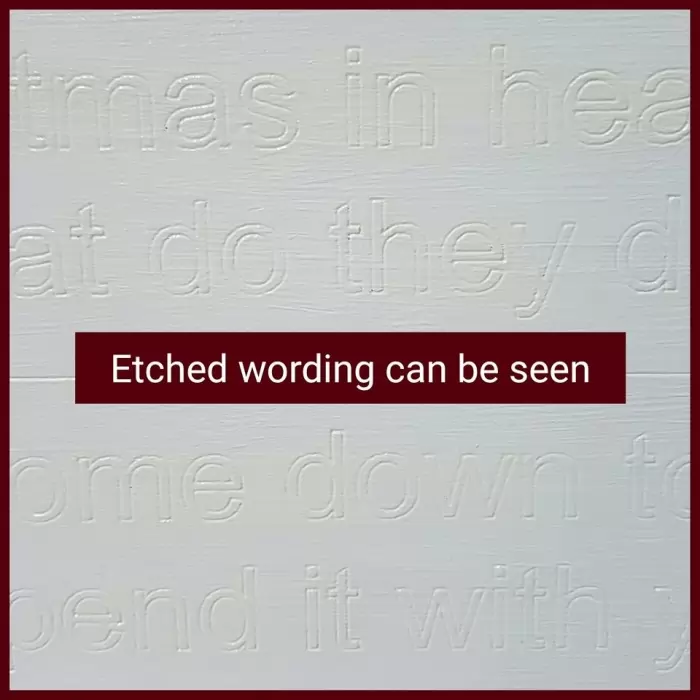
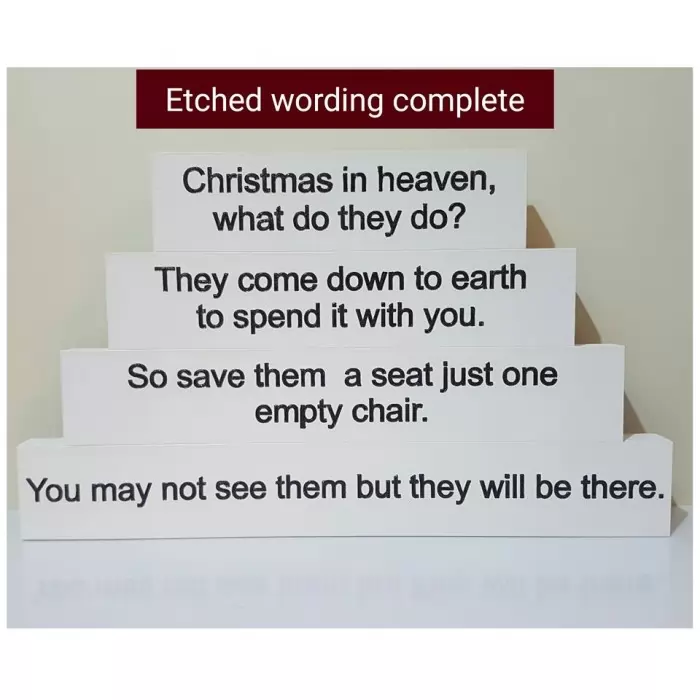
Step 8 - Use a uniball fine liner pen to do the etched wording
Step 9 - Apply snow tex to areas you want
Step 10 - Fix on any decorative holly onto the blocks
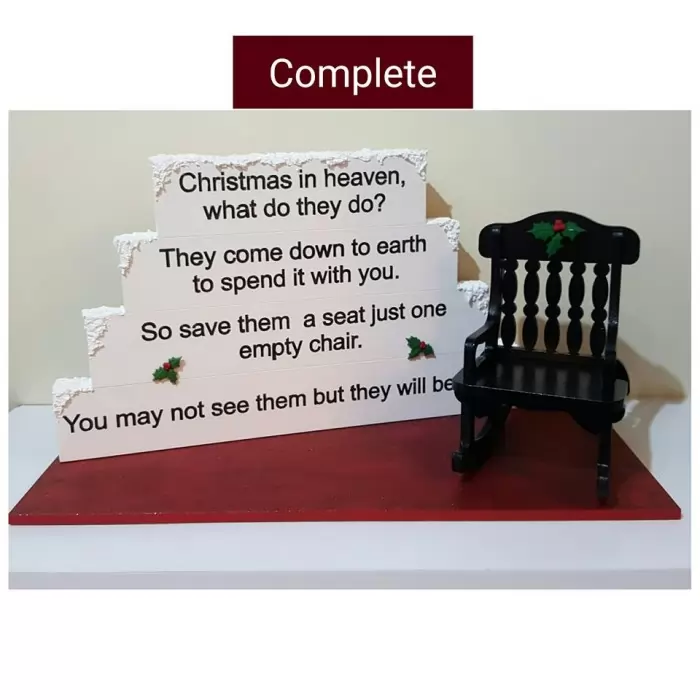
Step 11 - your now ready to set it all up on the plaque
Thank you for reading I hope you enjoyed it and found it helpful, if you did can you please leave a comment below. Thanks Rachel xx
I have also done 2 blog posts for the stencil cut wording ones so do take a look at our other blog posts
Tutorial video