
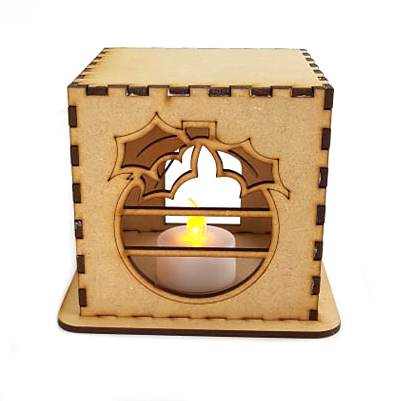
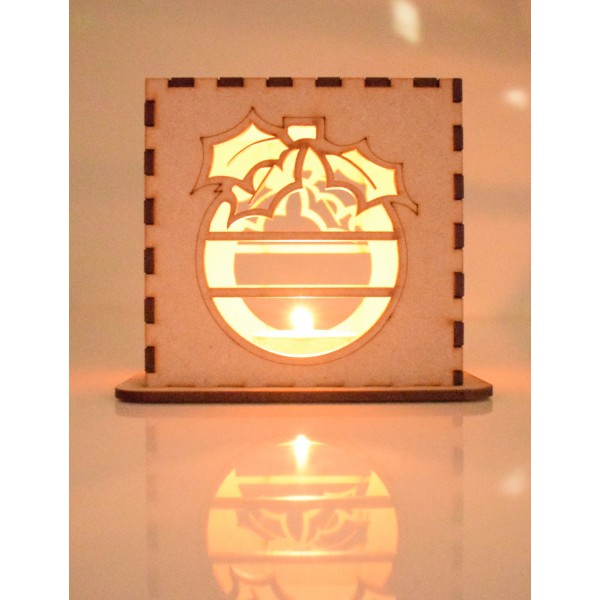
Tealight Assembly Instructions
We have put together a photo instruction guide to show how our tealights go together
You will need wood glue and the 6 pieces to make up the item
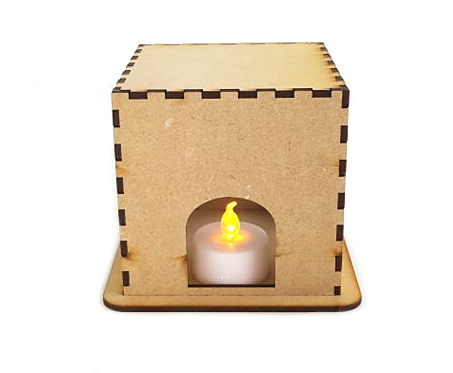
We advise using these with battery tealight candles only

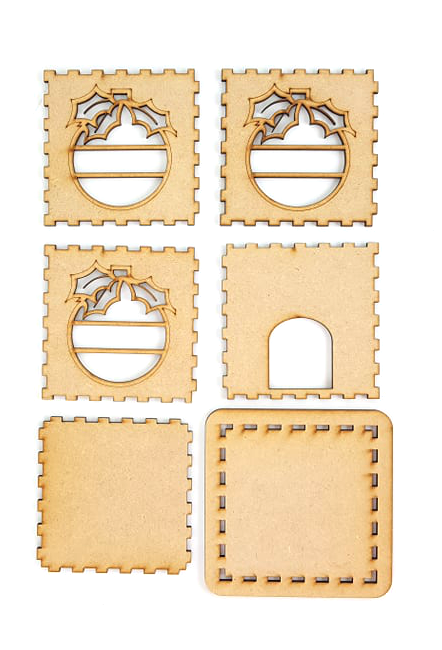
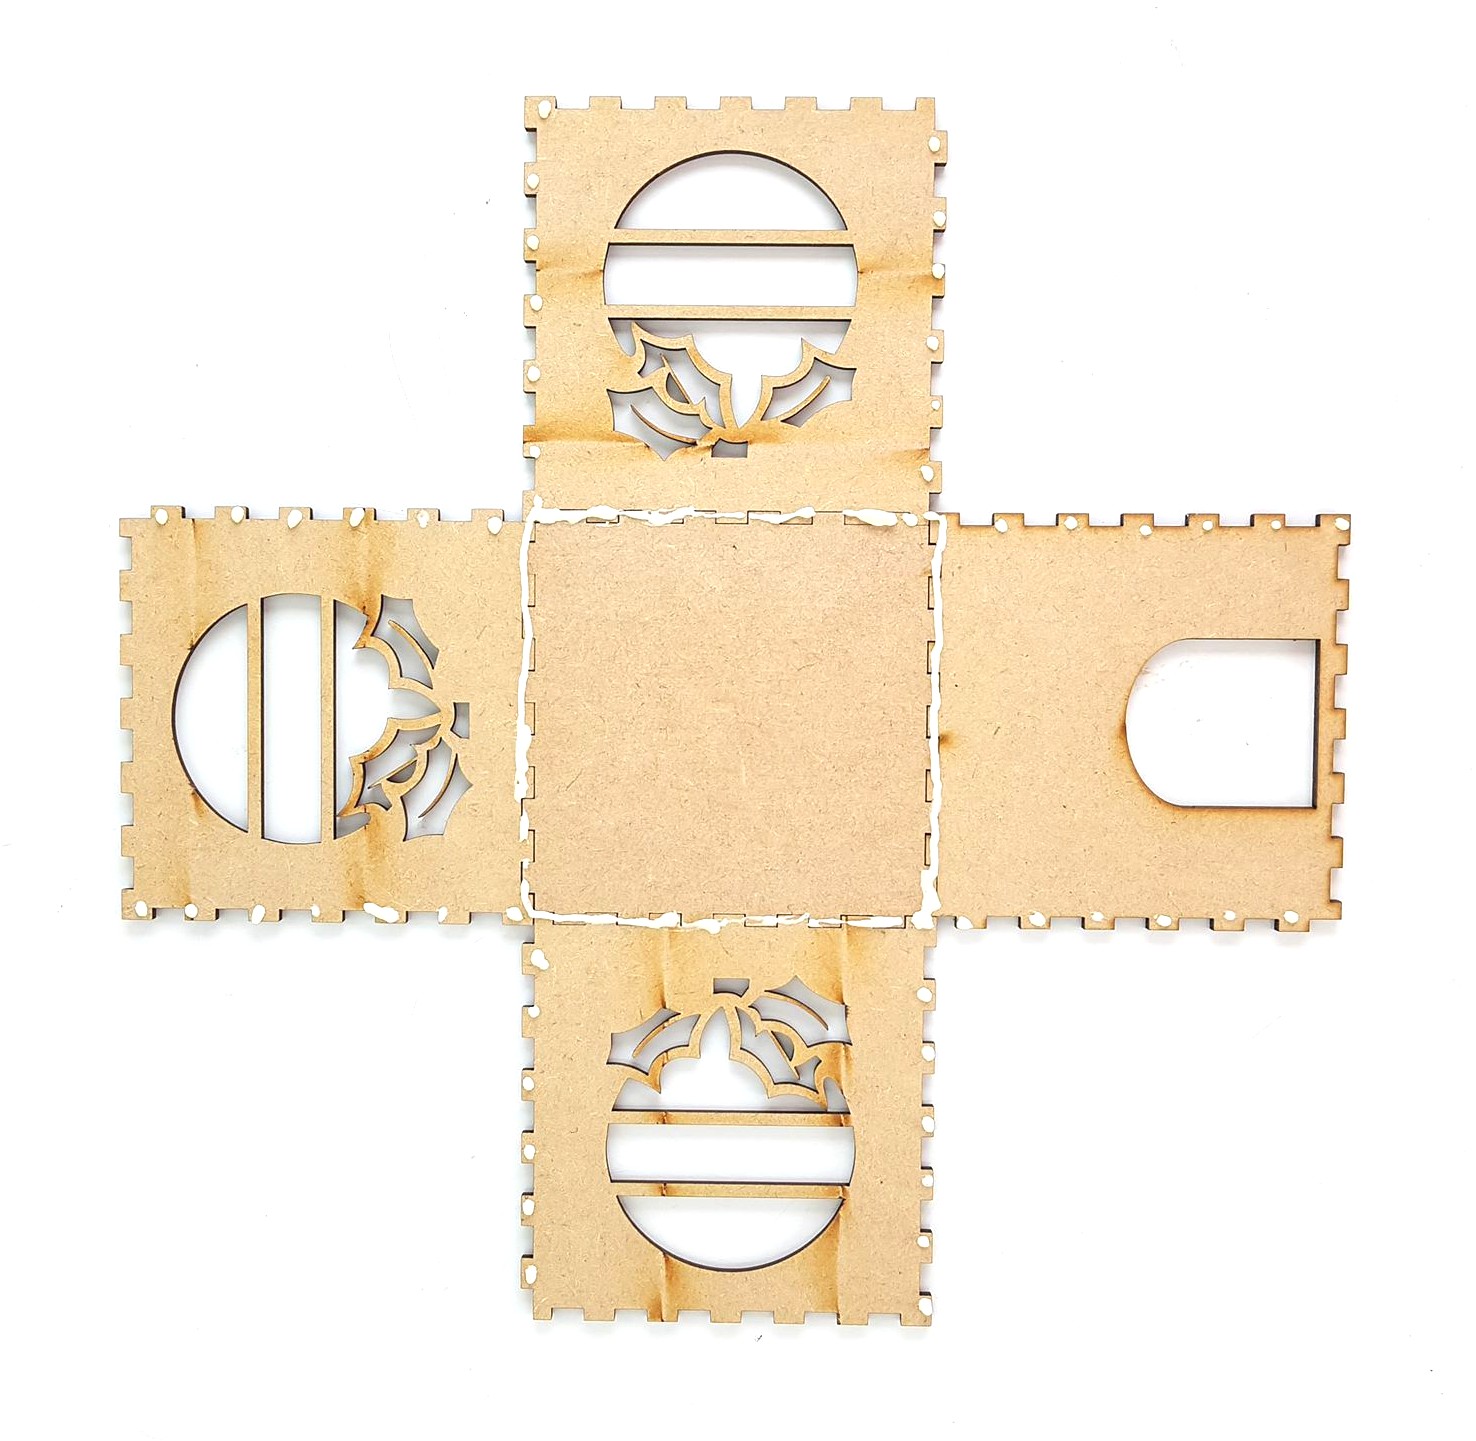
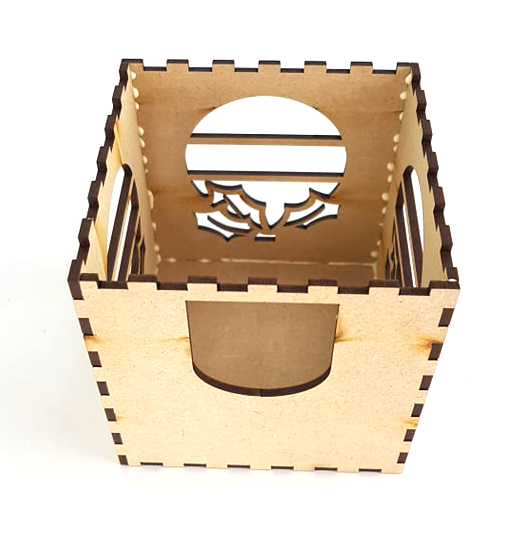
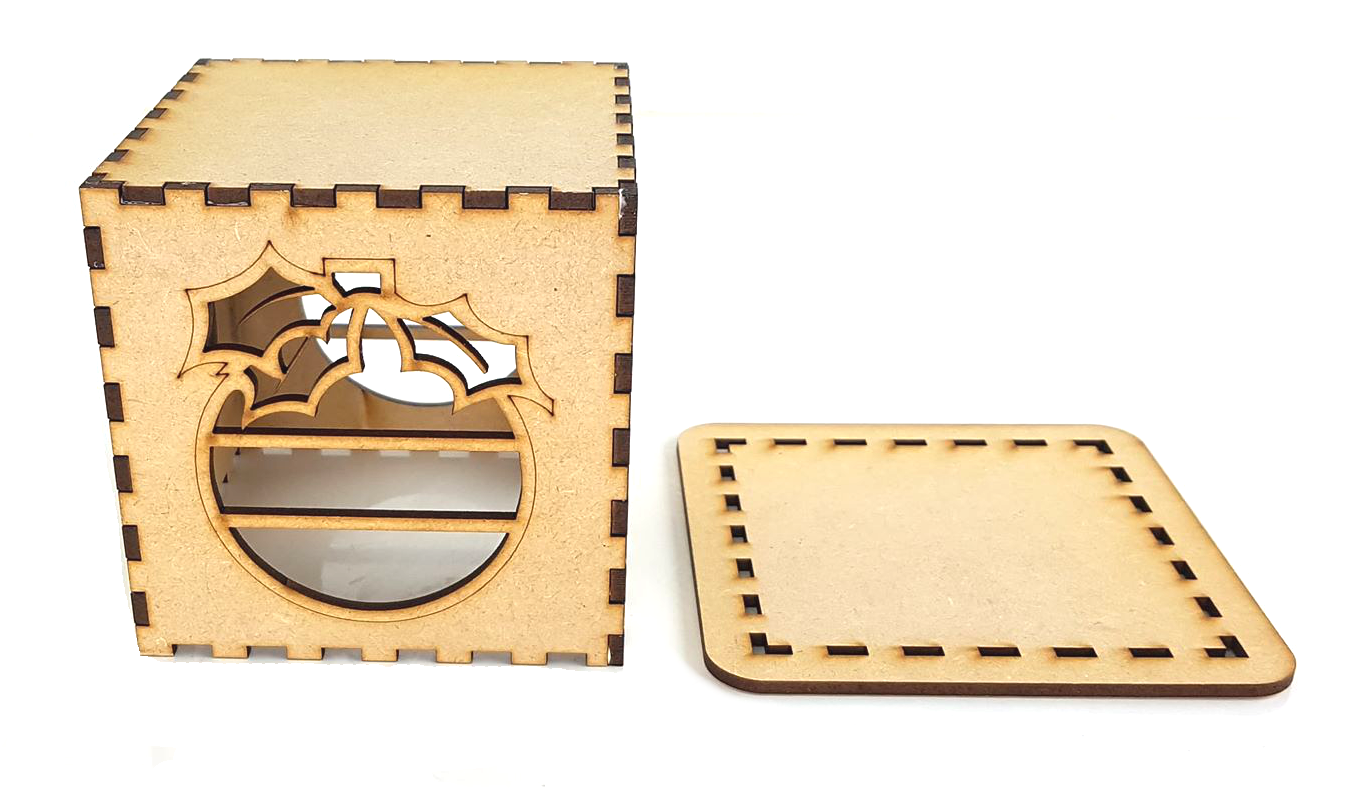
The 6 Pieces you will receive in with your order
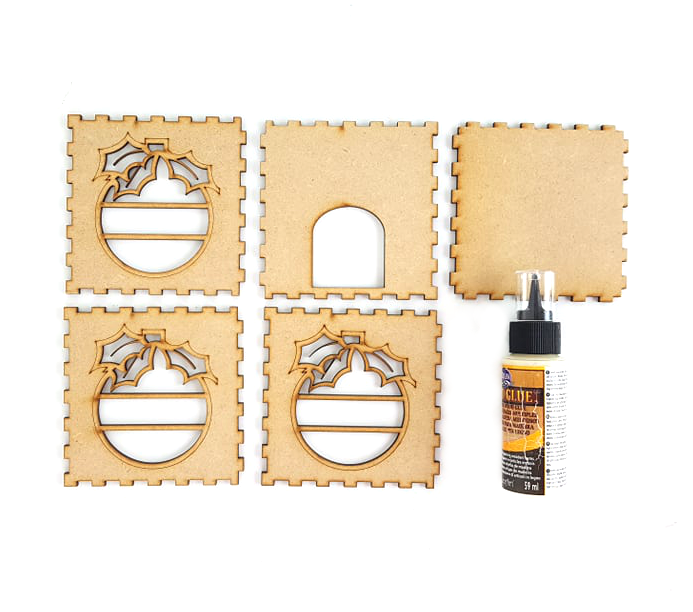
Step one - you will need the following 5 pieces and some wood glue
Step two - lay out the pieces as per the photo
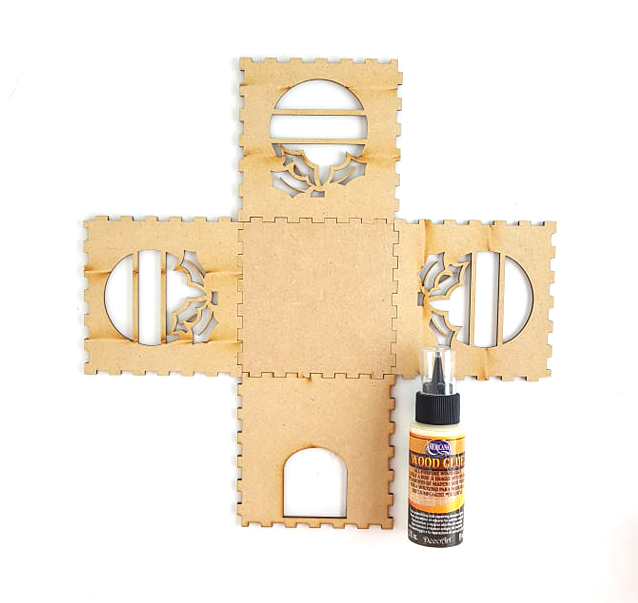
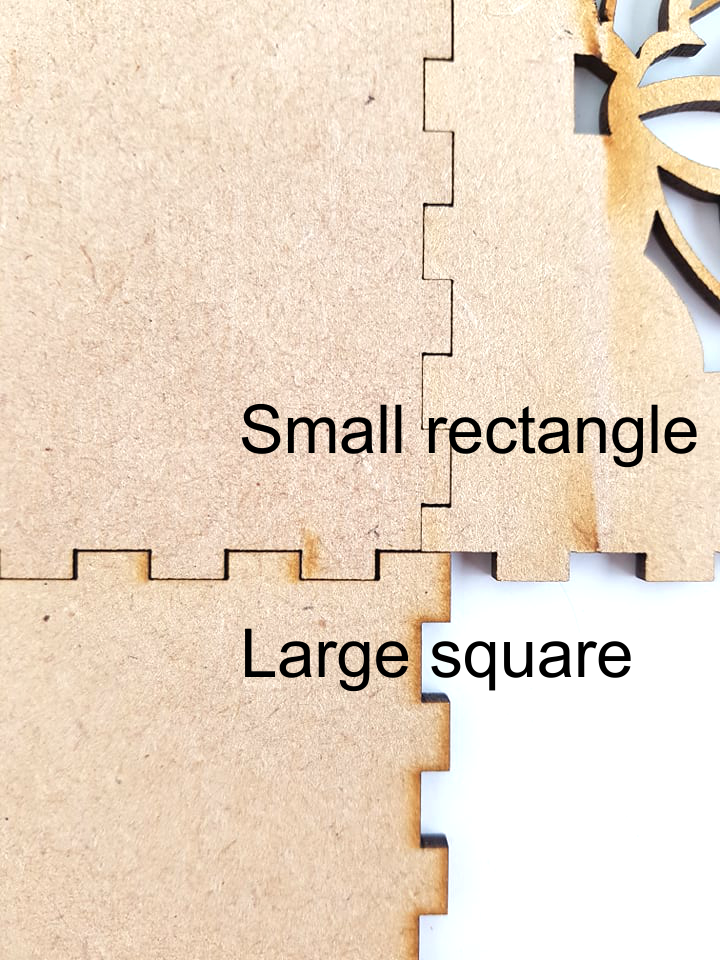
Corner joins for each corner are the same
A large square and a small rectangle in each corner
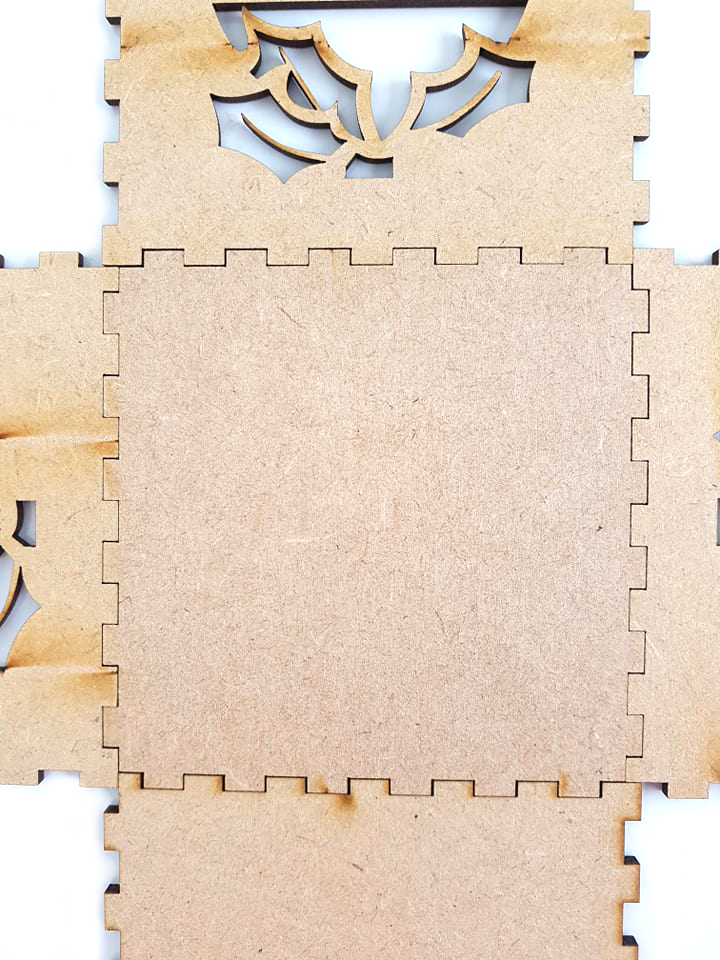
Step three - apply wood glue to the areas shown below
Step four - Start to bring up two of the side pieces and fit together
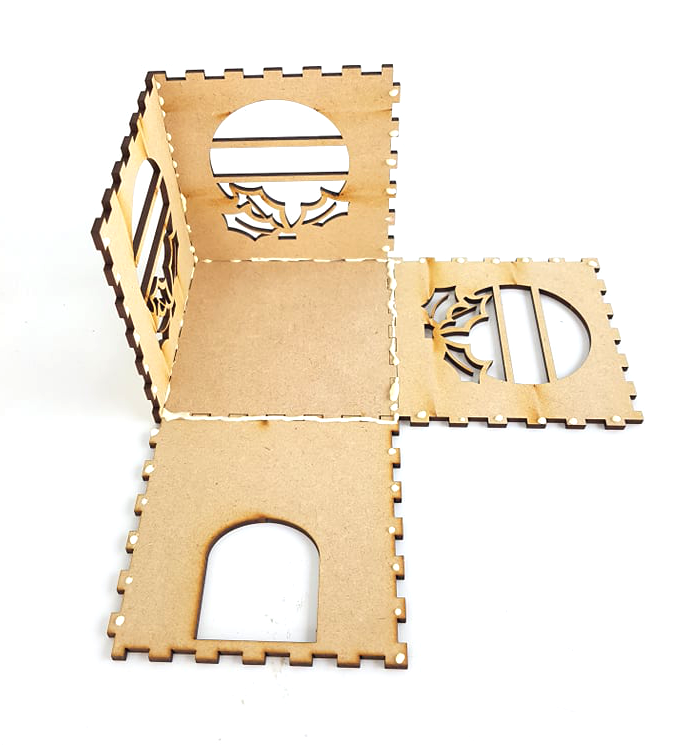
Step five - Repeat on the 3rd side
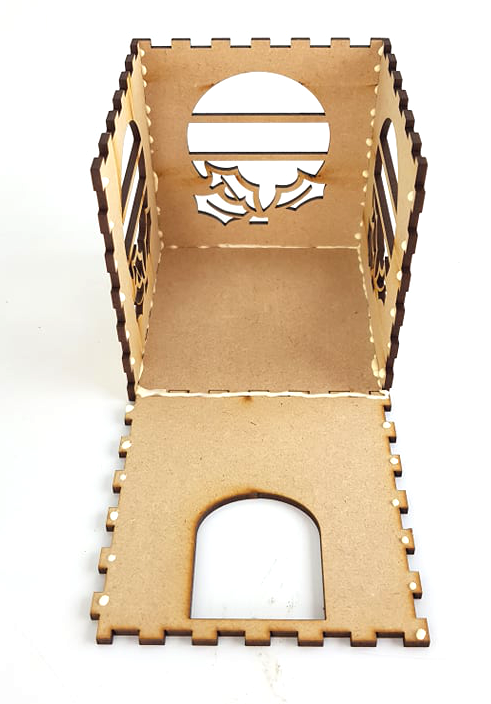
Step six - Bring the last side up and make sure all fit tightly together and flush
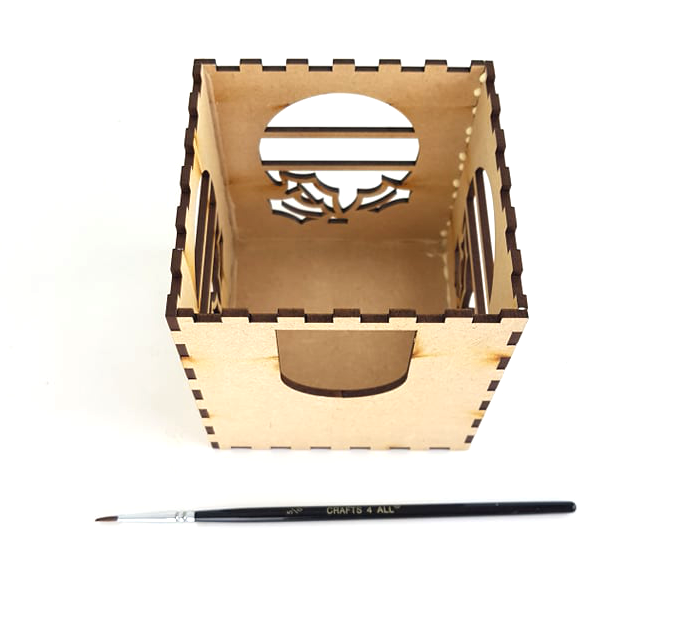
Step seven - Take a small brush, cloth or similar so wipe away and smooth the excess glue on the inside of the tealight
Step eight
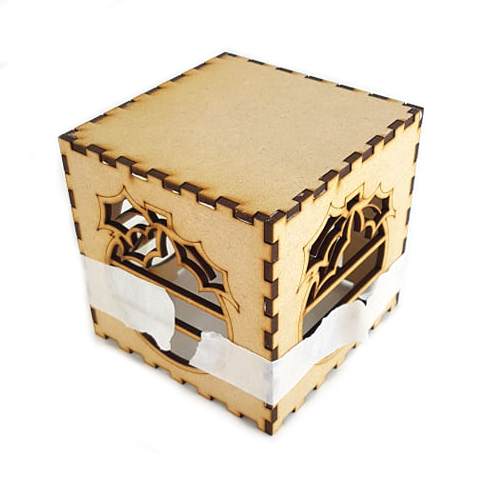
Step nine - apply masking tape and leave to fully dry
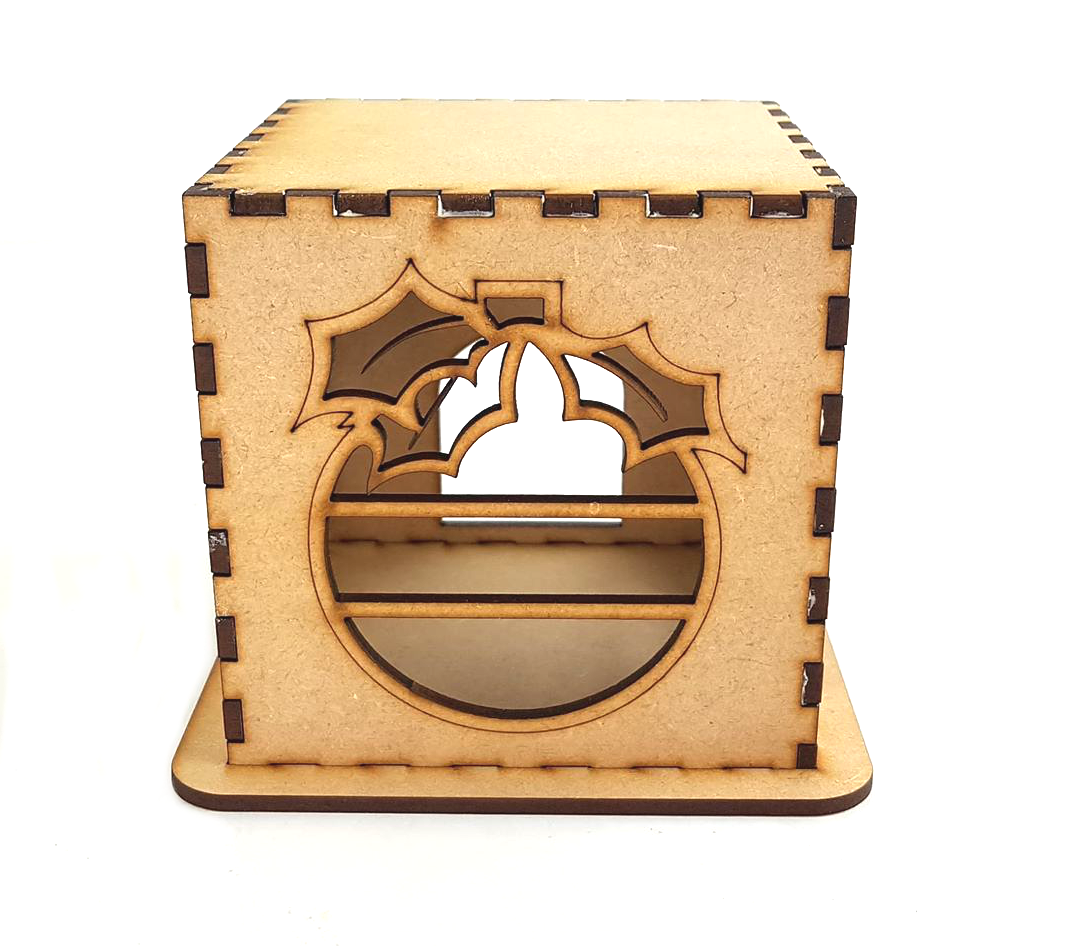
Step ten - next you will need the base
Step eleven - simply slot the tealight holder into the base
You don't need to glue this in if you don't want
However if you do apply a small amount of wood glue to all the teeth areas which will sit in the base slots
Step twelve - you will need a battery operated tealight
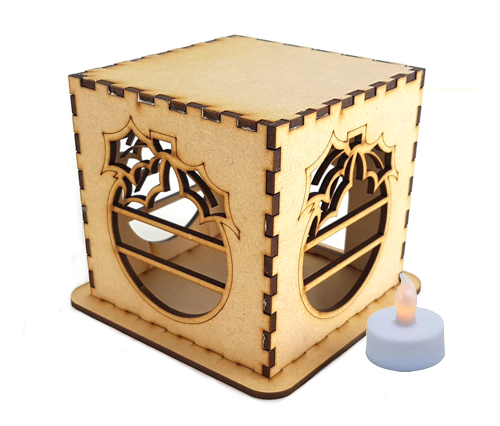
Step thirteen - this simply slides in from the back in the opening
We hope you found the blog helpful. Thank you for reading