
Painting our engraved items
Here we will show how easy it is and effect to paint our engraved items.
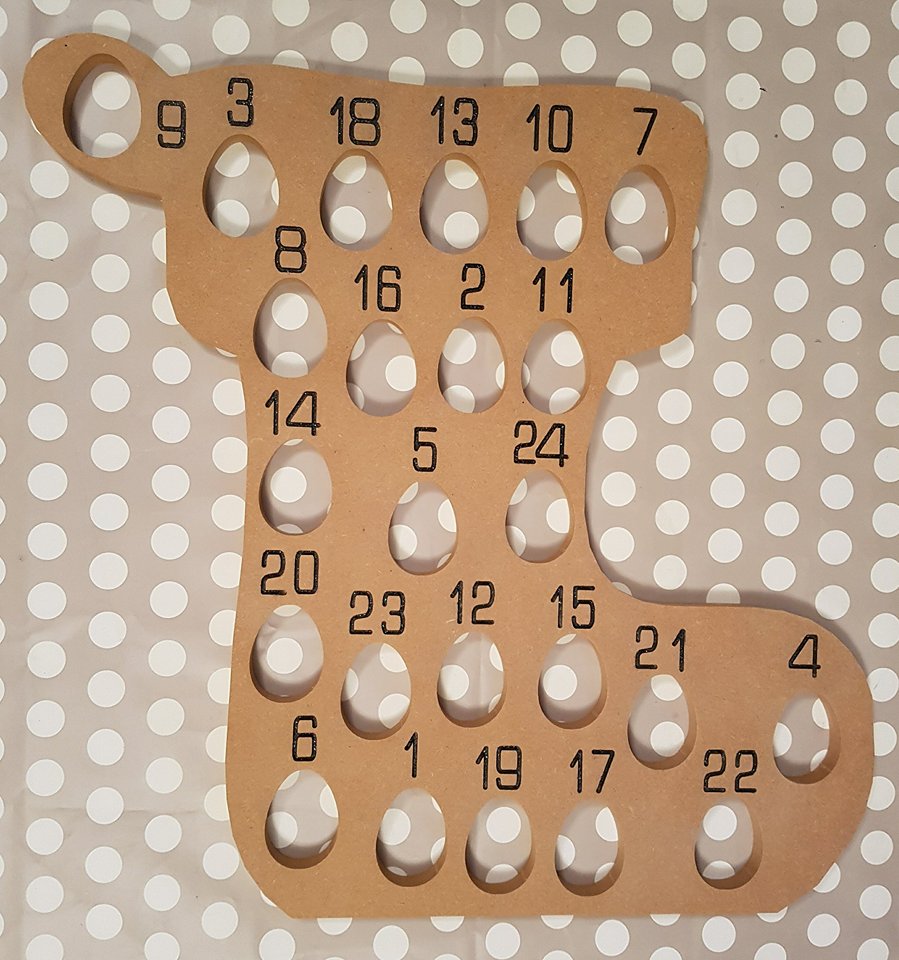
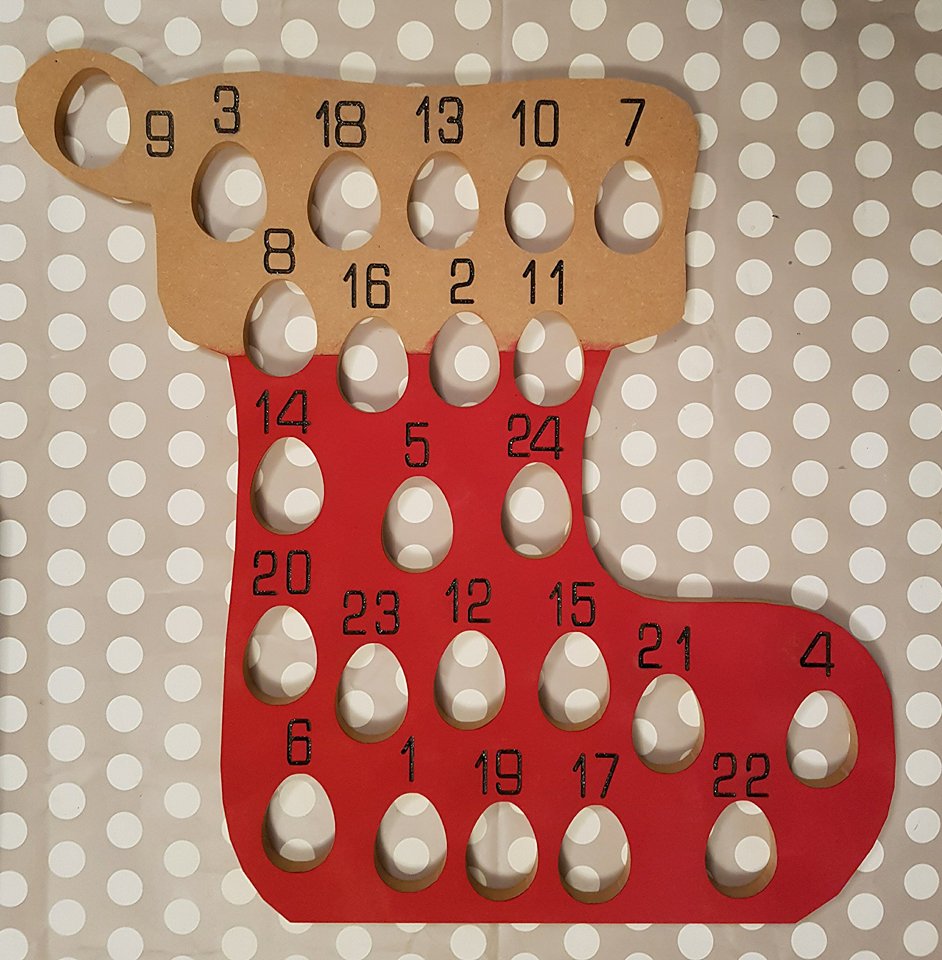
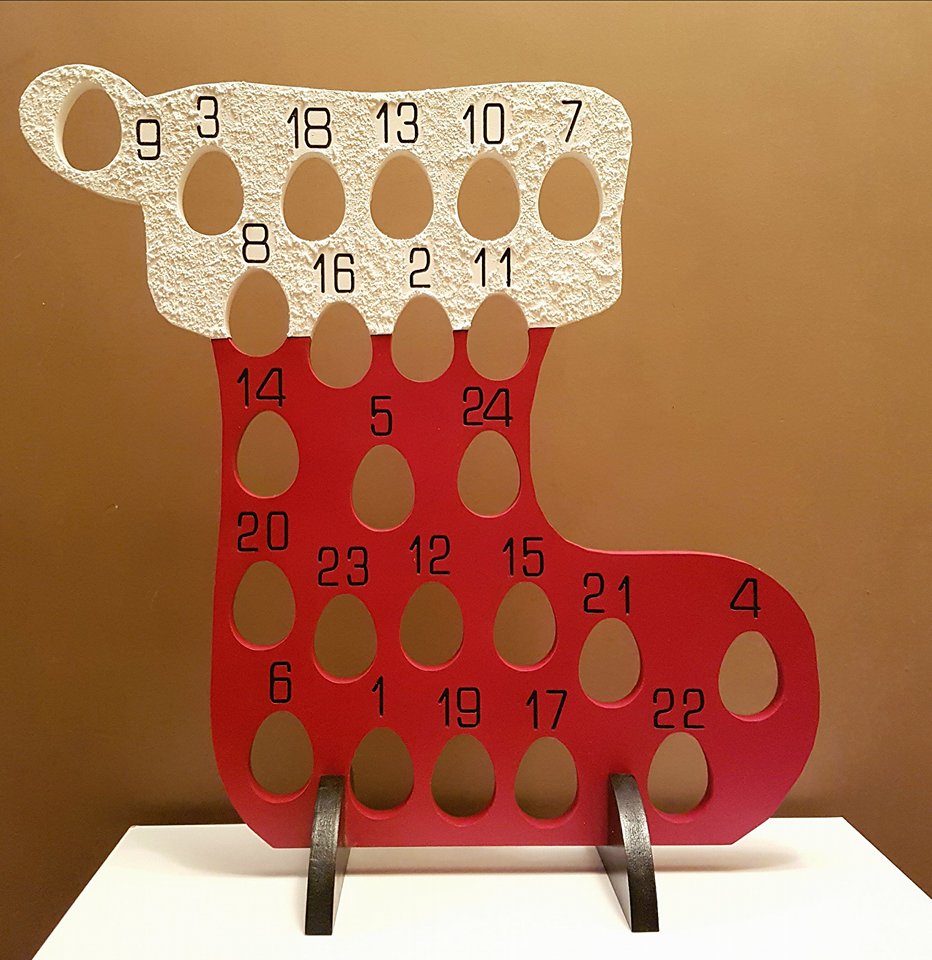
We have chose our christmas countdown stocking but it will work with any of them
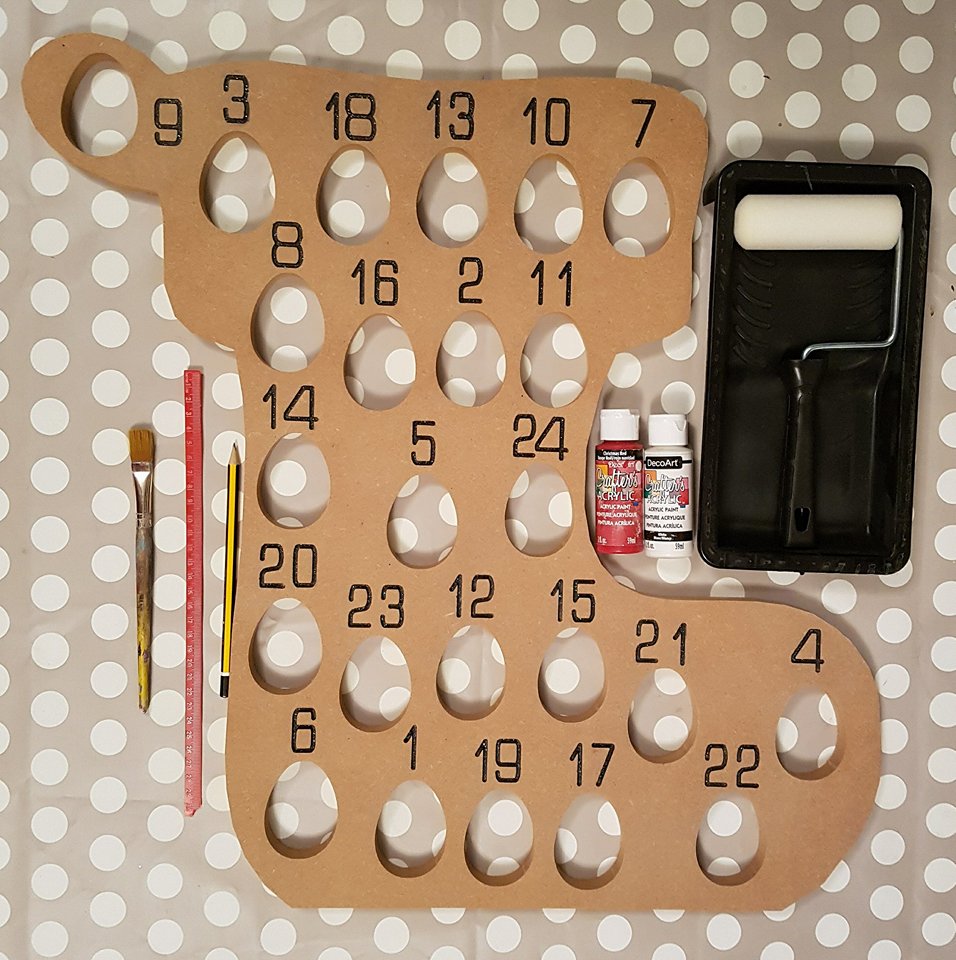
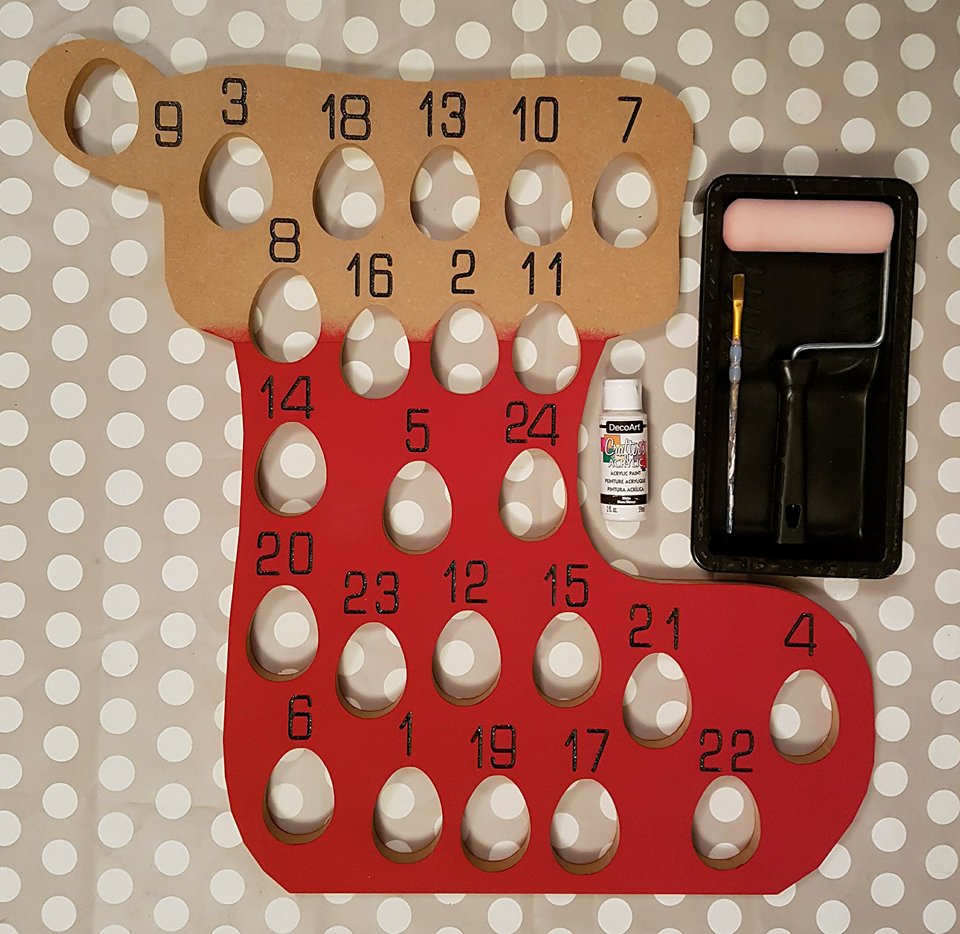
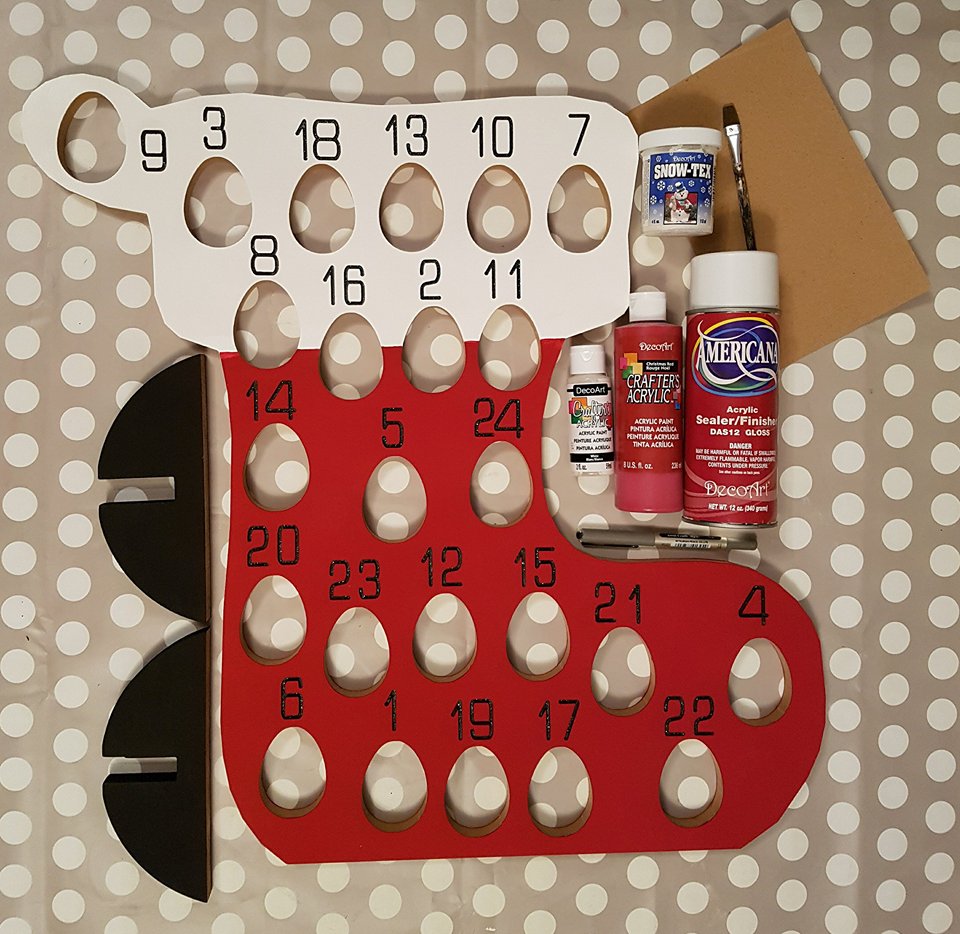
What you need for creating this look
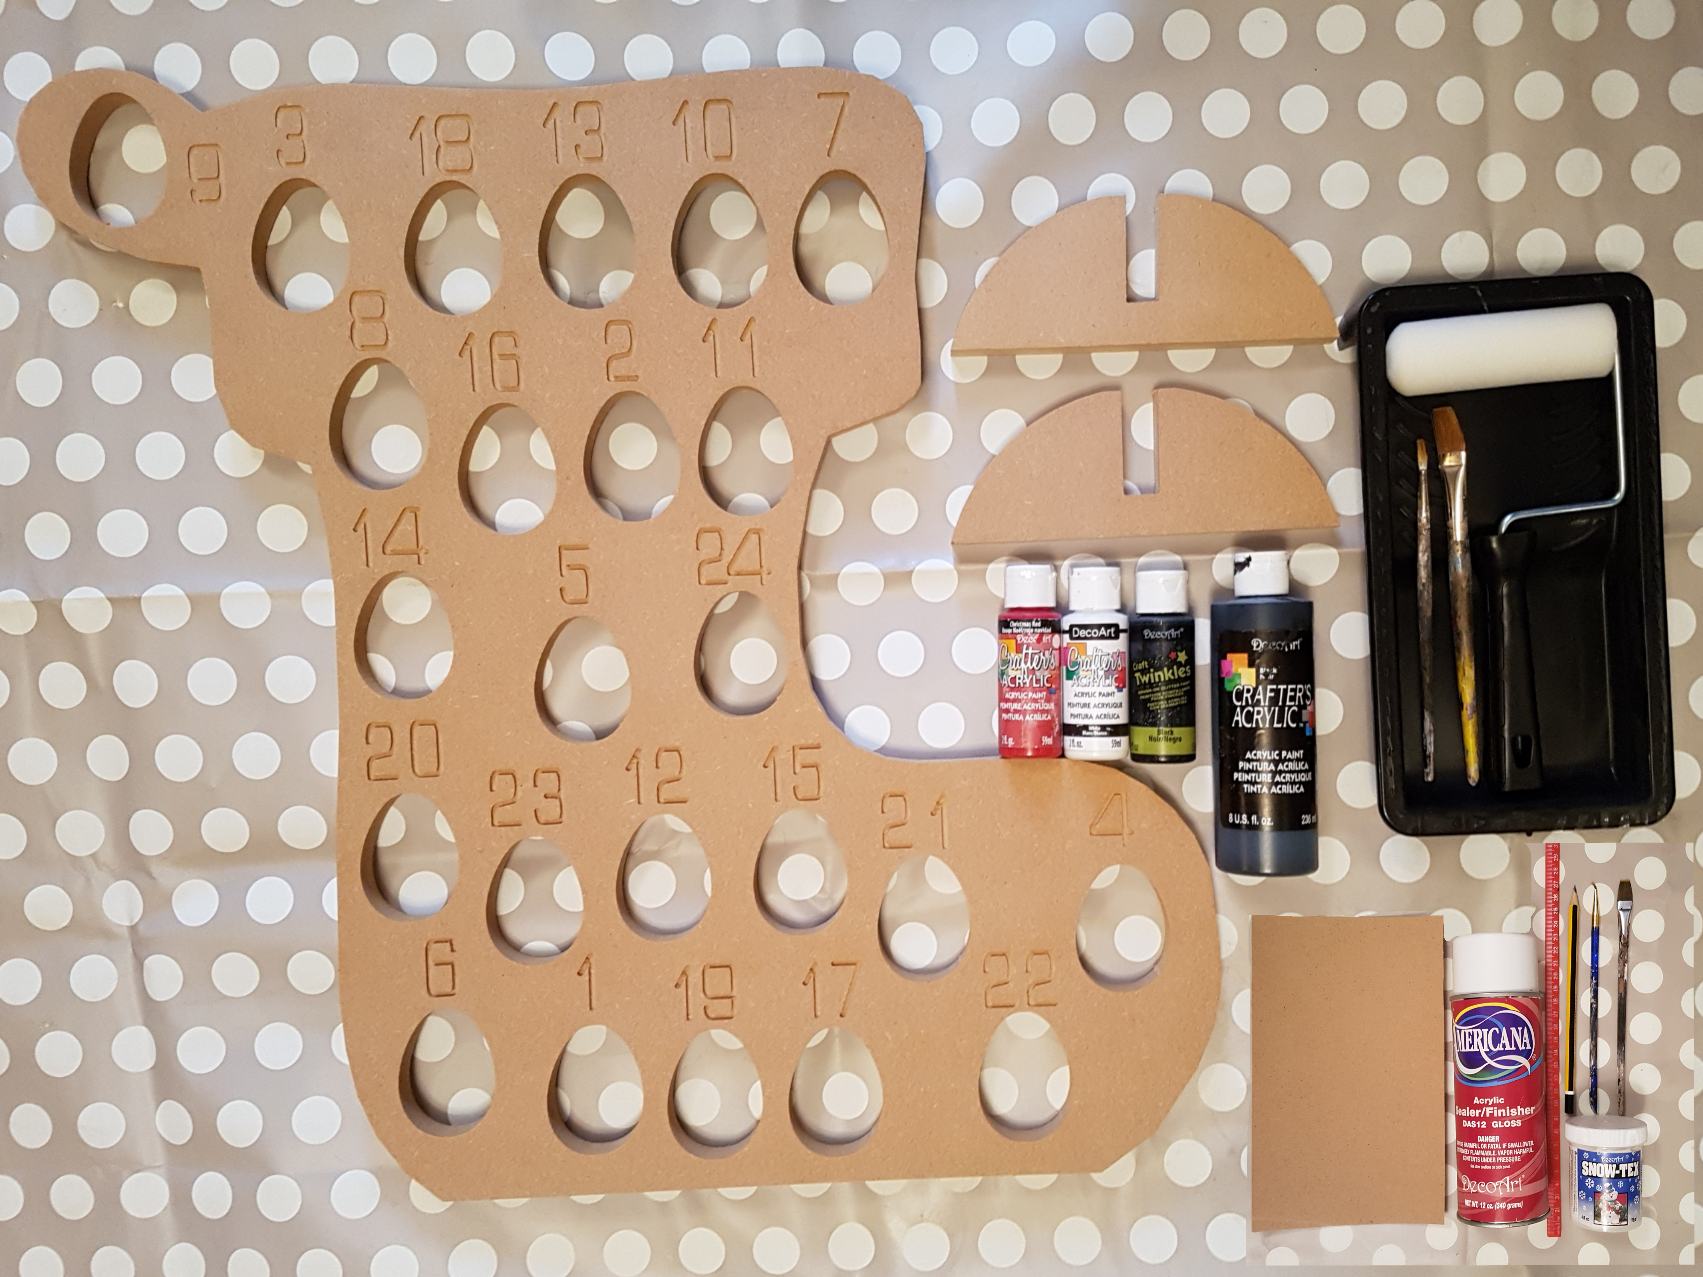
Step one
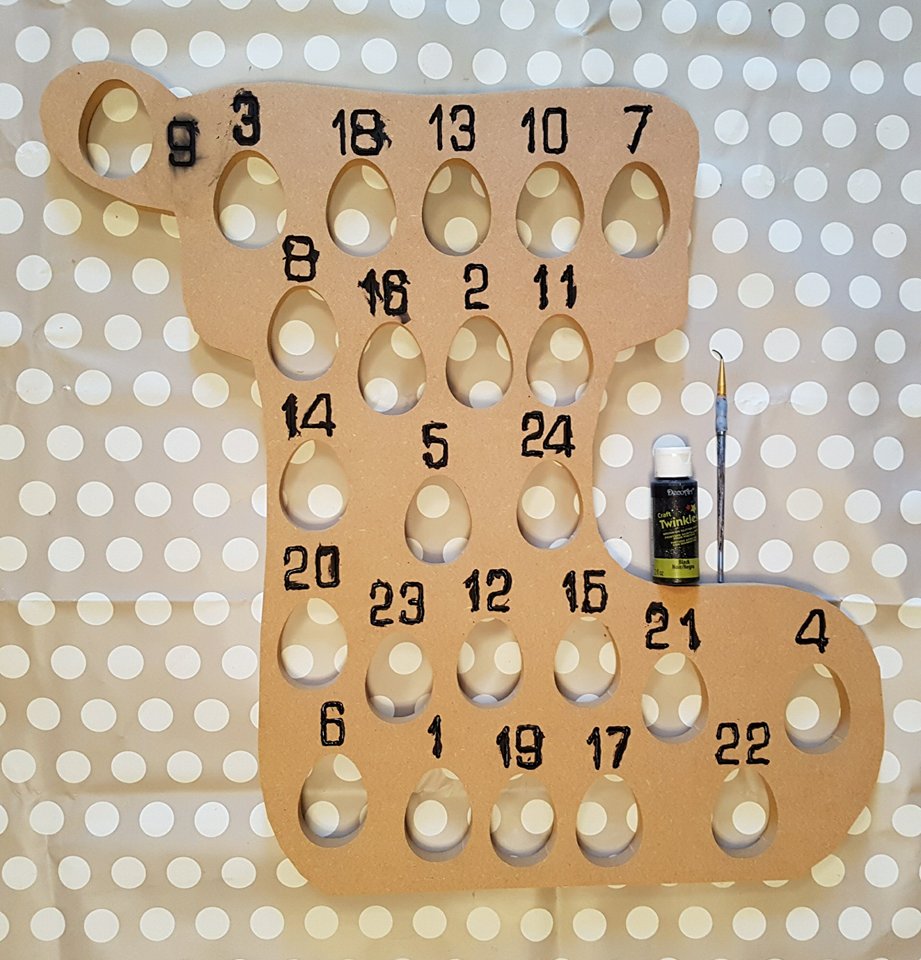
You will need to paint inside the numbers or engraved sections. You can do this in one colour or as many as you like

Painting engraved numbers video
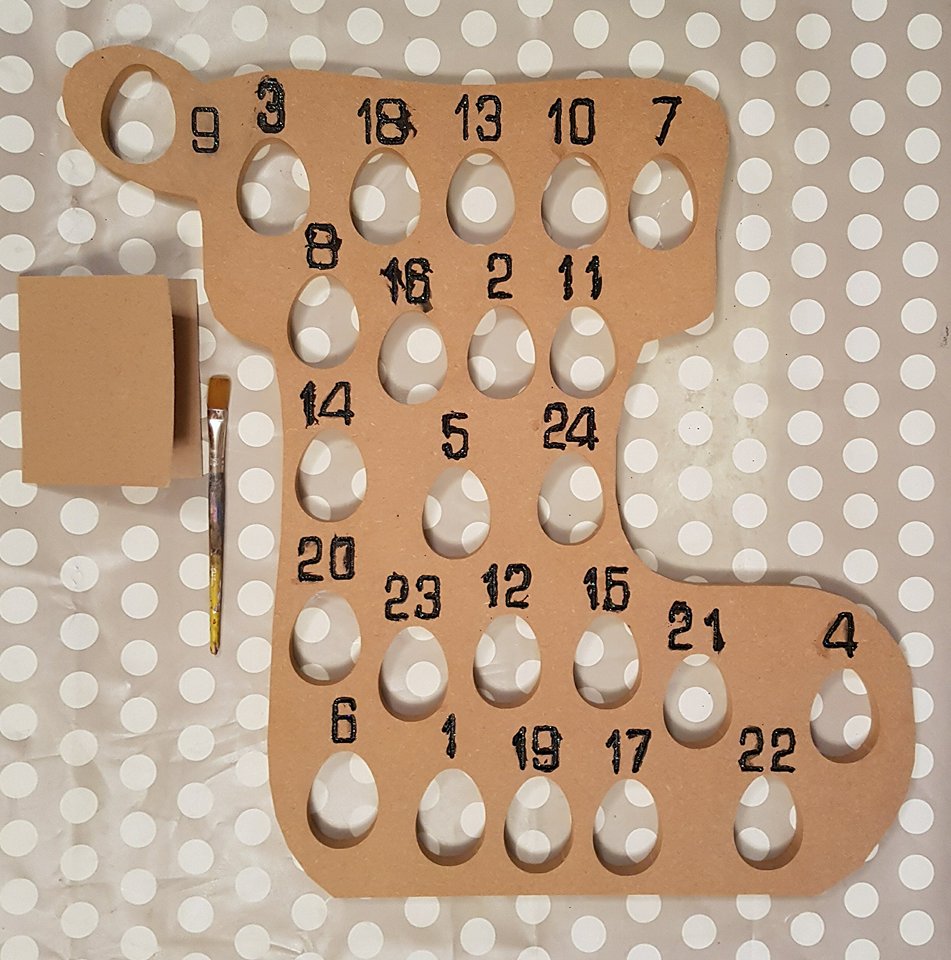
Step two
Once dry you can apply a second coat or as we have done a glitter coat
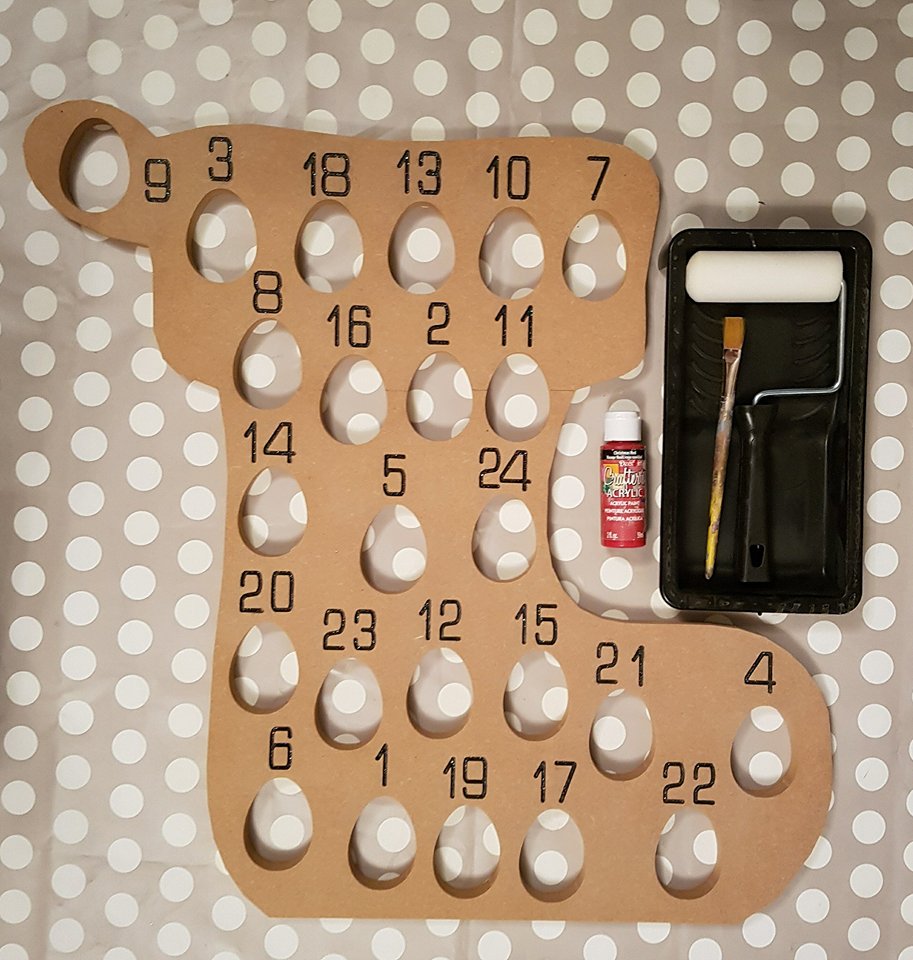
Step three
Once dry you now want to sand off all the paint which has gone on the front of the shape.
You can then brush out the dust from with in the engraved numbers with a dry paint brush
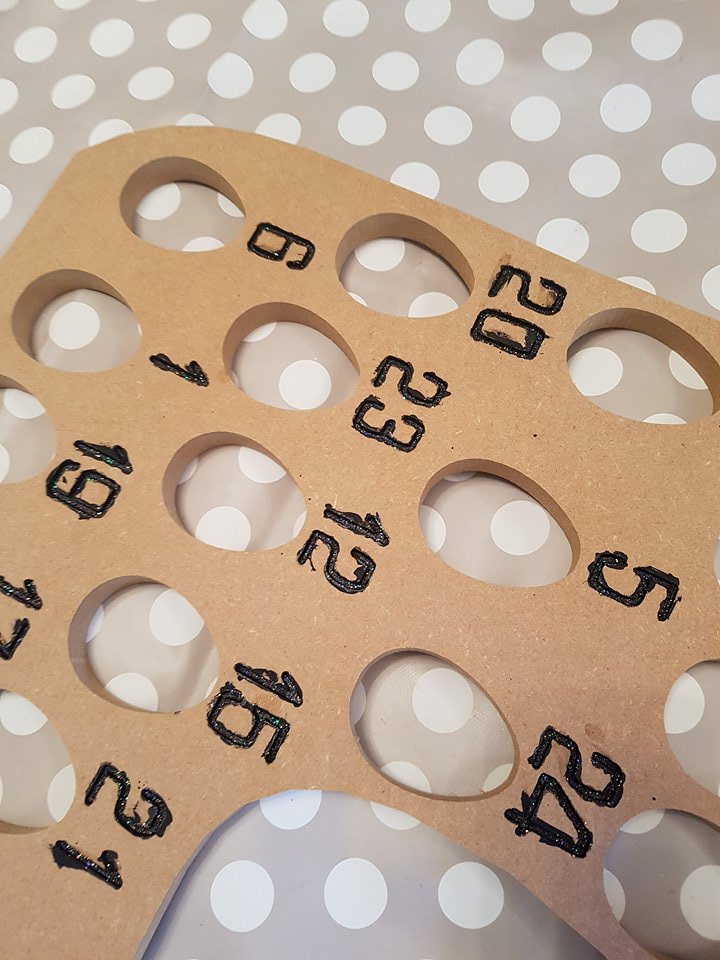
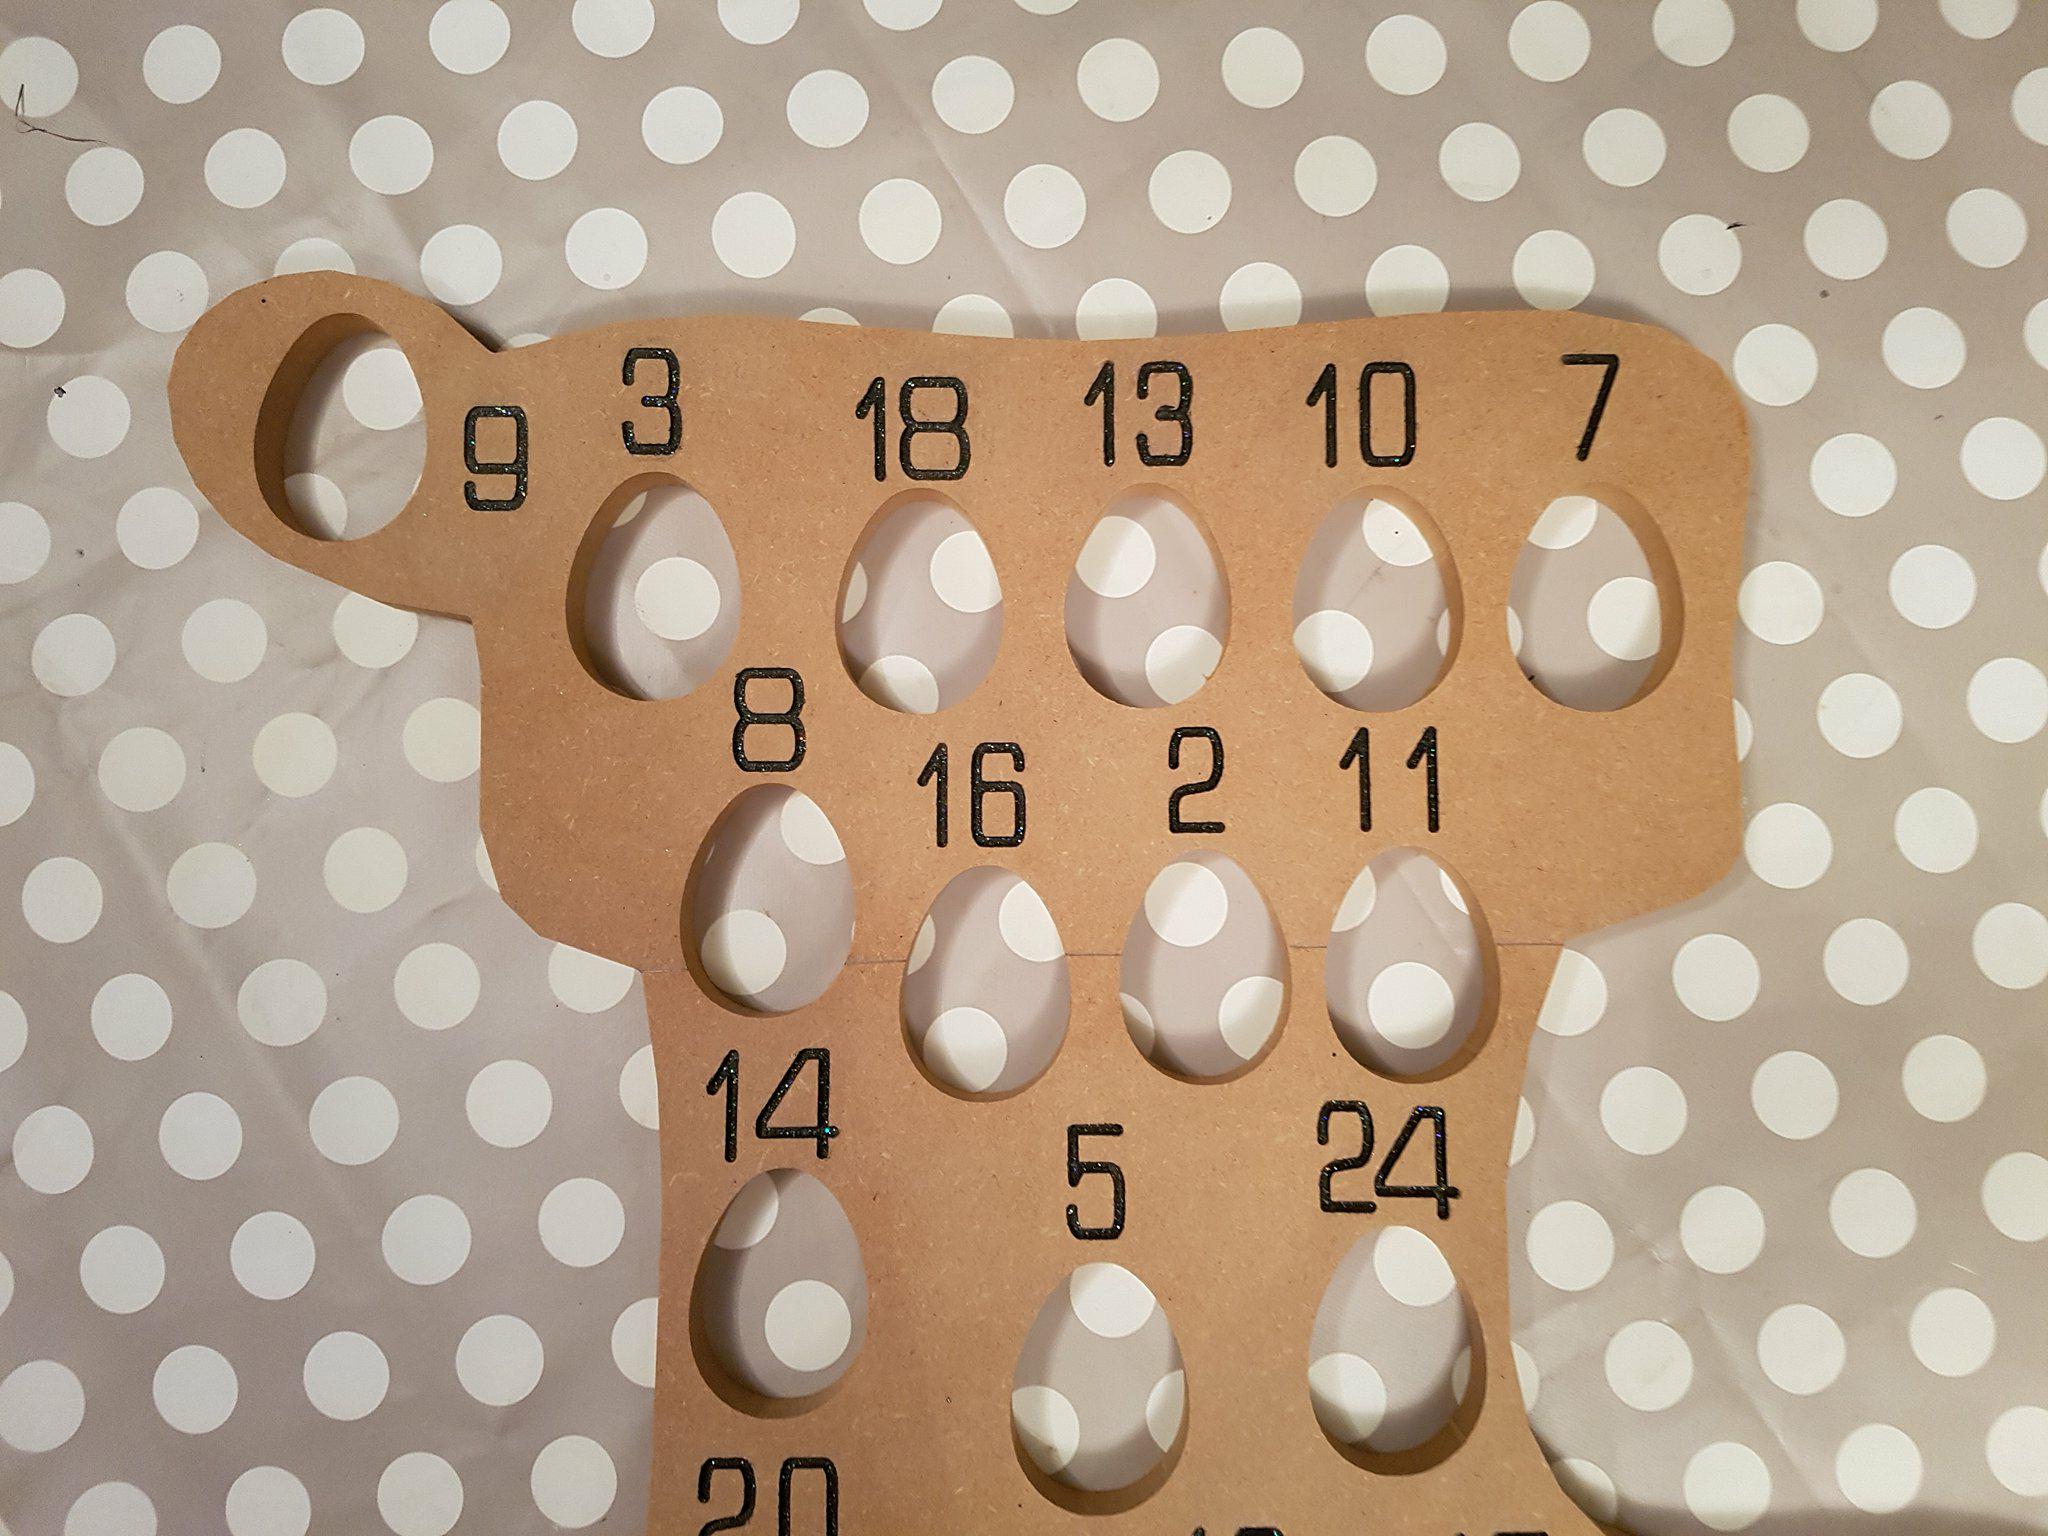
Close up
Sanding Video
Step four
How it now looks once the front has been sanded
Step five
You will now need your roller and paint for the front. Also if you need to do two different colours it can be handt yo mark the areas with a pencil before starting
Areas marked for the two colours
Step six
Paint the first colour onto the front
Painting red video
Step seven
First coat finished, you can now apply a second coat
Step eight
Now to do the first coat of the second colour. Repeat as beforewith the roller
WHITE PAINTING VIDEO
Step nine
Apply second coat with the roller and also touch up any areas where the colours join with a brush if needed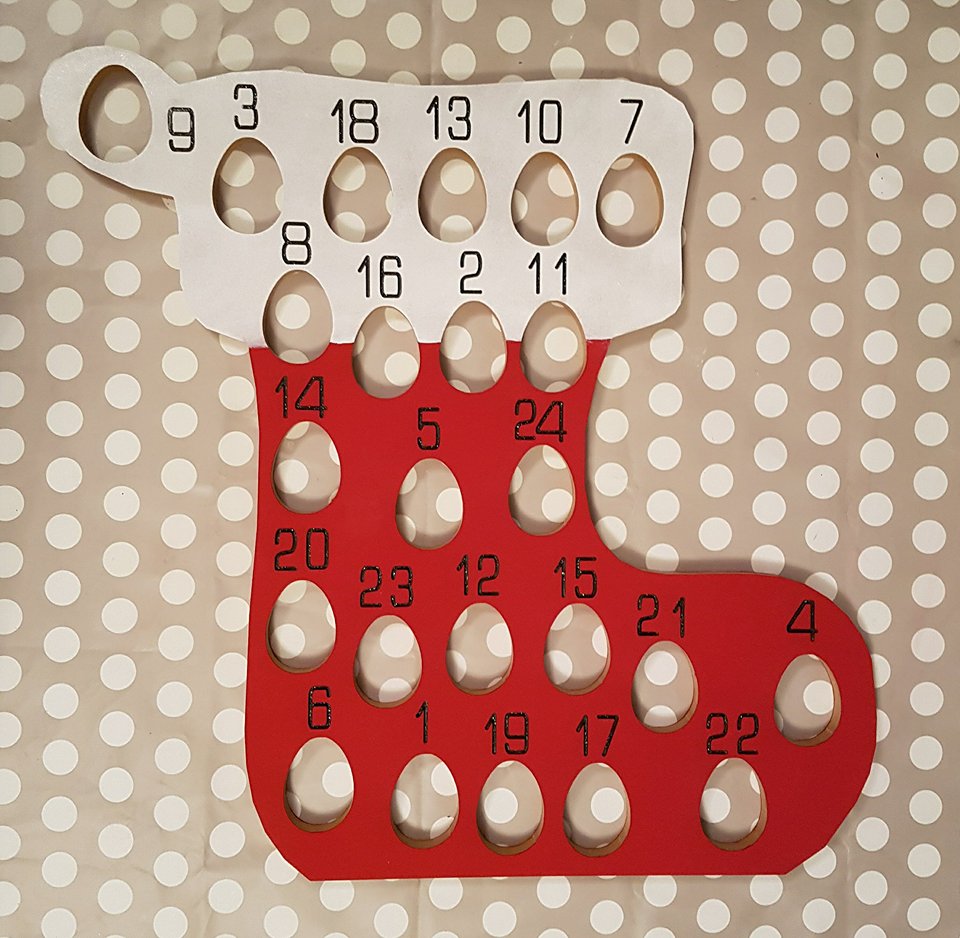
Step ten
You can now paint the back the same with the roller and then paint the endges and inside with your paint brush
You can find some **TOP TIPS** on getting the best finish to the cut edges of our router products on our other blog posts
Now completed
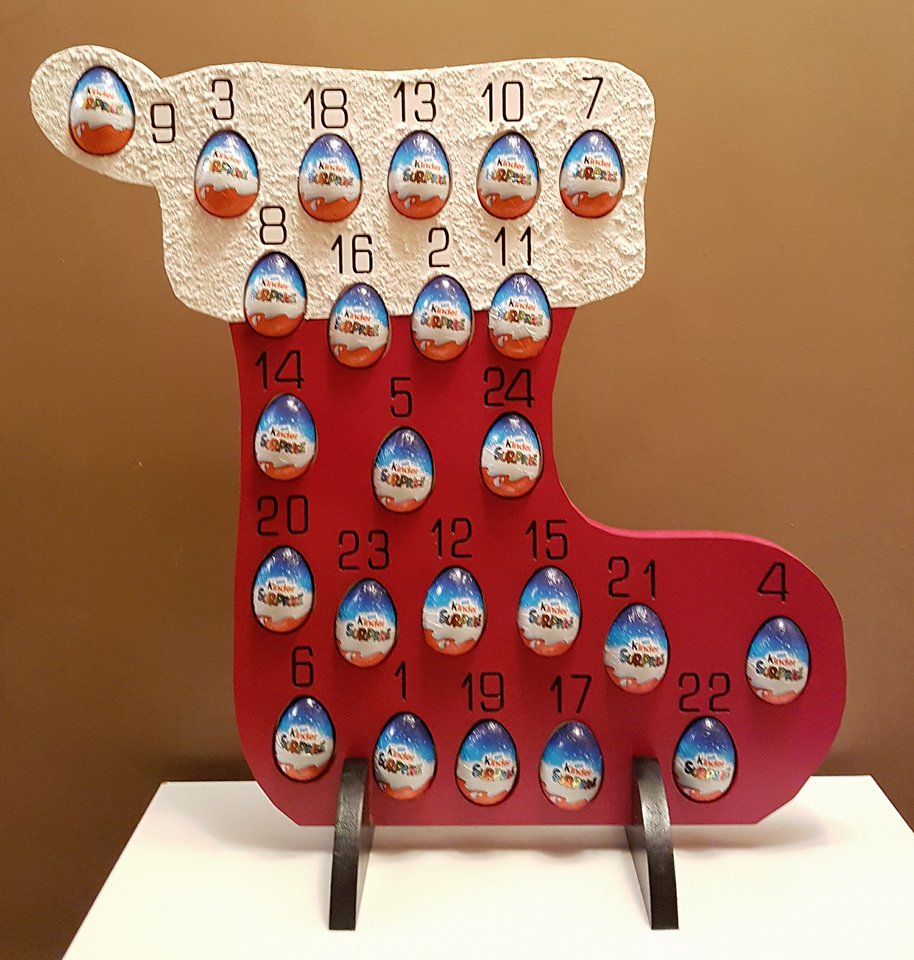
Also to show with the eggs in
we hope you found this blog helpful and we have lots of other ones to help with painting tips.
Many thanks x