
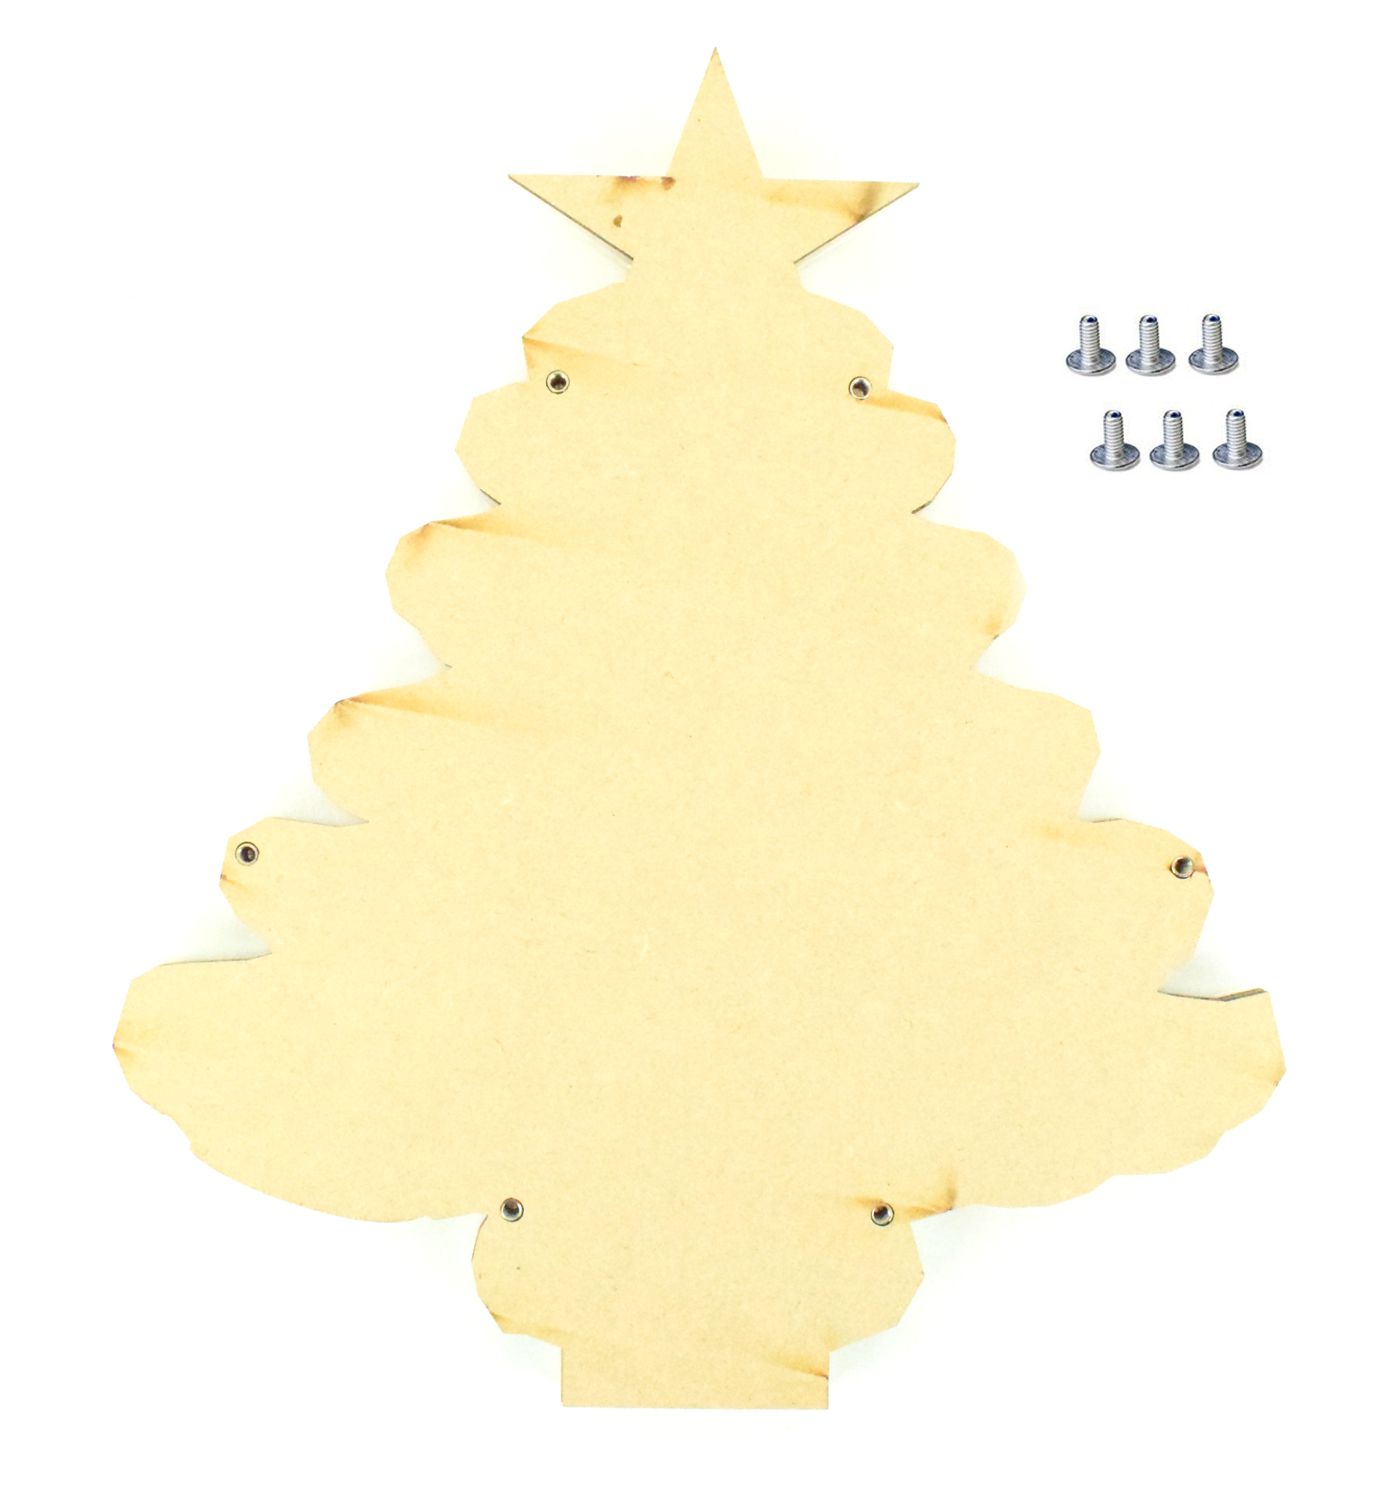
Helter Skelter Advent Tree Assembly Instructions
Here we have a photo instruction step by step guide on how to put our budget reward drop boxes together
What you need

close up of the fixings
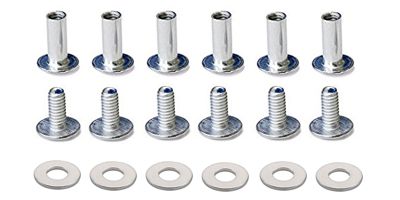

Glue not included
VIDEO
Step one
You will need to apply wood glue to the backing board in the rectangle sections where the bar/runners will go

Step two
Fix on the bar/runners to the areas glued

Step three
Next you will need the washers and the front frame. Place the front frame ontop of the backing board

close up of the washers

Step four
Sit the washers over the holes on the frame

Step five
Take the acrylic front

This has film on BOTH sides. Remove the film from each side before fitting

Step six
Sit the acrylic on the front and you will then need the bolts that are completely smooth

close up of the smooth screws

Step seven
Slot the bolts into the holes where the washers are

Step eight
Put the tree/reward drop box on a solid book or similar so all the bolts are covered and turn over
You will need the other bolts with the thread on
close up of the threaded bolts

Step nine
Slot the bolts in and turn to tighten, you can do this with your fingers

Step ten
Once tightened you will need the feet pieces

Step eleven
These just slot on the base of the tree

Step twelve
You can then add your tokens 1 per day for the countdown to christmas

How it looks filled with one day left to christmas

**PLEASE NOTE**
You will get static on the front of the acrylic after removing the film so the tokens may stick slightly to start with. Once the static has gone they will drop in as normal
Thank you for reading and we hope you found this blog helpful.
