Applying photo's to wood with Mod Podge
Here is a detailed blog post to show you how easy it is to apply photos to wood using regular mod podge and also a normal inkjet printer and paper!
You can also use this technique for applying decorative papers to wood aswell.
We have a step by step photo and instruction guide for you to follow plus a step by step video guide at the end of the blog
What you need -links to order the items we do are at the bottom of the blog
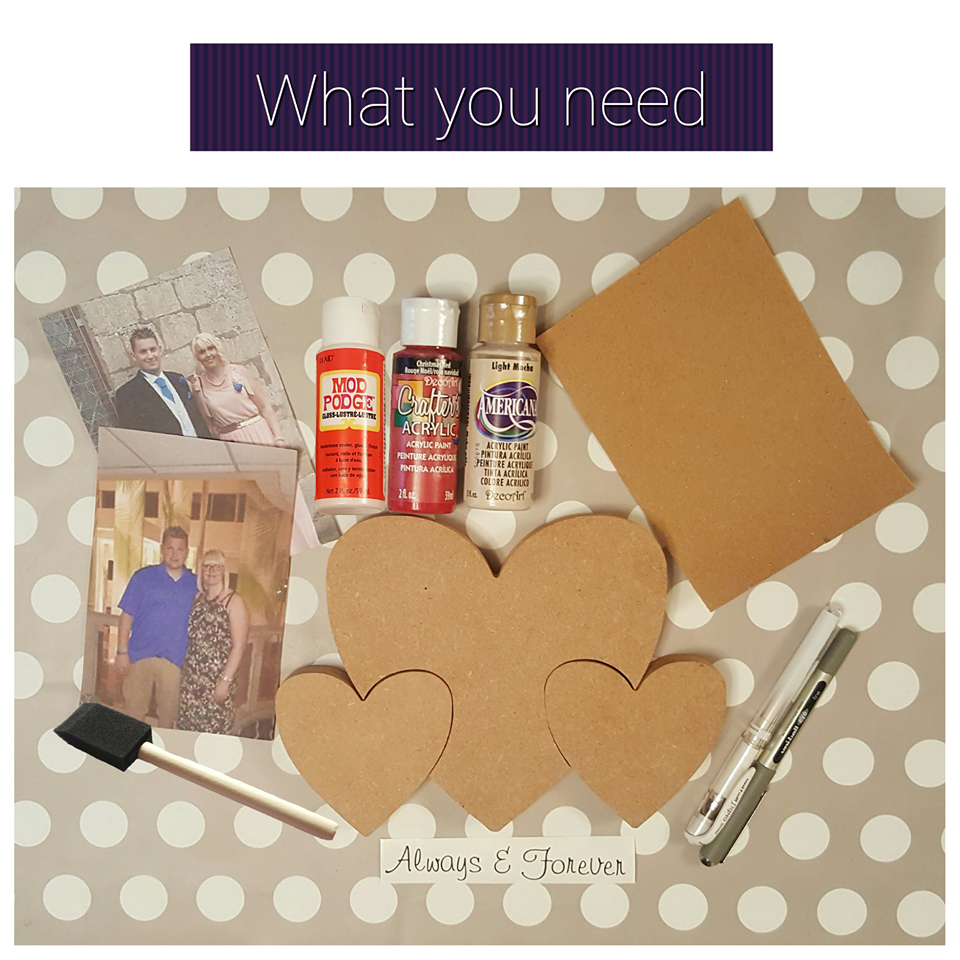
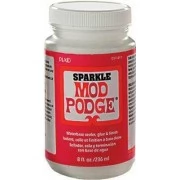
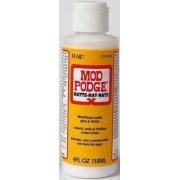
* Mod Podge - matt, gloss, sparkle are available. I used the gloss effect one
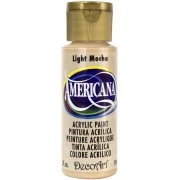
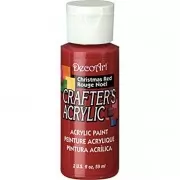
* Acrylic coloured paint - Christmas Red Crafters acrylic, Light mocha Americana
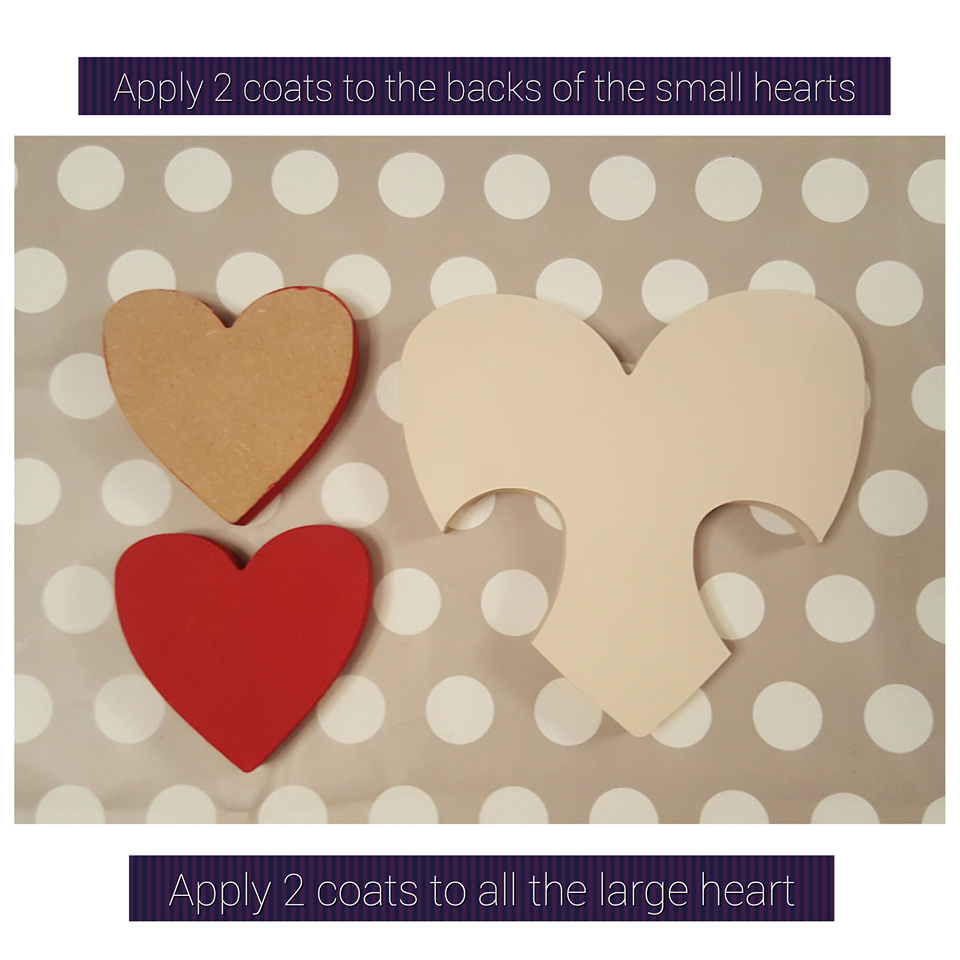
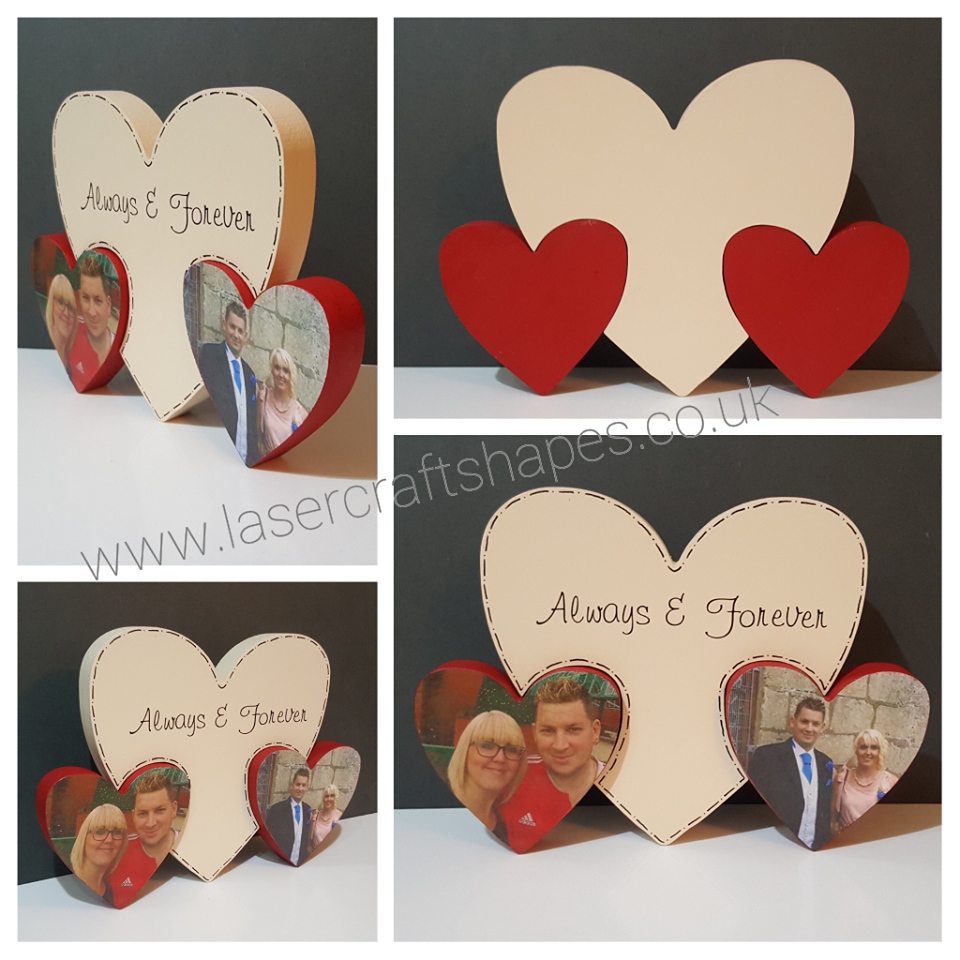
* Wooden item - Freestanding hearts in heart
* Sponge brush (for best results and to avoid seeing brush strokes)
* Sandpaper
* Vinyl wording
* Uniball gel pens
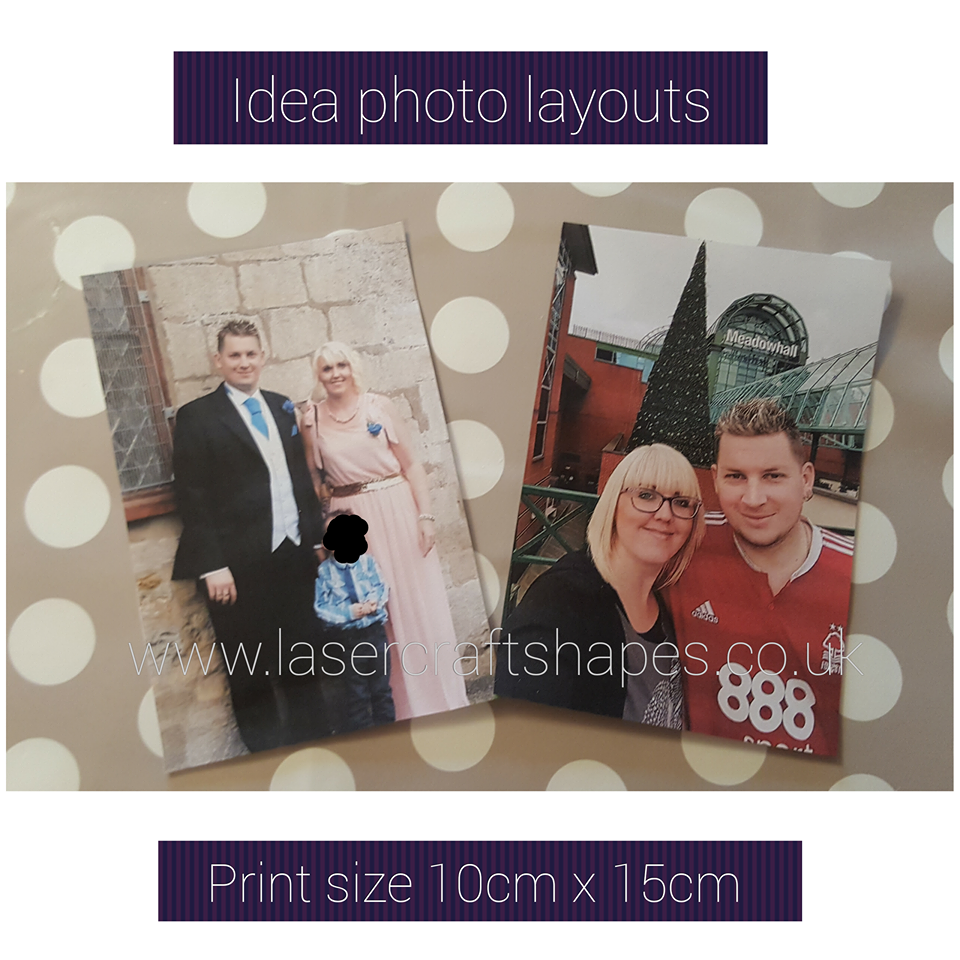
* Photo's sized 10cm x 15cm - printed on a normal inkjet printed
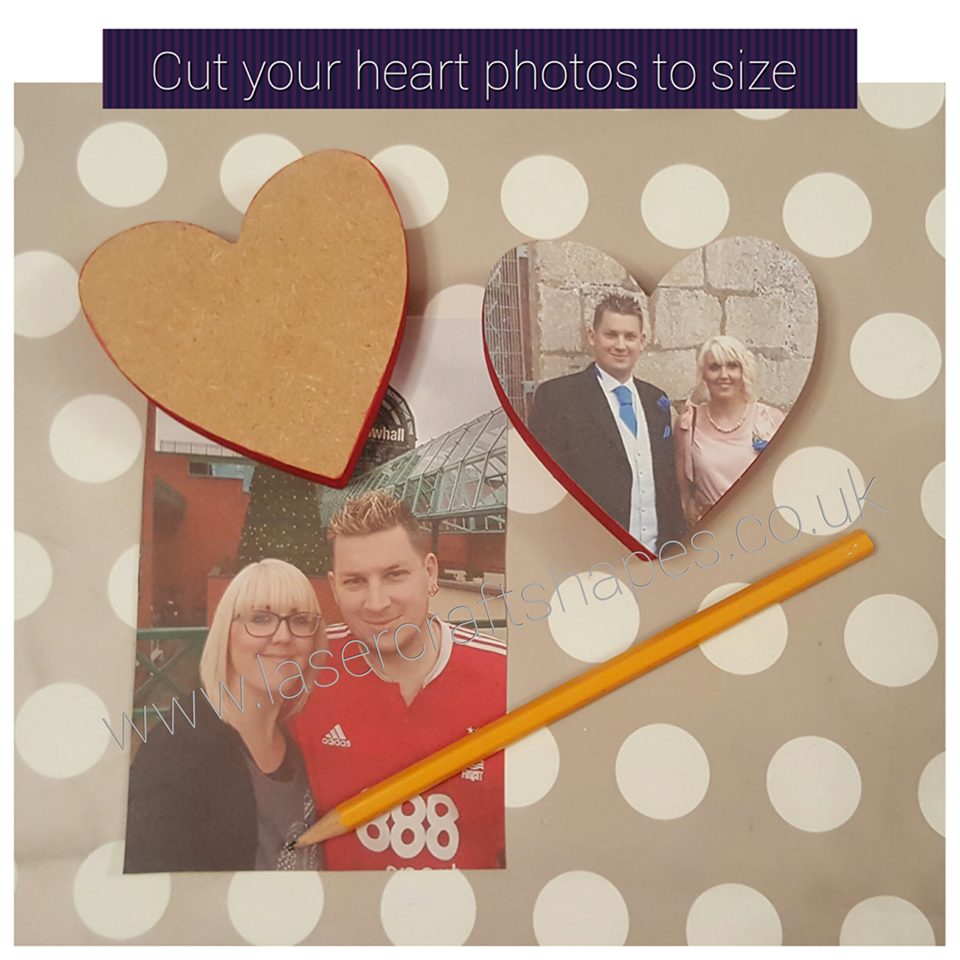
**TOP TIP** You will need a photo with lots of space above the head/s and also space each side to allow a nice photo to sit on the heart once cut out.(Heart size for photos is approx 9cm x 9cm)
Step by step instructions
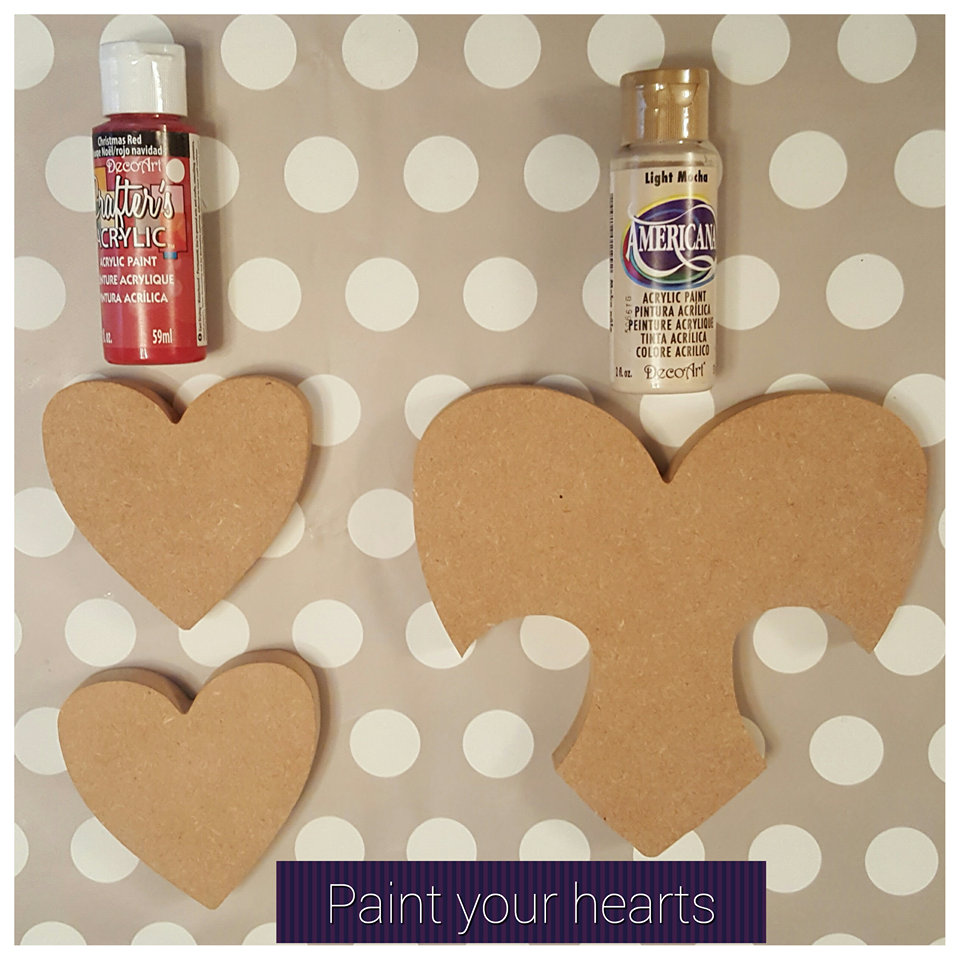
1) Paint the hearts in your chosen colours
Theres no need to fully paint the side the photos will go on if you don't want to or you can just do a little border around the edge
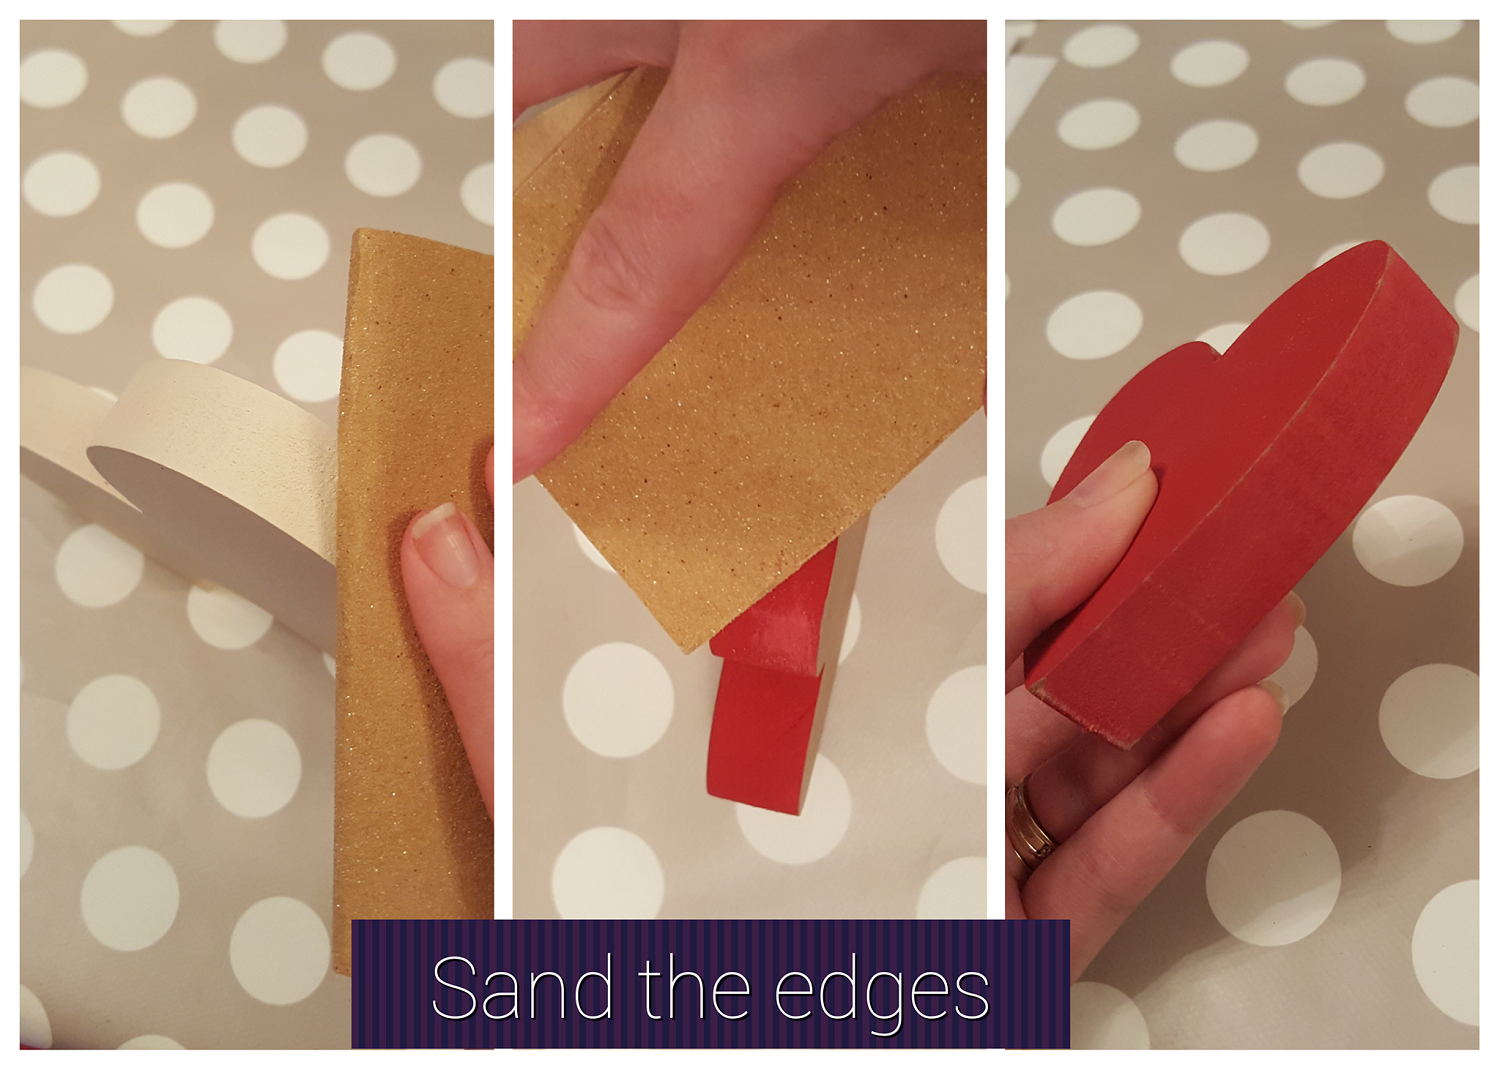
2) Once dry lightly sand the edges for a super smooth finish!
3) Apply additional coats of paint to the hearts- until you get the desired coverage you are wanting. 2- 3 coats is advisable
4) Once dry apply your chosen vinyl wording to the large heart
you can also hand write or hand stamp your wording
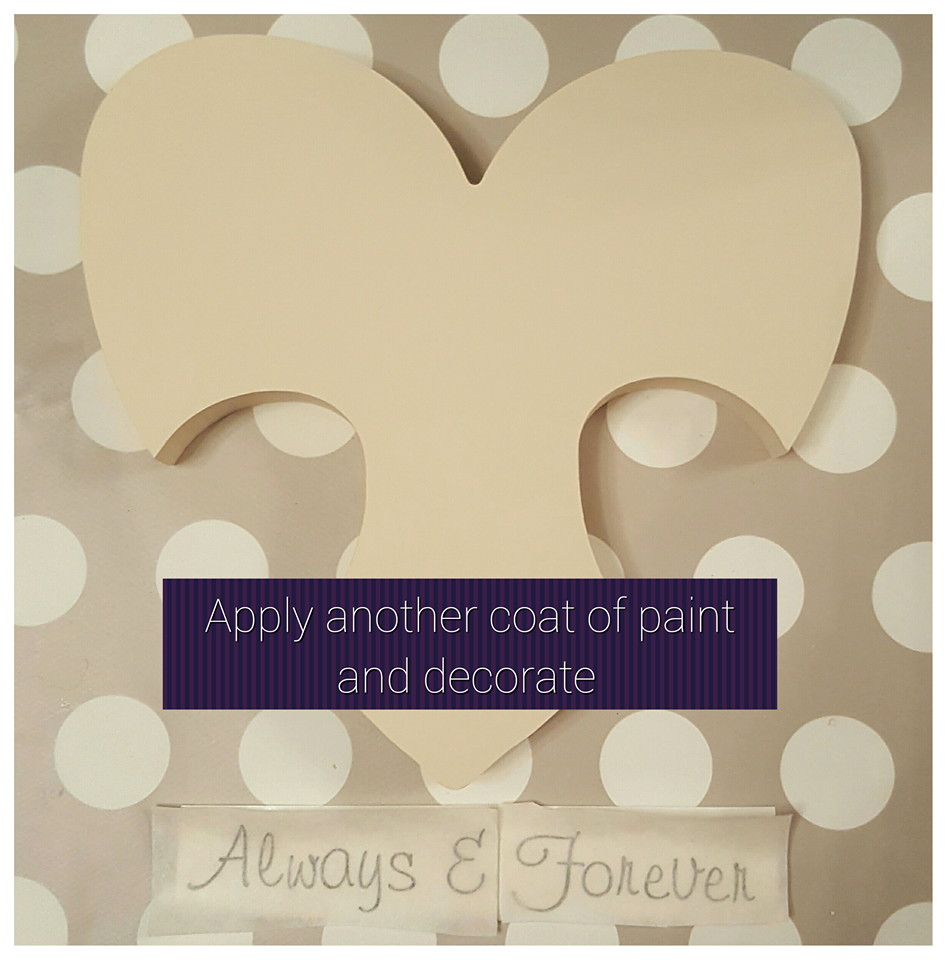
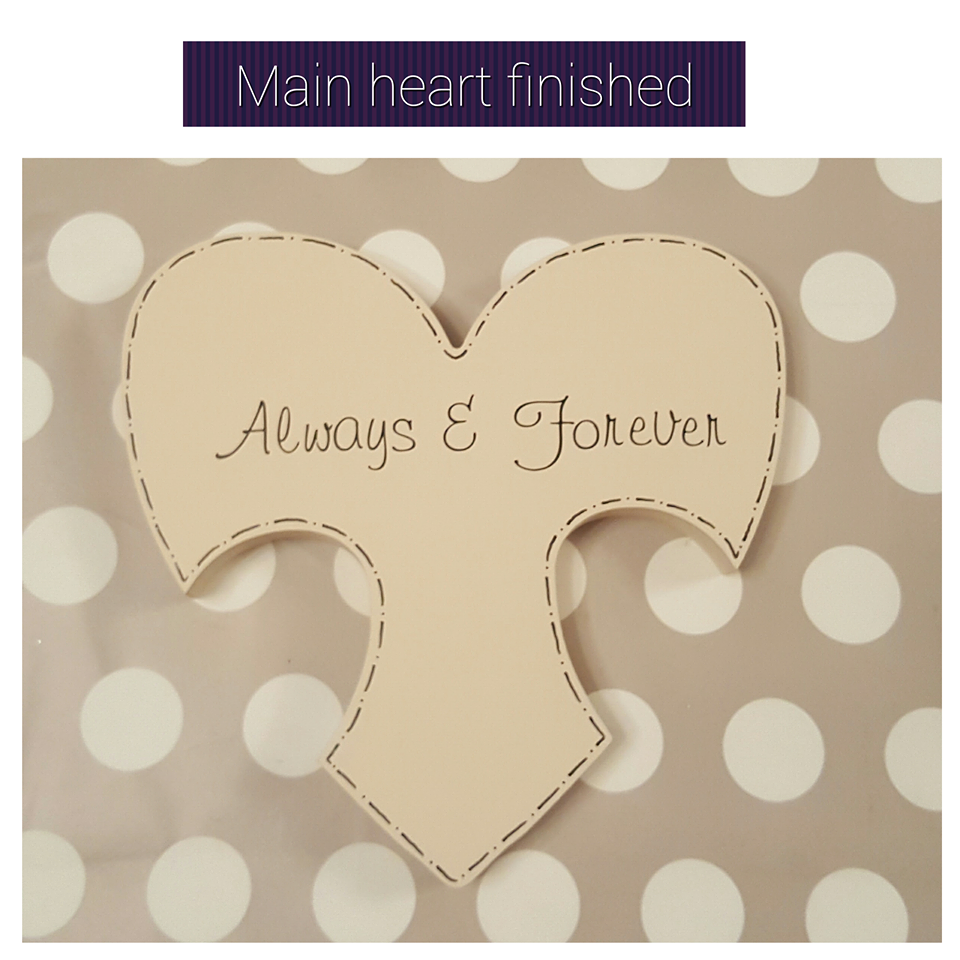
5) Decorate your main heart as you wish - uniball gel pens are a favourite of mine for adding a dot dash border to give your make that finishing touch!
6) Print your chosen photos - perfect size to print is 10cm x 15cm.
**TOP TIPS** You will need a large space above the head/s and also space at the sides to allow the main focus of the photo to be in the centre of the heart, so your not cutting off any detail when cut to size.
Use a good quality paper and the best print quality setting for the best results
7) Use the wooden hearts as a photo template, draw around them and cut your chosen photos to size
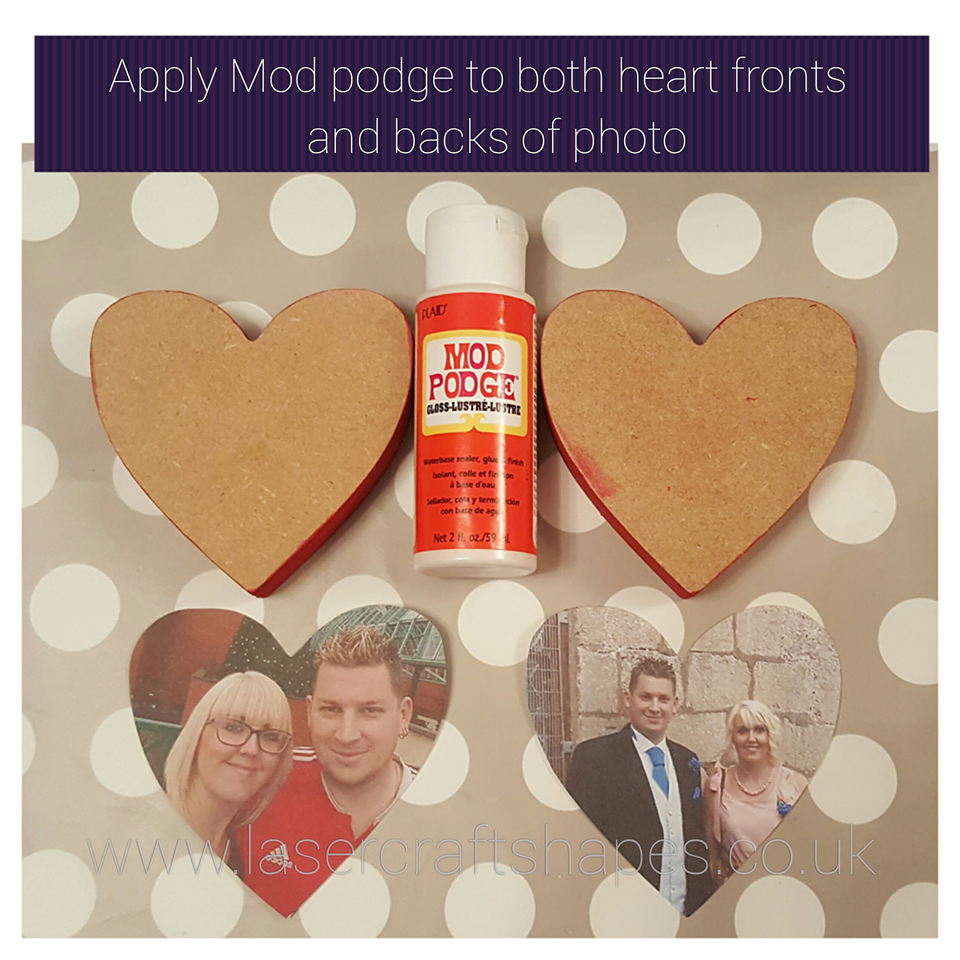
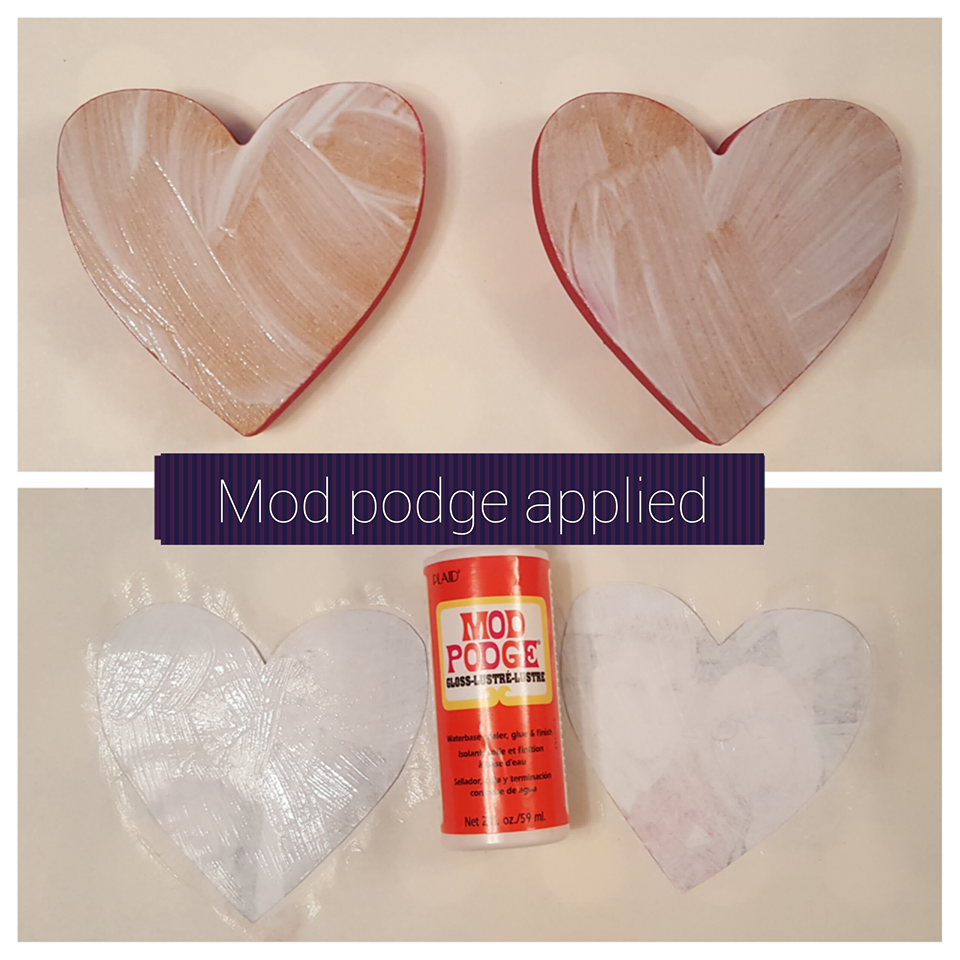
8) Apply a generous layer of mod podge to the wooden hearts
9) Apply a generous layer of mod podge to the back of the photos - ensuring all the edges are covered
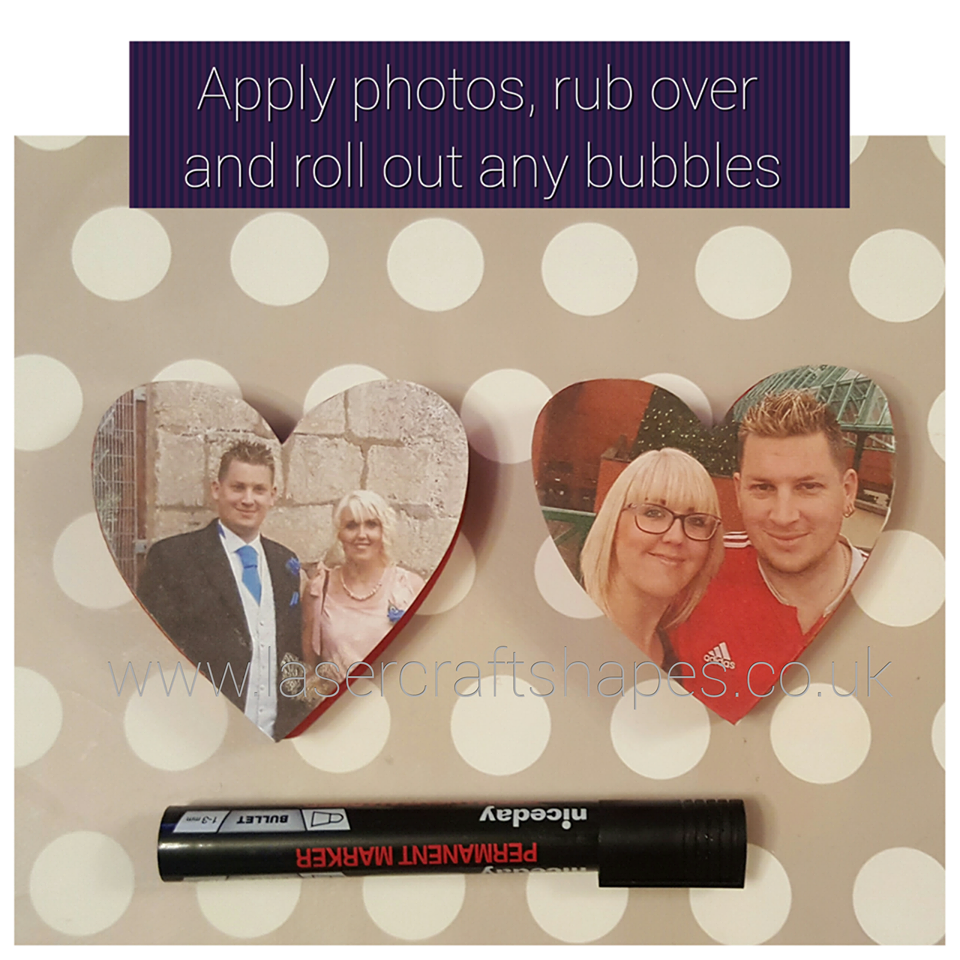
10) Place the photos on the hearts straight away and place in position.
You will have a bit of time to gently move them slightly if not correctly lined up upon application.
Do be careful though as the photos will be delicate once damp from the mod podge!
11) Once happy with their placement you will need to make sure all the air bubbles are pressed out.
You can use any sort of round or flat tool to do this. Start from one side and press gently pushing the bubbles out to the other side you will hear them all crackle out!!
12) Leave to fully dry.
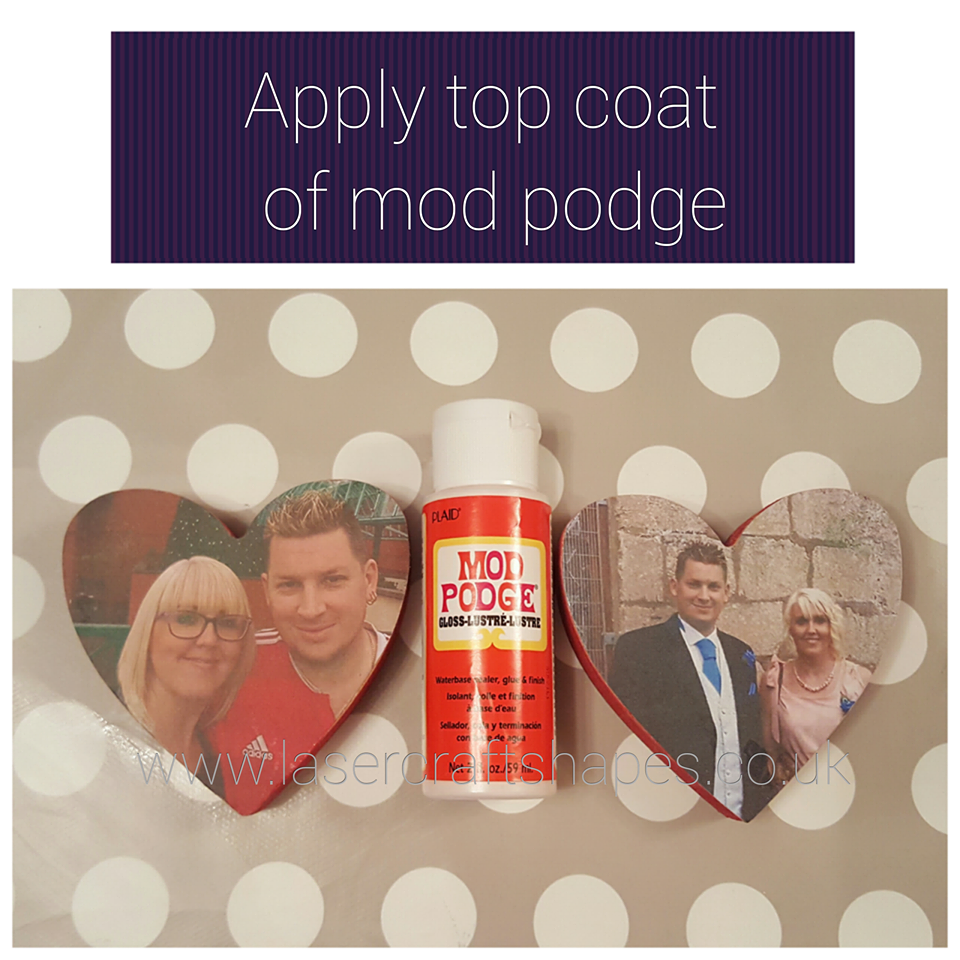
13) Once dry- Apply a generous layer of mod podge with your sponge brush to the tops of the photos
**TOP TIP** Use a sponge brush for applying the mod podge. This will give a smooth finish. Using a brush can leave brush strokes/marks!
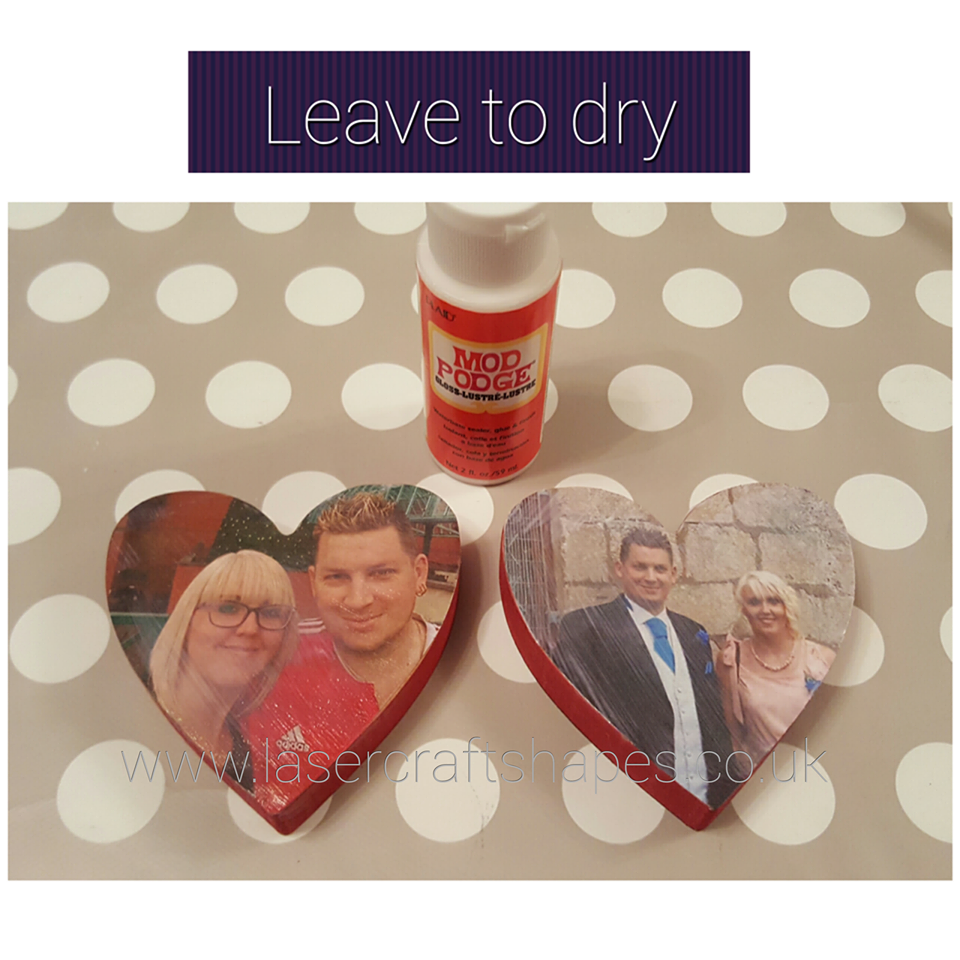
13) Allow the top coat of mod podge to fully dry
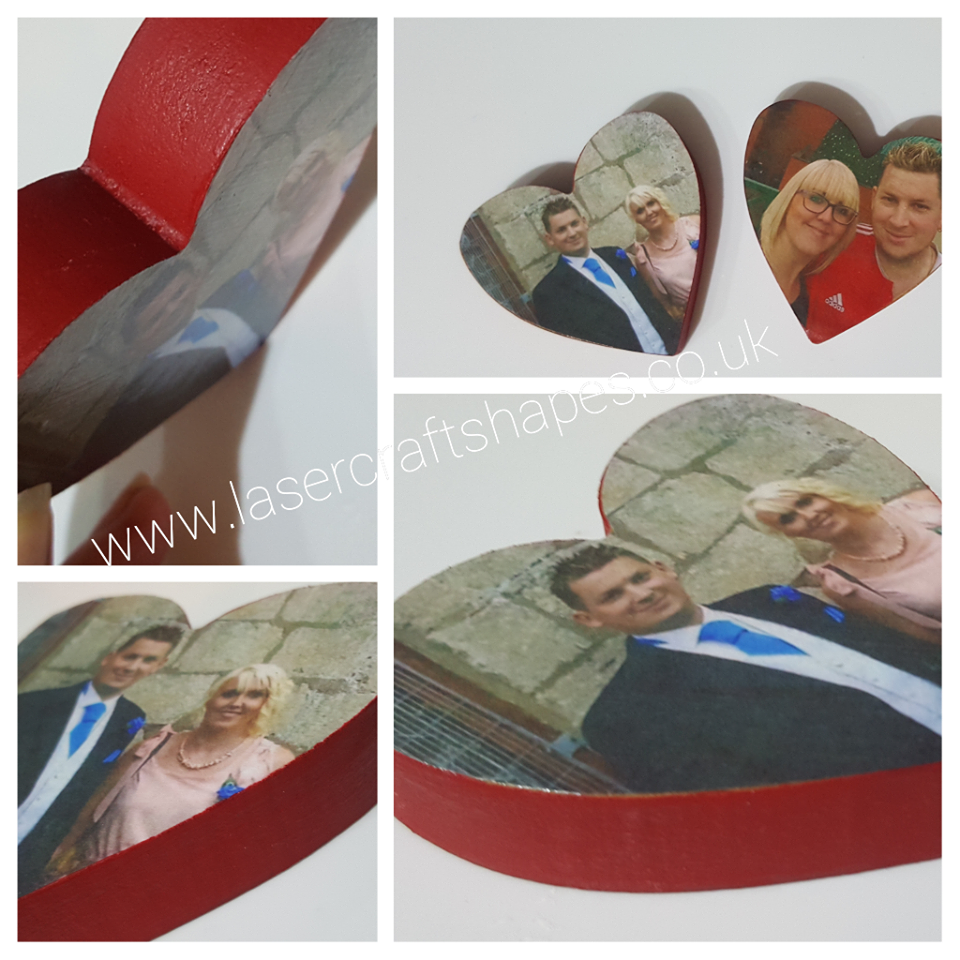
14) Once dry sand around the edges getting off any excess photo.
**TOP TIP** For best results go in a downward motion to remove any excess photo from around the edges and then once removed go from side to side to smooth
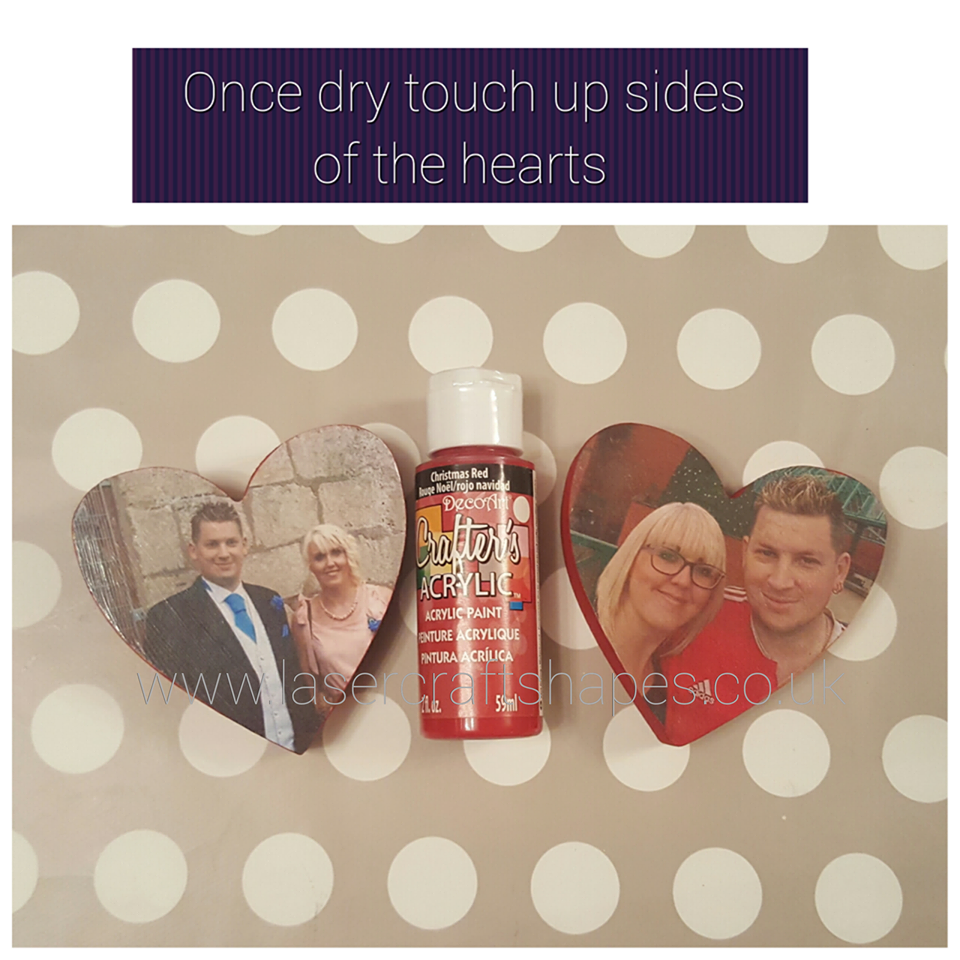
13) Touch up the photo hearts edges - with another coat of paint for a perfect finish!
14) Once dry your item is now ready to put together!
You can use this technique for applying decorative paper on any of our items!
I hope you have enjoyed this blog post and found it helpful. Please do leave us a comment below :)
Thank you for reading xx
Check out our 18mm freestanding category for fantastic items to mod podge!